編輯:Android開發教程
簡介
android提供了三種菜單類型,分別為options menu,context menu,sub menu。
options menu就是通過按home鍵來顯示,context menu需要在view上按上2s後顯示。這兩種menu都有 可以加入子菜單,子菜單不能種不能嵌套子菜單。options menu最多只能在屏幕最下面顯示6個菜單選項,稱 為iconmenu,icon menu不能有checkable選項。多於6的菜單項會以more icon menu來調出,稱為expanded menu。options menu通過activity的onCreateOptionsMenu來生成,這個函數只會在menu第一次生成時調用。 任何想改變options menu的想法只能在onPrepareOptionsMenu來實現,這個函數會在menu顯示前調用。 onOptionsItemSelected 用來處理選中的菜單項。
context menu是跟某個具體的view綁定在一起,在 activity種用registerForContextMenu來為某個view注冊context menu。context menu在顯示前都會調用 onCreateContextMenu來生成menu。onContextItemSelected用來處理選中的菜單項。
android還提供了 對菜單項進行分組的功能,可以把相似功能的菜單項分成同一個組,這樣就可以通過調用setGroupCheckable ,setGroupEnabled,setGroupVisible來設置菜單屬性,而無須單獨設置。
Options Menu
Notepad中使用了options menu和context menu兩種菜單。首先來看生成options menu的 onCreateOptionsMenu函數。
menu.add(0, MENU_ITEM_INSERT, 0, R.string.menu_insert)
              .setShortcut('3', 'a')
              .setIcon(android.R.drawable.ic_menu_add);
這是一個標准的插入一個菜單項的方 法,菜單項的id為MENU_ITEM_INSERT。有意思的是下面這幾句代碼:
Intent intent = new Intent

(null, getIntent().getData());
       intent.addCategory(Intent.CATEGORY_ALTERNATIVE);
       menu.addIntentOptions(Menu.CATEGORY_ALTERNATIVE, 0, 0,
               new ComponentName(this, NotesList.class), null, intent, 0, null);
這到底 有何用處呢?其實這是一種動態菜單技術(也有點像插件機制),若某一個activity,其類型是” android.intent.category.ALTERNATIVE”,數據是”vnd.android.cursor.dir/vnd.google.note”的話,系 統就會為這個activity增加一個菜單項。在androidmanfest.xml中查看後發現,沒有一個activity符合條件, 所以這段代碼並沒有動態添加出任何一個菜單項。
為了驗證上述分析,我們可以來做一個實驗,在 androidmanfest.xml中進行修改,看是否會動態生成出菜單項。
實驗一
首先我們來創 建一個新的activity作為目標activity,名為HelloAndroid,沒有什麼功能,就是顯示一個界面。
public class HelloAndroid extends Activity {
    @Override
    protected void onCreate(Bundle savedInstanceState) {
        super.onCreate(savedInstanceState);
        this.setContentView(R.layout.main);
    }
}
它所對應的布局界面XML文件如下:
<?xml version="1.0" encoding="utf-8"?>
<LinearLayout xmlns:android="http://schemas.android.com/apk/res/android"
    android:orientation="vertical"
    android:layout_width="fill_parent"
    android:layout_height="fill_parent"
    >
<TextView
    android:layout_width="fill_parent"
    android:layout_height="wrap_content" android:id="@+id/TextView01"/>

<Button android:id="@+id/Button01" android:layout_height="wrap_content"

android:layout_width="fill_parent" android:text="@string/txtInfo"></Button>
</LinearLayout>
然後修改androidmanfest.xml,加入下面這段配置,讓HelloAndroid滿足上 述兩個條件:
<activity android:name="HelloAndroid"

android:label="@string/txtInfo">
        <intent-filter>
            <action android:name="com.android.notepad.action.HELLO_TEST" />
            <category android:name="android.intent.category.ALTERNATIVE"/>
            <data android:mimeType="vnd.android.cursor.dir/vnd.google.note" />
        </intent-filter>
    </activity>
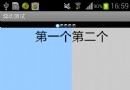
 Android滑動效果高級篇(八) 自定義控件
自定義控件,較常用View、ViewGroup、Scroller三個類,其繼承關系如下:本示例自定義控件,實現一個Gallery效果,並添加了一個顯示View個數和位置的
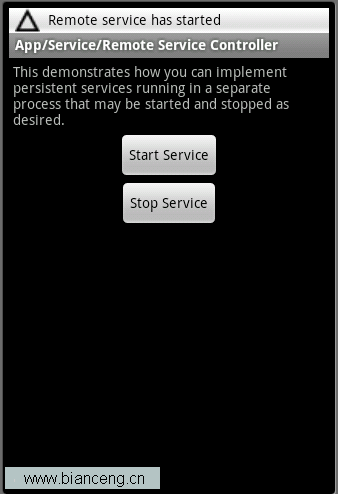 Android ApiDemos示例解析(43):App->Service->Remote Service Controller
Remote Service Controller 和使用Local Service的Android ApiDemo示例解析(40):App->Service-&g
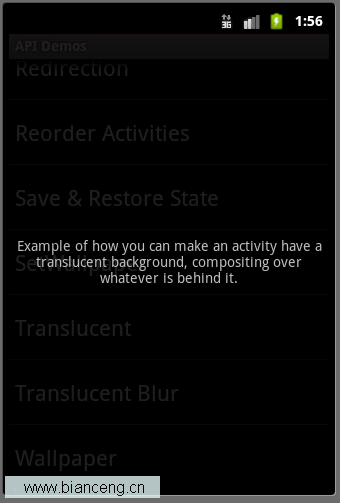 Android ApiDemos示例解析(16) App->Activity->Translucent
Activity分類示例的最後幾個例子是來顯示半透明Activity。例子大同小異。實現Activity的半透明效果主要是通過Style和 Theme來實現的。看看Tra
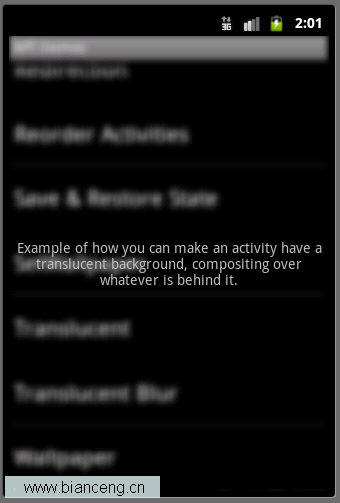 Android ApiDemos示例解析(17) App->Activity->Translucent Blur
這個例子和Translucent不同的一點是Blur,也就是顯示在當前Activit背後的其它Activity以模糊方式顯示。這是通 過window對象Flag來設置的。