編輯:關於android開發
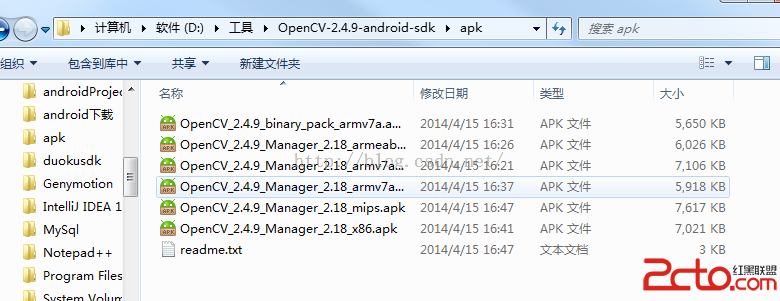
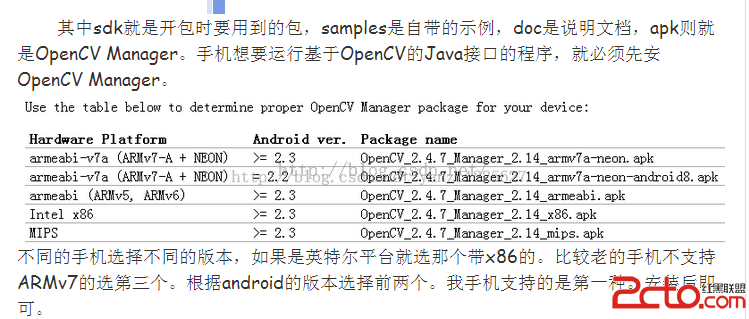
看看效果圖,如果運行時提示需要安裝xxxx.mamager,那麼就去現在Opencvforandroid,解壓以後安裝相應的manager安裝包就好了
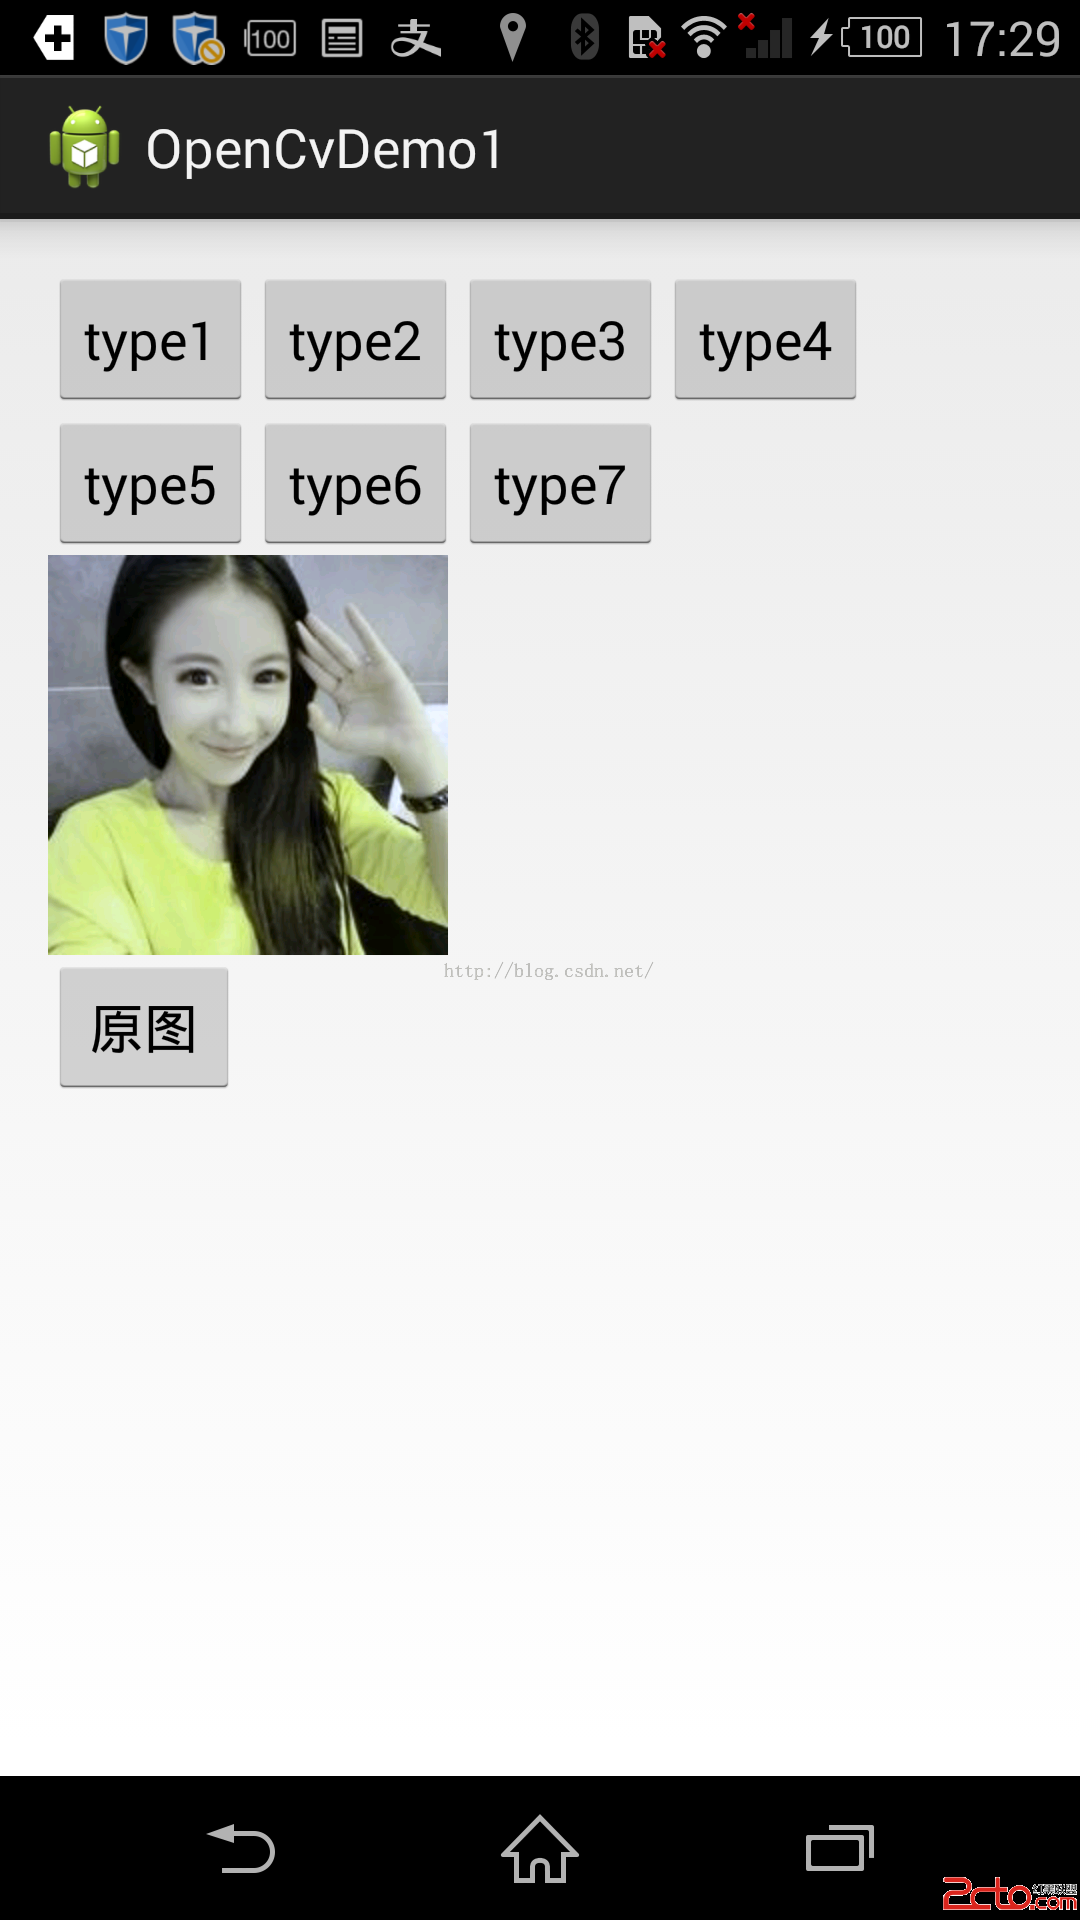
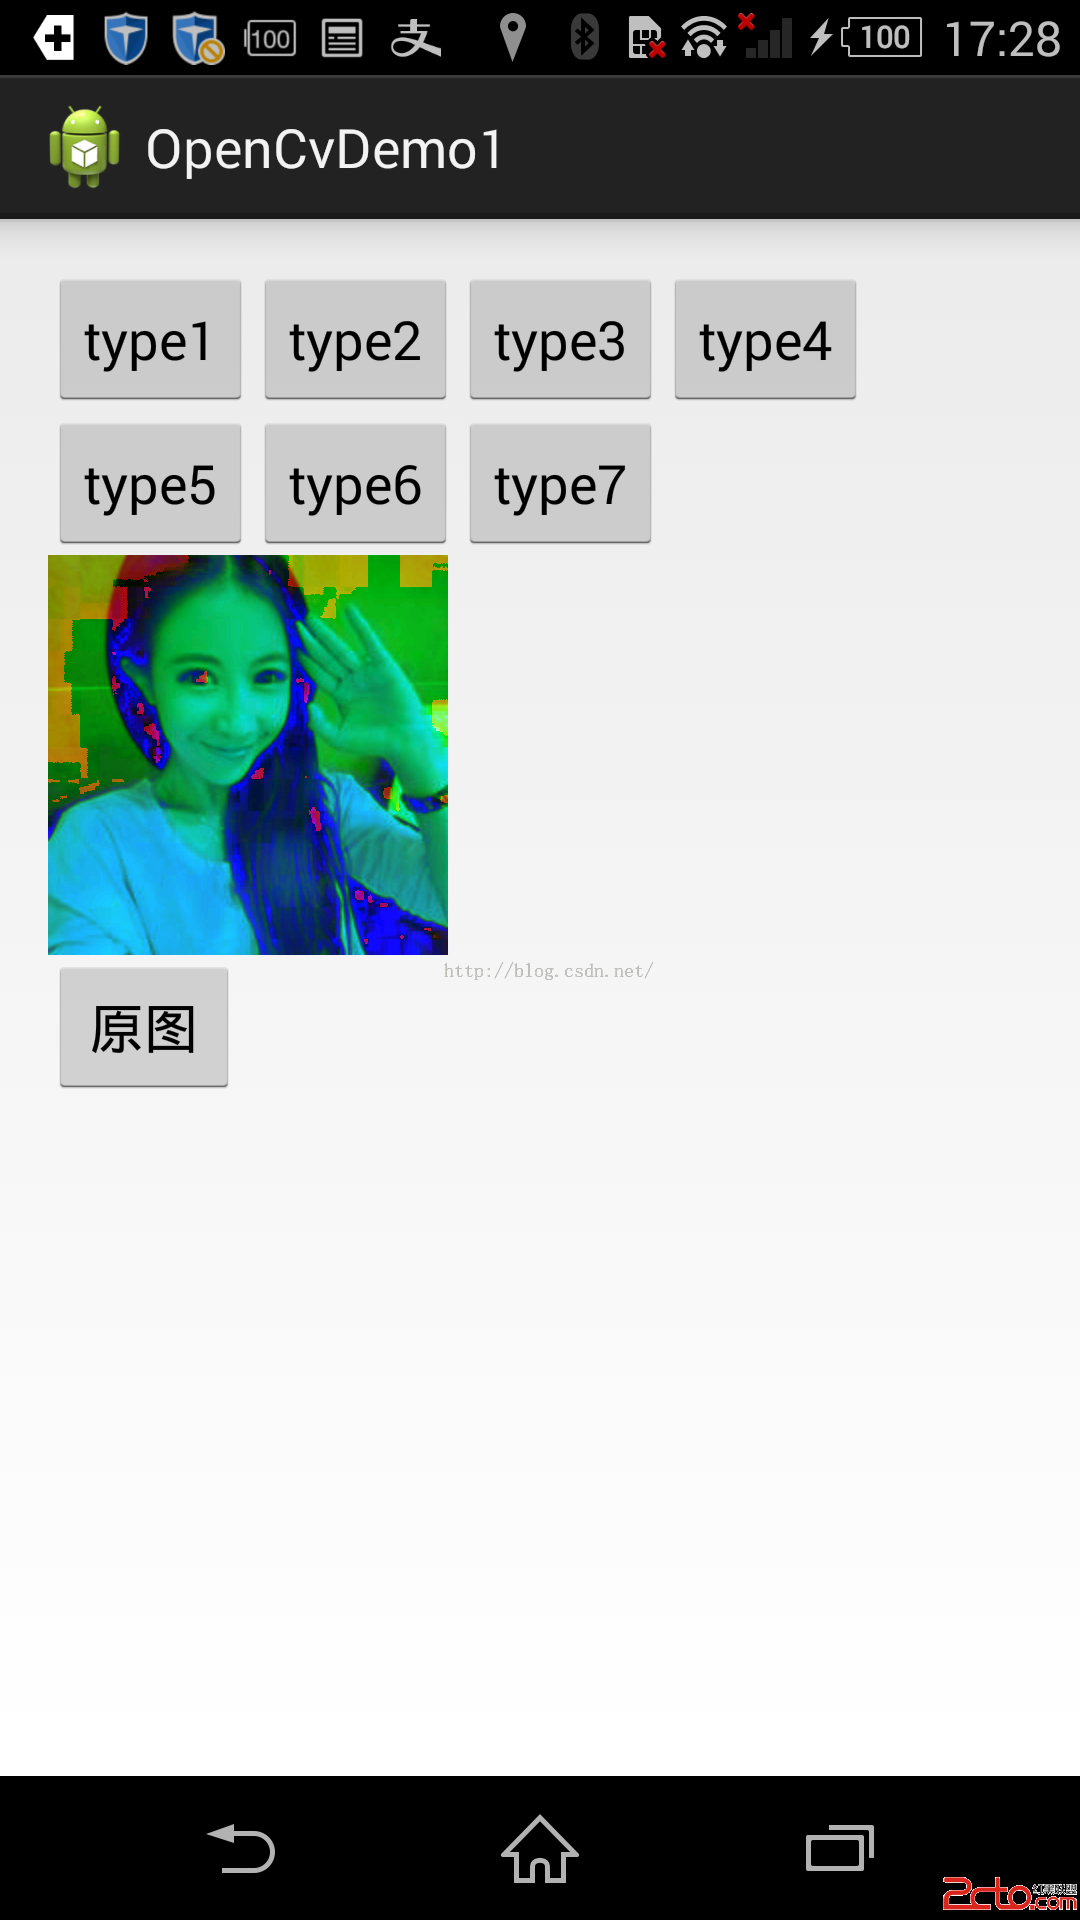
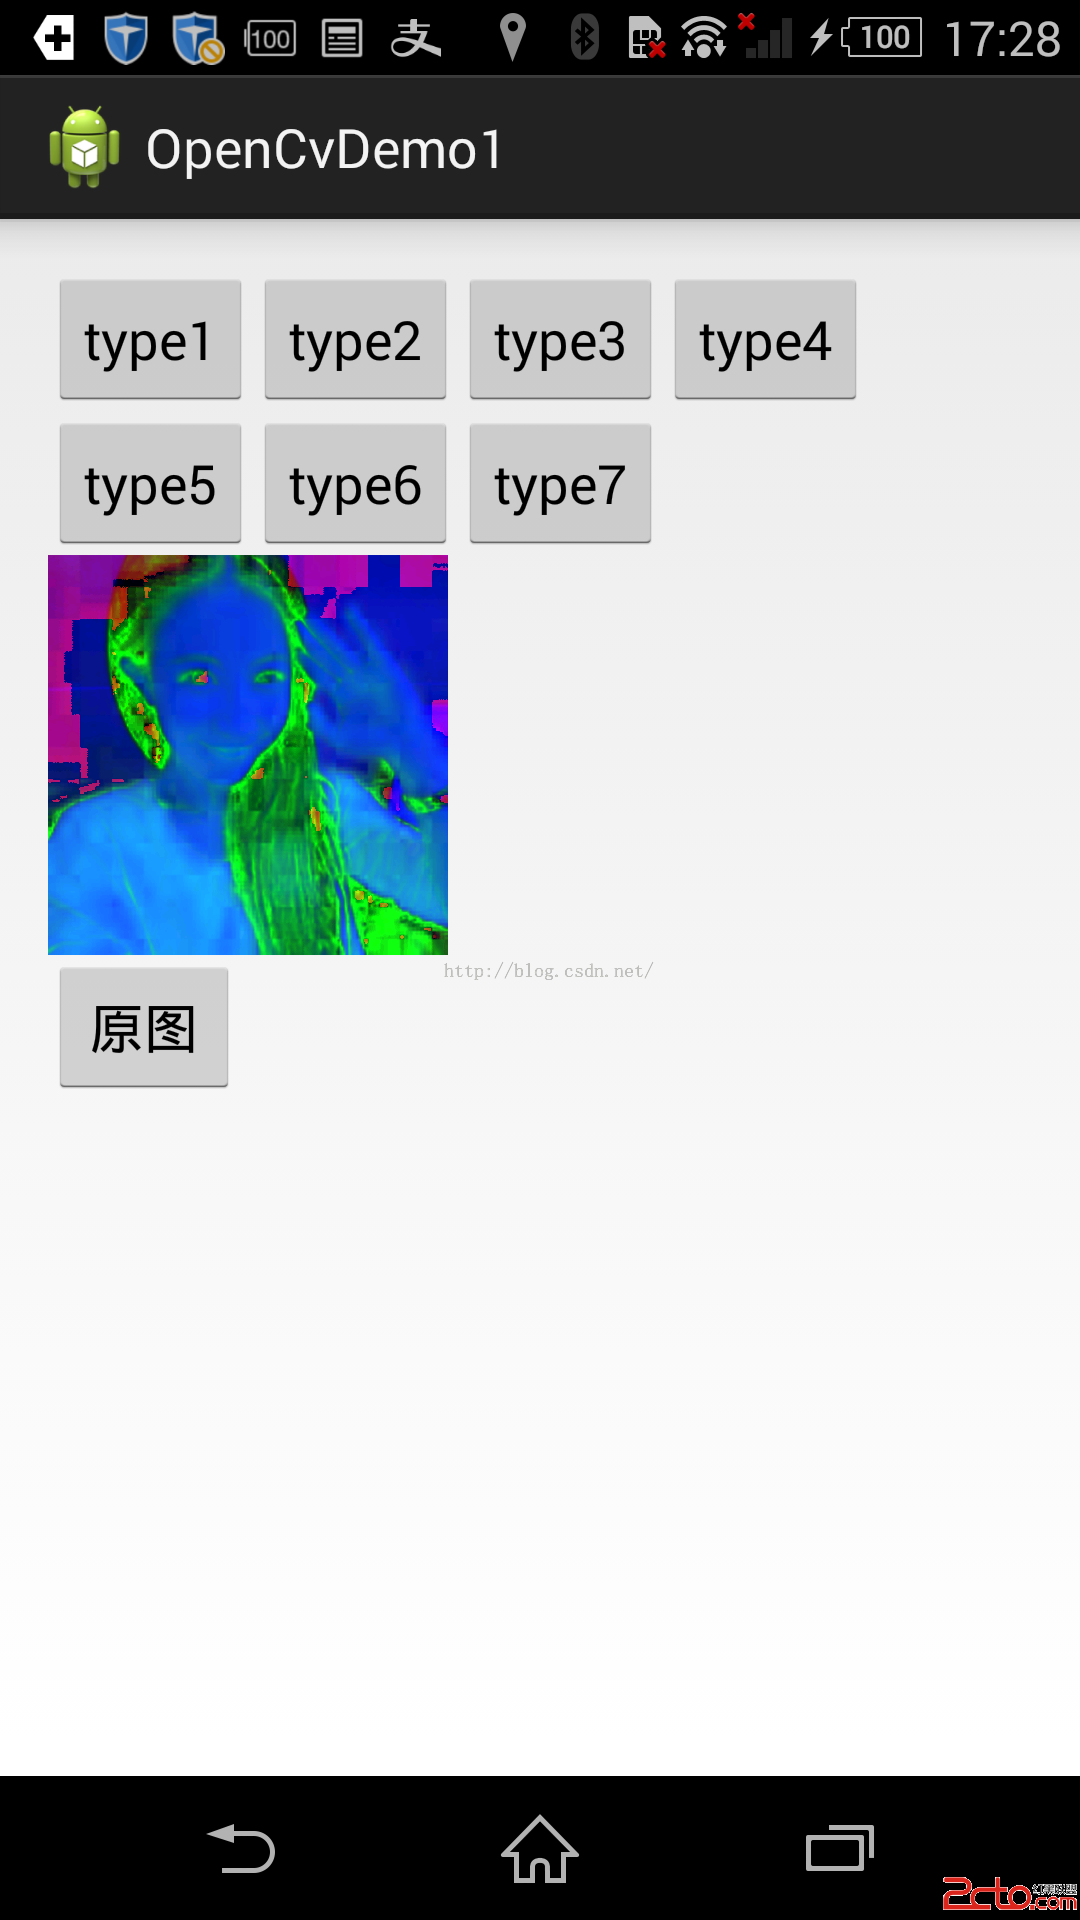
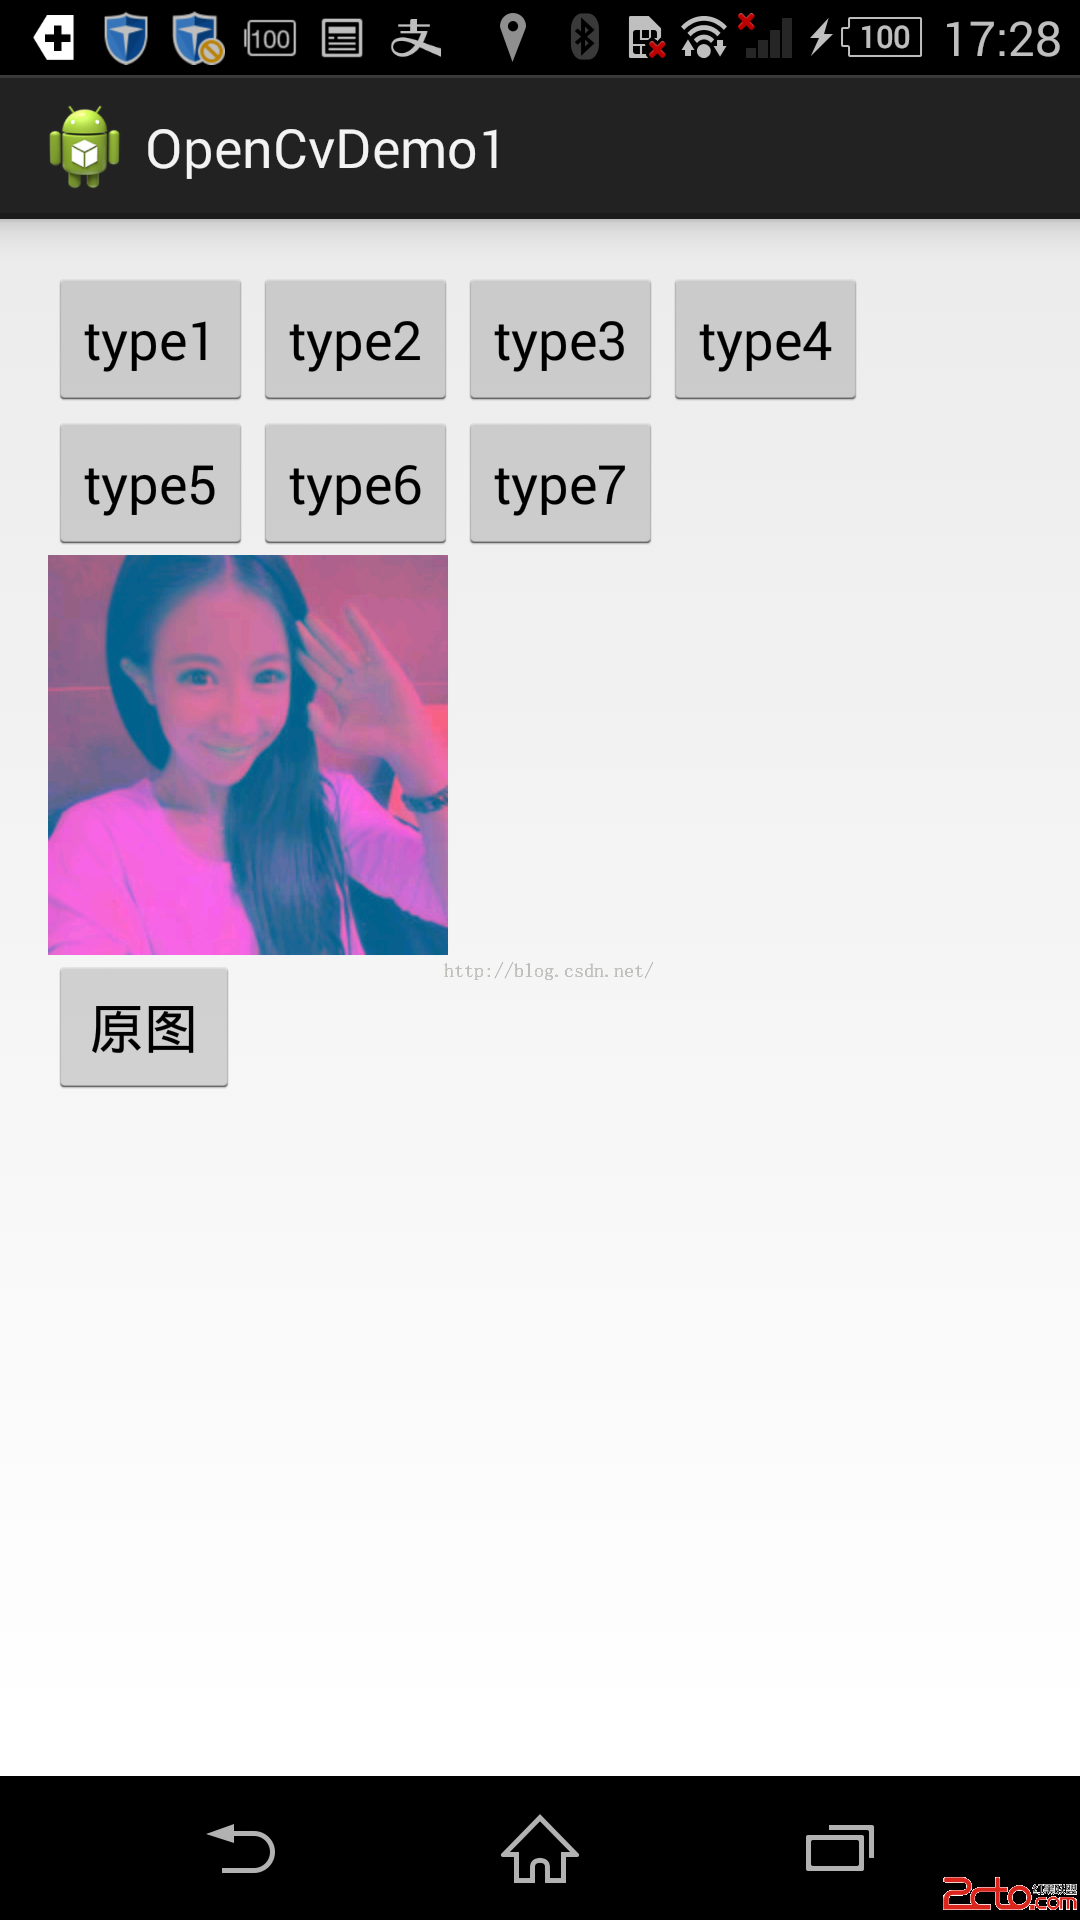
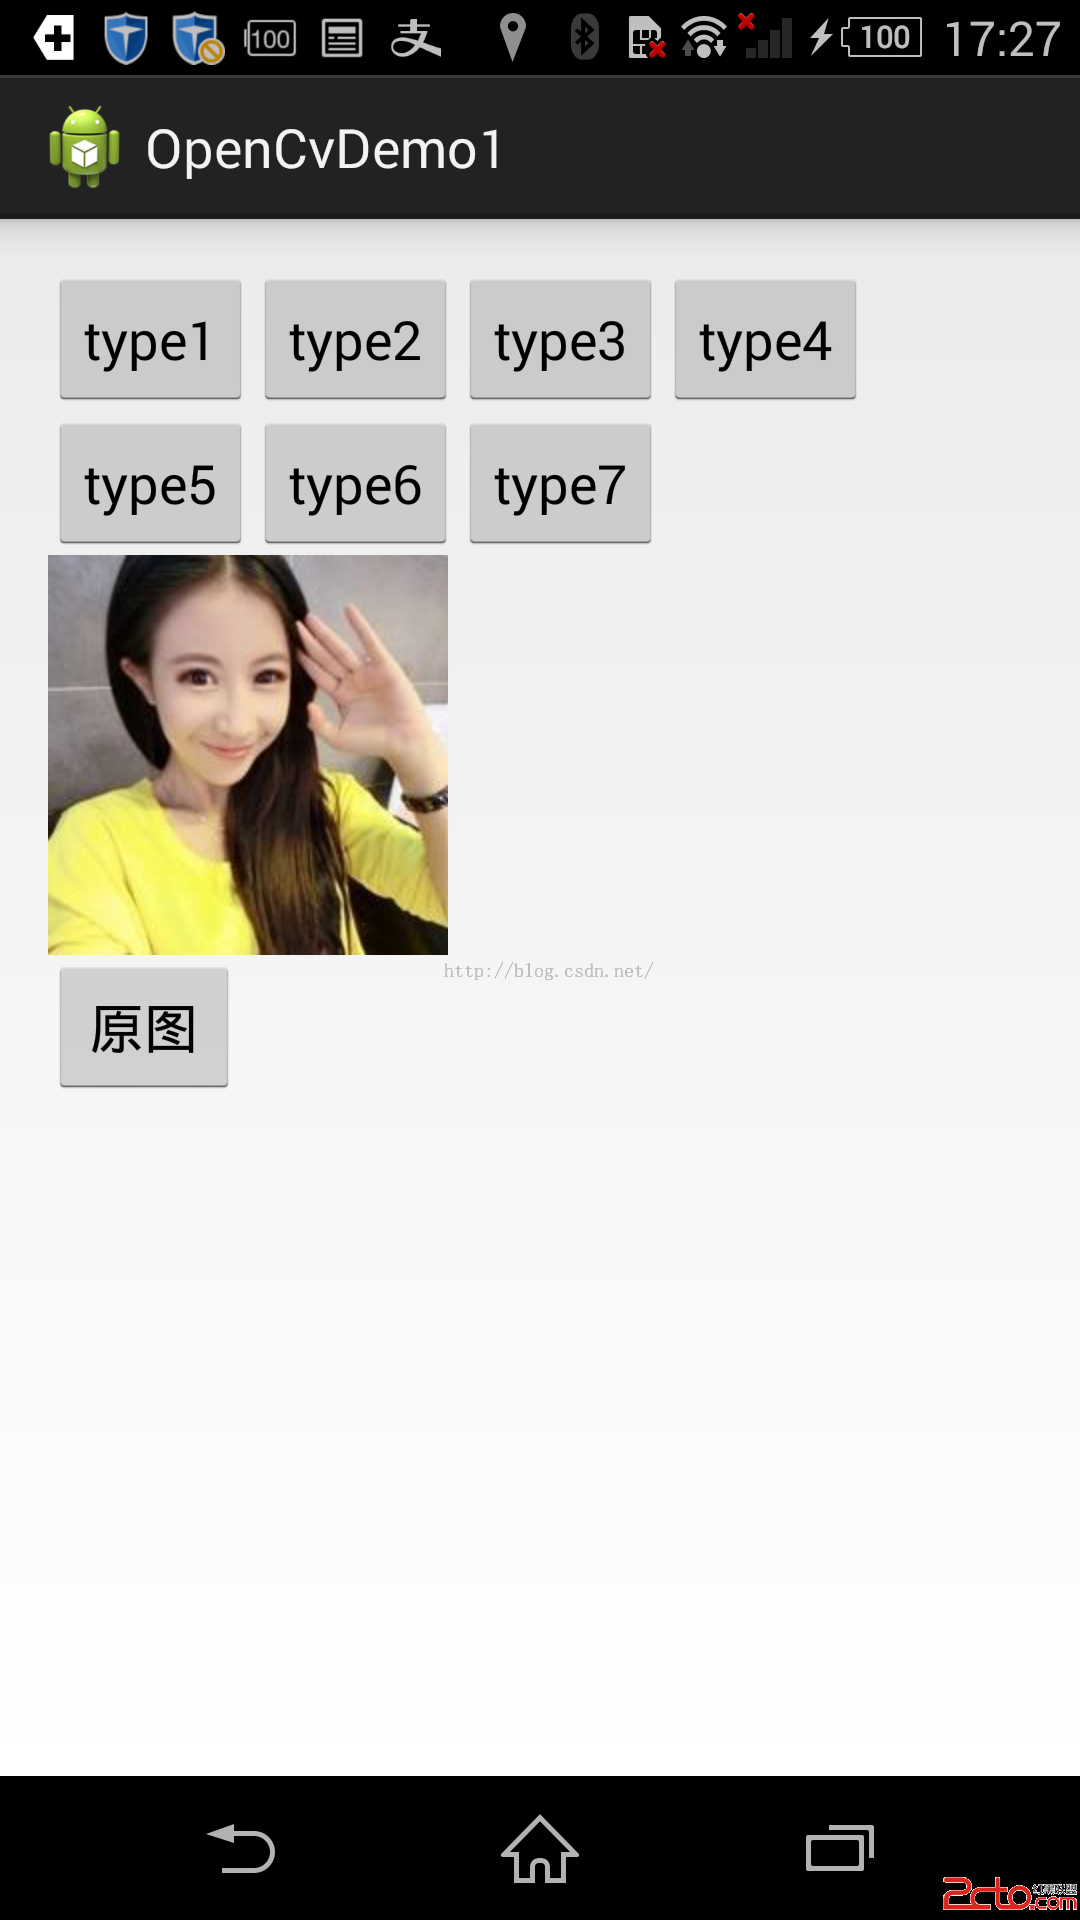
這就是運行的效果,關於jni的調用就不說了,就看下他改變不同效果圖的代碼
package com.example.opencvdemo1;

import org.opencv.android.BaseLoaderCallback;
import org.opencv.android.LoaderCallbackInterface;
import org.opencv.android.OpenCVLoader;
import org.opencv.android.Utils;
import org.opencv.core.Mat;
import org.opencv.imgproc.Imgproc;

import android.app.Activity;
import android.graphics.Bitmap;
import android.graphics.Bitmap.Config;
import android.graphics.BitmapFactory;
import android.os.Bundle;
import android.util.Log;
import android.view.View;
import android.view.View.OnClickListener;
import android.widget.Button;
import android.widget.ImageView;

import com.example.openjni.ImageProc;

public class MainActivity extends Activity implements OnClickListener{
	private Button mBtn_type1,mBtn_type2,mBtn_type3,mBtn_type4,mBtn_type5,mBtn_type6,mBtn_type7,mBtn_src;
	private ImageView mIv_src;
	private Bitmap mDes_Bitmap;
	private boolean isGray = false;
	private BaseLoaderCallback loaderCallback = new BaseLoaderCallback(this) {
		public void onManagerConnected(int status) {
			switch (status) {
			case LoaderCallbackInterface.SUCCESS:
				System.loadLibrary("image_proc");
				break;
			case LoaderCallbackInterface.INIT_FAILED:

				break;

			case LoaderCallbackInterface.INSTALL_CANCELED:

				break;

			case LoaderCallbackInterface.MARKET_ERROR:

				break;

			case LoaderCallbackInterface.INCOMPATIBLE_MANAGER_VERSION:

				break;

			default:
				super.onManagerConnected(status);
				break;
			}

		};

	};
	@Override
	protected void onCreate(Bundle savedInstanceState) {
		super.onCreate(savedInstanceState);
		setContentView(R.layout.activity_main);
		init();
	}


	public void init(){

		mBtn_type1 = (Button)findViewById(R.id.btn_type1);
		mBtn_type2 = (Button)findViewById(R.id.btn_type2);
		mBtn_type3 = (Button)findViewById(R.id.btn_type3);
		mBtn_type4 = (Button)findViewById(R.id.btn_type4);
		mBtn_type5 = (Button)findViewById(R.id.btn_type5);
		mBtn_type6 = (Button)findViewById(R.id.btn_type6);
		mBtn_type7 = (Button)findViewById(R.id.btn_type7);
		mBtn_src = (Button)findViewById(R.id.btn_src);
		mIv_src = (ImageView)findViewById(R.id.iv_img);
		mDes_Bitmap = BitmapFactory.decodeResource(getResources(), R.drawable.a);
		mIv_src.setImageBitmap(mDes_Bitmap);
		mBtn_type1.setOnClickListener(this);
		mBtn_type2.setOnClickListener(this);
		mBtn_type3.setOnClickListener(this);
		mBtn_type4.setOnClickListener(this);
		mBtn_src.setOnClickListener(this);
		mBtn_type5.setOnClickListener(this);
		mBtn_type6.setOnClickListener(this);
		mBtn_type7.setOnClickListener(this);
	}

	public Bitmap procSrc2GrayJni(){
			int w = mDes_Bitmap.getWidth();
		int h = mDes_Bitmap.getHeight();
		int [] pixels = new int [w*h];
		mDes_Bitmap.getPixels(pixels, 0, w, 0, 0, w, h);
		int[] resultInt = ImageProc.grayProc(pixels, w, h);

		Bitmap bitmap = Bitmap.createBitmap(w, h, Config.ARGB_8888);
		bitmap.setPixels(resultInt, 0, w, 0, 0, w, h);
		return bitmap;

	}
    public Bitmap procSrc2Gray(int type){
        Mat rgbMat = new Mat();
        Mat grayMat = new Mat();
       Bitmap grayBitmap = Bitmap.createBitmap(mDes_Bitmap.getWidth(), mDes_Bitmap.getHeight(), Config.RGB_565);
        Utils.bitmapToMat(mDes_Bitmap, rgbMat);//convert original bitmap to Mat, R G B.
        Imgproc.cvtColor(rgbMat, grayMat,type);//rgbMat to gray grayMat
        Utils.matToBitmap(grayMat, grayBitmap); //convert mat to bitmap
        Log.i("TAG", "procSrc2Gray sucess...");
        return grayBitmap;
    }

	@Override
	protected void onResume() {
		super.onResume();
		OpenCVLoader.initAsync(OpenCVLoader.OPENCV_VERSION_2_4_9,this, loaderCallback);
	}


	@Override
	public void onClick(View arg0) {
		switch (arg0.getId()) {
		case R.id.btn_type1:
			mIv_src.setImageBitmap(procSrc2Gray(Imgproc.COLOR_RGB2GRAY));
			break;
		case R.id.btn_type2:
			mIv_src.setImageBitmap(procSrc2Gray(Imgproc.COLOR_RGB2HLS));
			break;
		case R.id.btn_type3:
			mIv_src.setImageBitmap(procSrc2Gray(Imgproc.COLOR_RGB2HSV));
			break;
		case R.id.btn_type4:
			Log.e("TAG", "procSrc2Gray sucess...");
			mIv_src.setImageBitmap(procSrc2Gray(Imgproc.COLOR_RGB2Lab));
			break;
		case R.id.btn_type5:
			mIv_src.setImageBitmap(procSrc2Gray(Imgproc.COLOR_RGB2Luv));
			break;
		case R.id.btn_type6:
			mIv_src.setImageBitmap(procSrc2Gray(Imgproc.COLOR_RGB2XYZ));
			break;
		case R.id.btn_type7:
			mIv_src.setImageBitmap(procSrc2Gray(Imgproc.COLOR_RGB2YUV));
			break;
		case R.id.btn_src:
			mIv_src.setImageBitmap(mDes_Bitmap);
			break;
		default:
			break;
		}
	}
}
Android openCv
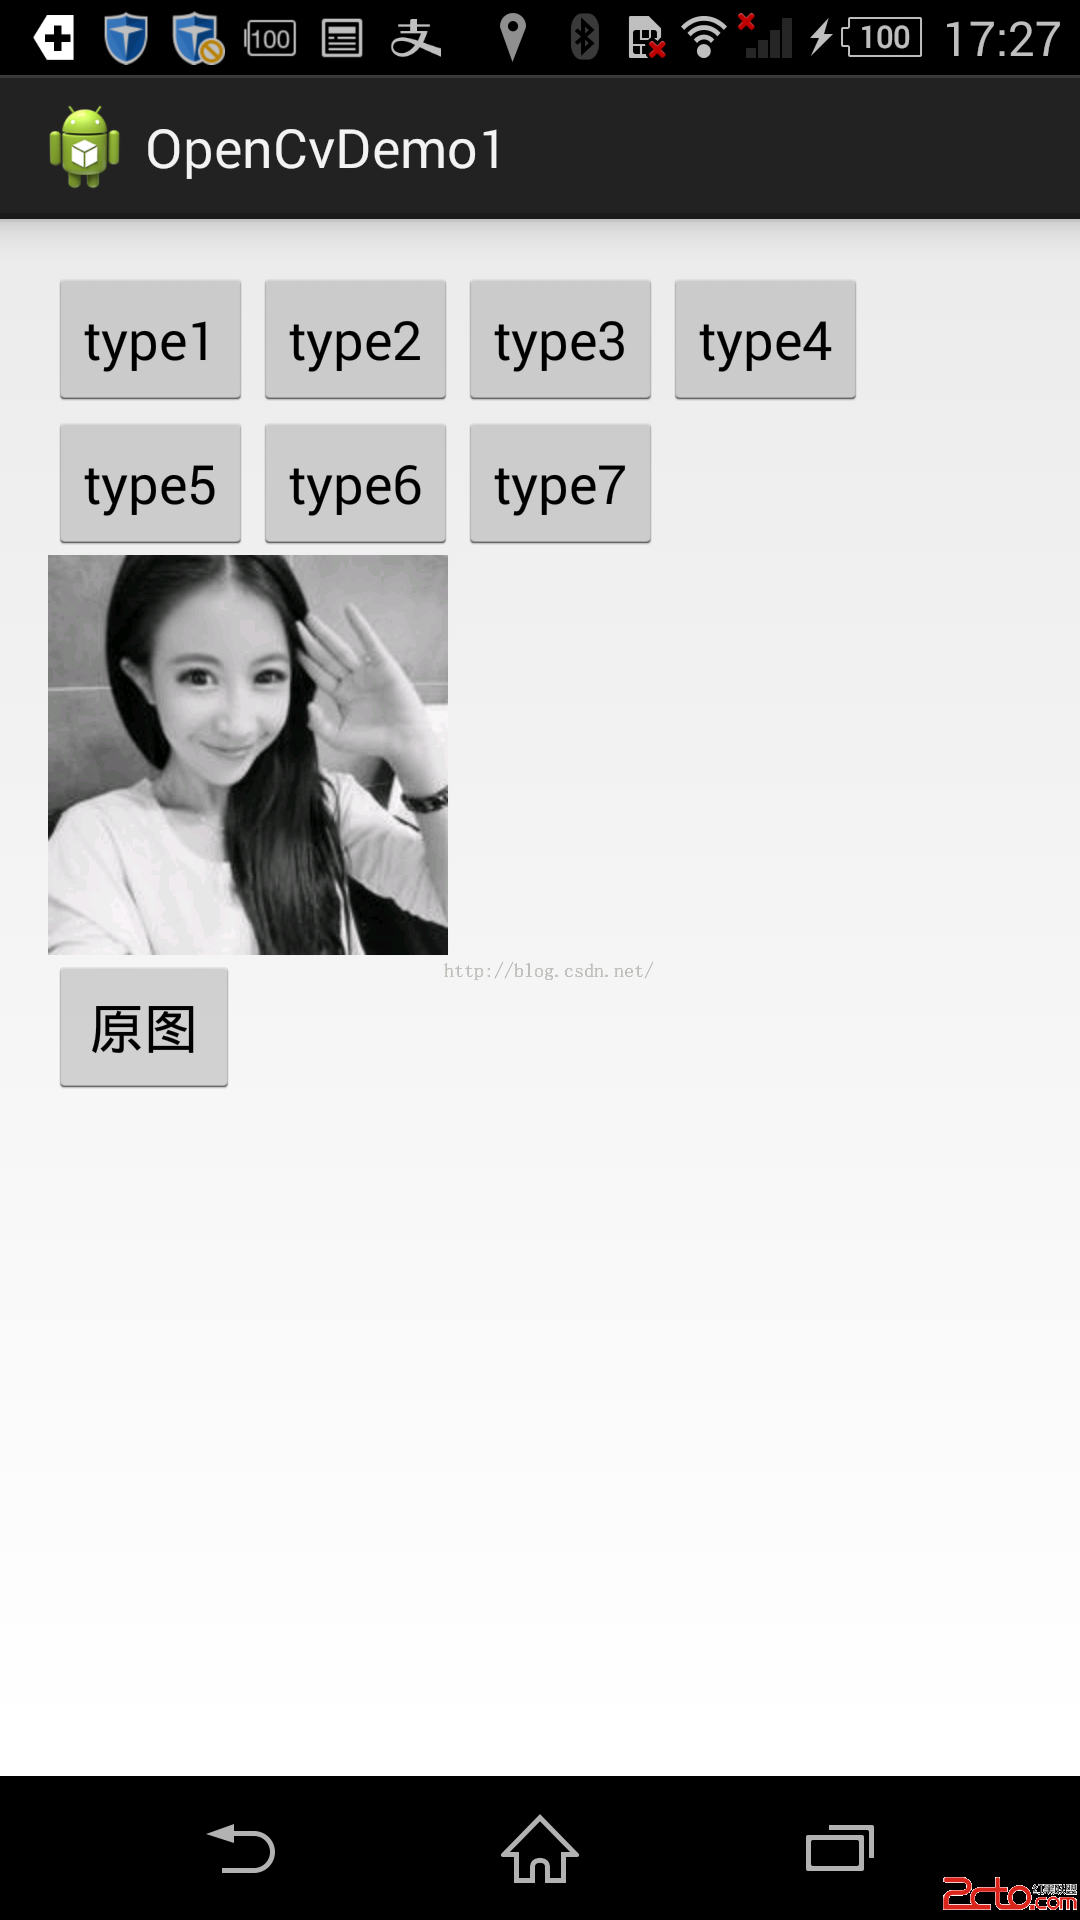
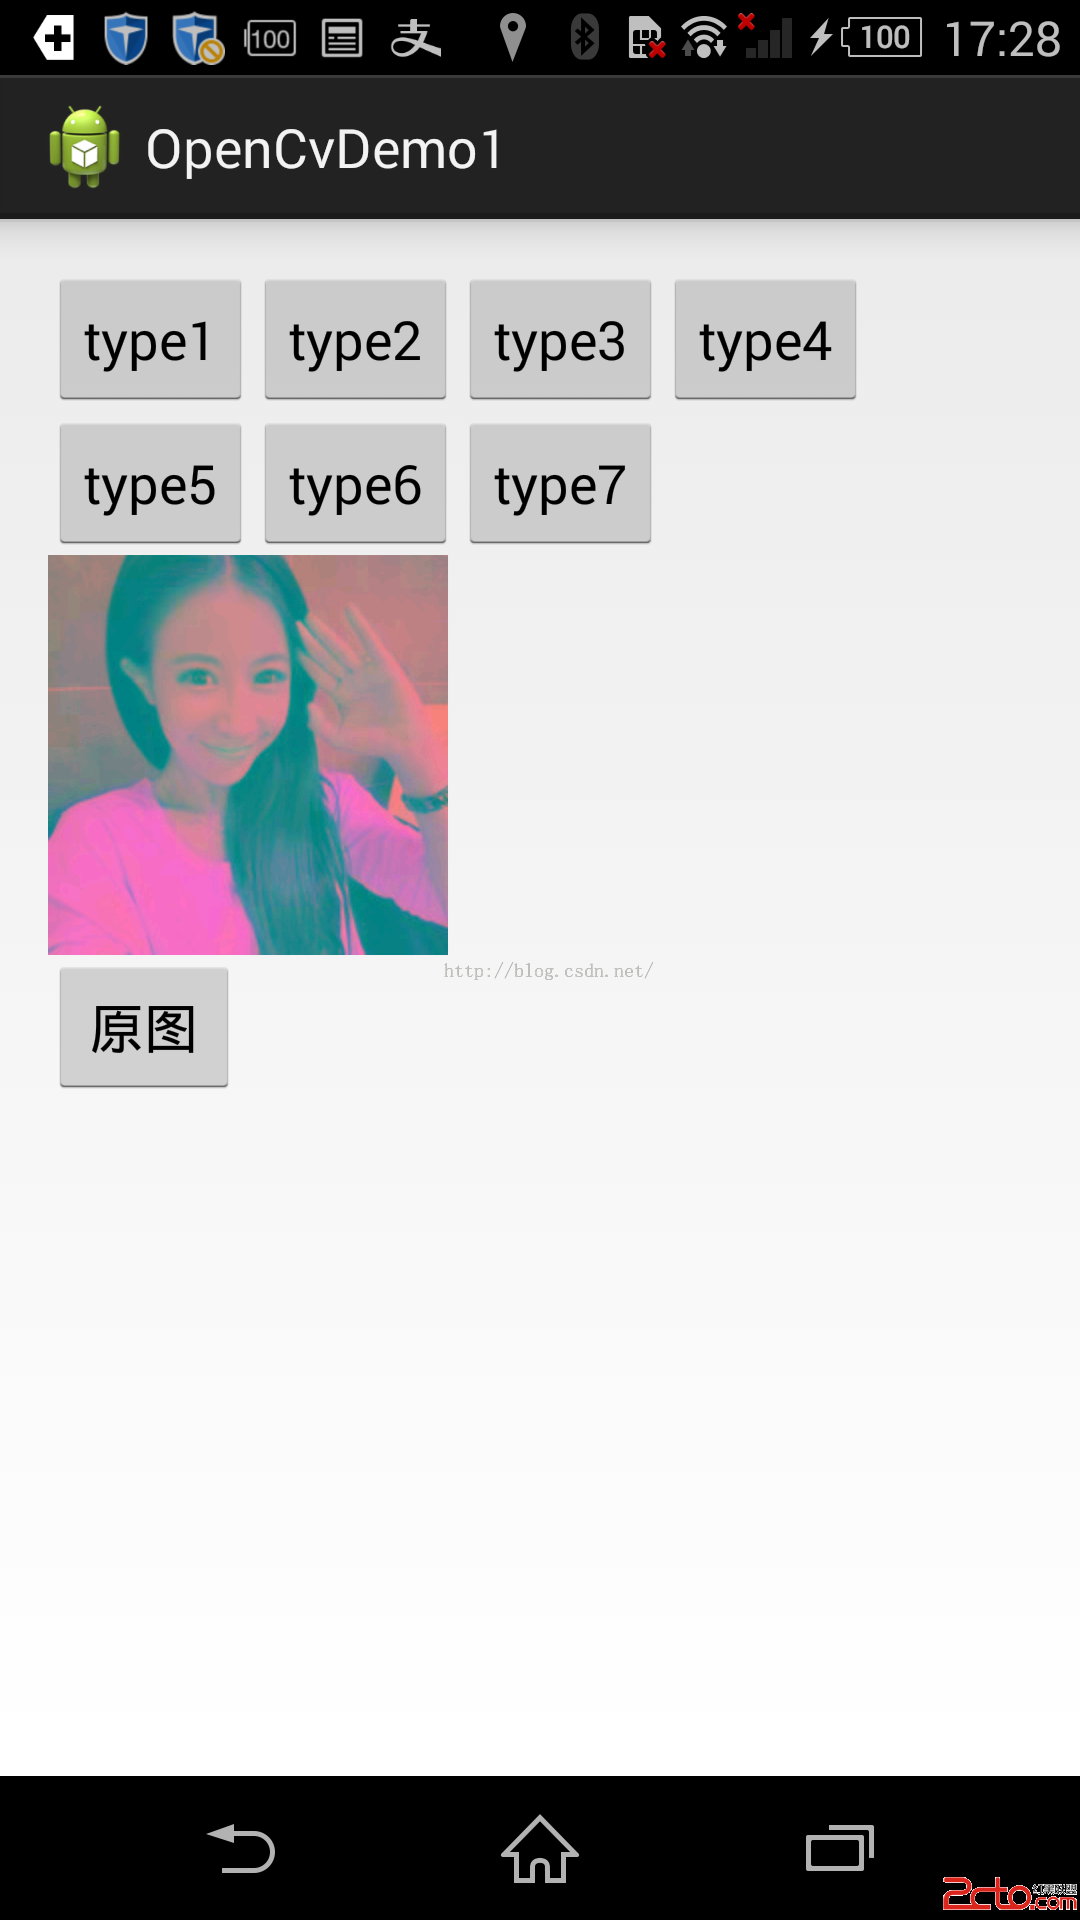
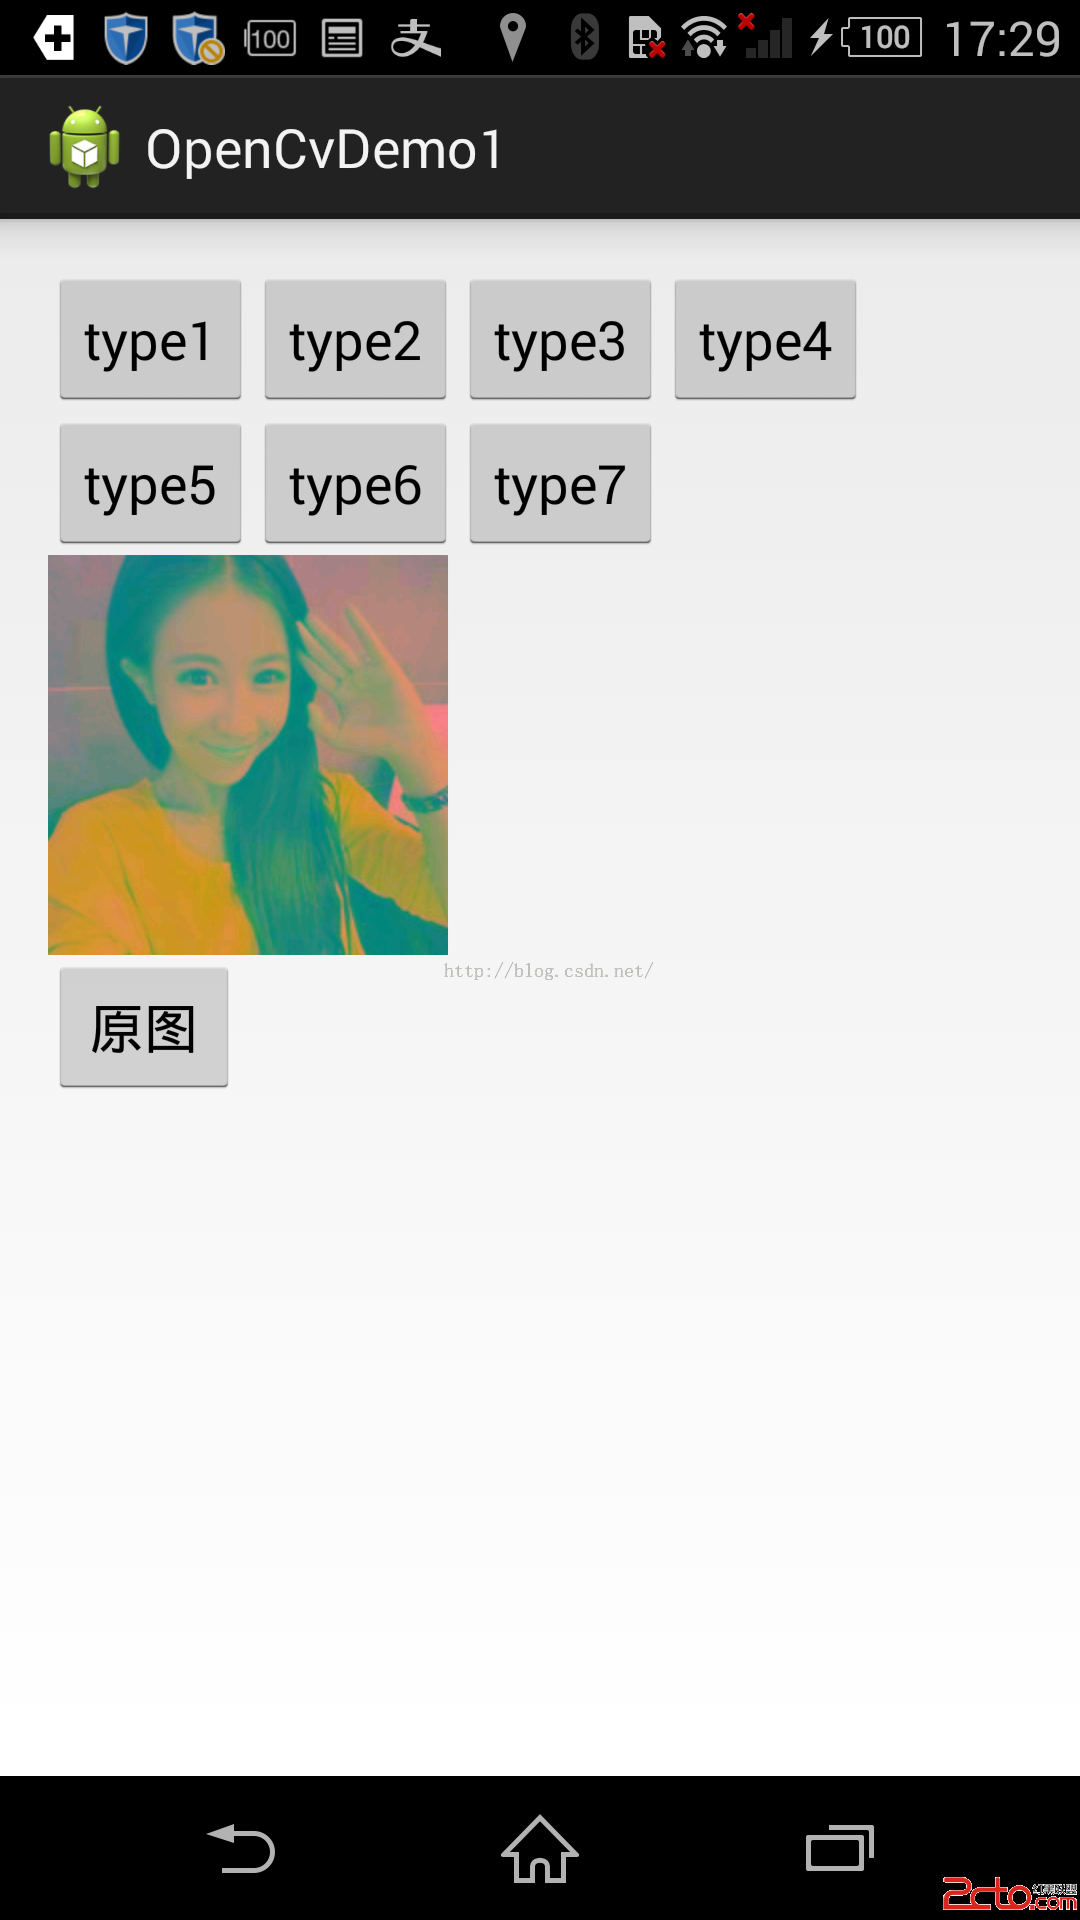
Imgproc :該類是用來對圖片進行處理的一個類,你可以讓圖片改變成你想要的樣子,變成灰色的,或是素描,或是底片類型,等等,都可以。
他是通過jni調用來讓我們可以在android裡邊能用openCv的功能。
private static native void Canny_0(long image_nativeObj, long edges_nativeObj, double threshold1, double threshold2, int apertureSize, boolean L2gradient);
這個方法是用來找到圖片邊緣的。然後可以讓你轉換為一個類似描邊的圖像。裡邊的參數可以看到,第一個參數是要轉換的圖片的矩陣,第二個參數是轉換以後的矩陣,第三個是閥值,第四個越是,你可以自己改變他倆個的大小看看效果,越大邊緣月少。第五個參數其實也是調整顯示的時候邊緣化的程度了好像,我試驗了一下以後
這些參數的大小在填的時候需要自己調整好,最後一個參數是用來判斷是否要更准確一點。
private static native void Canny_1(long image_nativeObj, long edges_nativeObj, double threshold1, double threshold2);
這個跟上邊的類似。
private static native void GaussianBlur_0(long src_nativeObj, long dst_nativeObj, double ksize_width, double ksize_height, double sigmaX, double sigmaY, int borderType);
高斯濾波器來對圖片進行模糊化。第一個參數是圖片原型矩陣,第二個是轉換後輸出矩陣,第三個為高斯濾波器模板的寬,第四個為高斯濾波器模板的高,第五第六sigmaX和sigmaY分別為高斯濾波在橫線和豎向的濾波系數,borderType為邊緣點插值類型。對於這個方法的使用參考http://blog.csdn.net/vblittleboy/article/details/9187447
private static native void GaussianBlur_1(long src_nativeObj, long dst_nativeObj, double ksize_width, double ksize_height, double sigmaX, double sigmaY);
private static native void GaussianBlur_2(long src_nativeObj, long dst_nativeObj, double ksize_width, double ksize_height, double sigmaX);
同上邊
private static native void HoughCircles_0(long image_nativeObj, long circles_nativeObj, int method, double dp, double minDist, double param1, double param2, int minRadius, int maxRadius);
private static native void HoughCircles_1(long image_nativeObj, long circles_nativeObj, int method, double dp, double minDist);
	/**
	 *高斯模糊處理
	 * @return
	 */
    public Bitmap gaosiBlur(){
    	   Mat rgbMat = new Mat();
           Mat grayMat = new Mat();
          Bitmap gaosiBitmap = Bitmap.createBitmap(mDes_Bitmap.getWidth(), mDes_Bitmap.getHeight(), Config.ARGB_8888);
           Utils.bitmapToMat(mDes_Bitmap, rgbMat);//convert original bitmap to Mat, R G B.
            Size size = new Size();	  //進行高斯模糊處理
           size.height = 17;
           size.width = 17;
           Imgproc.GaussianBlur(rgbMat, grayMat, size, 2, 2, Imgproc.BORDER_DEFAULT);
           Utils.matToBitmap(grayMat, gaosiBitmap); //convert mat to bitmap
           Log.i("TAG", "procSrc2Gray sucess...");

           return gaosiBitmap;
    }
    public Bitmap getwarpPerspective(){
    	Mat srcMat = new Mat();
    	Mat dstMat = new Mat();
    	Mat perspectiveTransform = Imgproc.getPerspectiveTransform(srcMat, dstMat);
        Size size = new Size();	  //進行高斯模糊處理
        size.height = mDes_Bitmap.getHeight();
        size.width = mDes_Bitmap.getWidth();
    	Bitmap dstBitmap = Bitmap.createBitmap(mDes_Bitmap.getWidth(), mDes_Bitmap.getHeight(), Config.RGB_565);
    	Utils.bitmapToMat(mDes_Bitmap, srcMat);
    	 Core.perspectiveTransform(srcMat, dstMat, perspectiveTransform);
    	Imgproc.warpPerspective(srcMat, dstMat, perspectiveTransform, size);
    	Utils.matToBitmap(dstMat, dstBitmap);
    	return dstBitmap;

    }
    /**
     * 進行邊緣檢測
     * @return
     */
    public Bitmap getCanny(){
        Mat rgbMat = new Mat();
        Mat grayMat = new Mat();
       Bitmap grayBitmap = Bitmap.createBitmap(mDes_Bitmap.getWidth(), mDes_Bitmap.getHeight(), Config.ARGB_8888);
        Utils.bitmapToMat(mDes_Bitmap, rgbMat);//convert original bitmap to Mat, R G B.
      Imgproc.Canny(rgbMat, grayMat,0,150);  //對圖片進行邊緣檢測
      Utils.matToBitmap(grayMat, grayBitmap); //convert mat to bitmap
      Log.i("TAG", "procSrc2Gray sucess...");
      return grayBitmap;
    }
 標題欄透明度變化,標題欄透明度
標題欄透明度變化,標題欄透明度 原理 監聽ScrollView的滑動 @Override public v
 Android中使用Notification實現普通通知欄(Notification示例一),rest示例java實現
Android中使用Notification實現普通通知欄(Notification示例一),rest示例java實現Notification是在你的應用常規界面之外展示
 48.Android 標簽TextView的點擊技巧
48.Android 標簽TextView的點擊技巧 48.Android 標簽TextView的點擊技巧 Android 標簽TextView的點擊技巧 前言 Clic
 Android移動APP開發筆記——最新版Cordova 5.3.1(PhoneGap)搭建開發環境
Android移動APP開發筆記——最新版Cordova 5.3.1(PhoneGap)搭建開發環境 引言 簡單介紹一下Cordova的來歷,Cordova的前身叫P