編輯:關於android開發

這是PullZoomView在ScrollView實現,Android PullZoomView在ScrollView的實現是:PullToZoomScrollViewEx
下載地址:https://github.com/Frank-Zhu/PullZoomView
本文要說的PullToZoomScrollViewEx則以另外一種方式在Java代碼中動態的為PullZoomView裝載View:
private void loadViewForPullToZoomScrollView(PullToZoomScrollViewEx scrollView) {

        View headView = LayoutInflater.from(this).inflate(R.layout.head_view, null);
        View zoomView = LayoutInflater.from(this).inflate(R.layout.head_zoom_view, null);
        View contentView = LayoutInflater.from(this).inflate(R.layout.content_view, null);
        scrollView.setHeaderView(headView);
        scrollView.setZoomView(zoomView);
        scrollView.setScrollContentView(contentView);
    }
兩點內容需要注意:
(1)所有Android PullZoomView的頭部及縮放效果都可以關閉或者開啟,具體方式就是通過改變設置各種方法的true或false值。以下是比較重要的幾個方法:
setParallax(boolean b);
true則有視差效果,false則無。
setHideHeader(boolean b);
true則隱藏自己定義的head view,false則顯示。
setZoomEnabled(boolean b);
true支持縮放,false不支持縮放。
默認的,
setParallax(true);
setHideHeader(false);
setZoomEnabled(true);
(2)PullZoomView中嵌套的子View,需要通過getPullRootView().findViewById(R.id.xxxx)這樣的方式找出來,而不是直接的findViewById()。
下面給出一個完整例子加以說明。
先寫一個布局:
 1 <RelativeLayout xmlns:android="http://schemas.android.com/apk/res/android"
 2     xmlns:tools="http://schemas.android.com/tools"
 3     xmlns:custom="http://schemas.android.com/apk/res-auto"
 4     android:layout_width="match_parent"
 5     android:layout_height="match_parent" >
 6
 7     <com.ecloud.pulltozoomview.PullToZoomScrollViewEx
 8         android:id="@+id/scroll_view"
 9         android:layout_width="match_parent"
10         android:layout_height="match_parent" />
11
12 </RelativeLayout>
Java代碼:
 1 package com.zzw.testpullzoomview_scrollview;
 2
 3 import com.ecloud.pulltozoomview.PullToZoomScrollViewEx;
 4
 5 import android.app.Activity;
 6 import android.os.Bundle;
 7 import android.util.DisplayMetrics;
 8 import android.util.Log;
 9 import android.view.LayoutInflater;
10 import android.view.Menu;
11 import android.view.MenuItem;
12 import android.view.View;
13 import android.widget.LinearLayout;
14
15 public class MainActivity extends Activity {
16
17     @Override
18     protected void onCreate(Bundle savedInstanceState) {
19         super.onCreate(savedInstanceState);
20         setContentView(R.layout.activity_main);
21
22         // 注意初始化順序,不要弄亂,否則拋出運行時空指針
23         PullToZoomScrollViewEx scrollView = (PullToZoomScrollViewEx) findViewById(R.id.scroll_view);
24         loadViewForPullToZoomScrollView(scrollView);
25
26         scrollView.getPullRootView().findViewById(R.id.tv_test1).setOnClickListener(new View.OnClickListener() {
27             @Override
28             public void onClick(View v) {
29                 Log.d("PullToZoomScrollViewEx1", "onClick");
30             }
31         });
32
33         scrollView.getPullRootView().findViewById(R.id.tv_test2).setOnClickListener(new View.OnClickListener() {
34             @Override
35             public void onClick(View v) {
36                 Log.e("PullToZoomScrollViewEx2", "onClick");
37             }
38         });
39
40         scrollView.getPullRootView().findViewById(R.id.tv_test3).setOnClickListener(new View.OnClickListener() {
41             @Override
42             public void onClick(View v) {
43                 Log.d("PullToZoomScrollViewEx3", "onClick");
44             }
45         });
46
47         setPullToZoomViewLayoutParams(scrollView);
48     }
49
50     private void loadViewForPullToZoomScrollView(PullToZoomScrollViewEx scrollView) {
51
52         View headView = LayoutInflater.from(this).inflate(R.layout.head_view, null);
53         View zoomView = LayoutInflater.from(this).inflate(R.layout.head_zoom_view, null);
54         View contentView = LayoutInflater.from(this).inflate(R.layout.content_view, null);
55         scrollView.setHeaderView(headView);
56         scrollView.setZoomView(zoomView);
57         scrollView.setScrollContentView(contentView);
58     }
59
60     // 設置頭部的View的寬高。
61     private void setPullToZoomViewLayoutParams(PullToZoomScrollViewEx scrollView) {
62         DisplayMetrics localDisplayMetrics = new DisplayMetrics();
63         getWindowManager().getDefaultDisplay().getMetrics(localDisplayMetrics);
64         int mScreenHeight = localDisplayMetrics.heightPixels;
65         int mScreenWidth = localDisplayMetrics.widthPixels;
66         LinearLayout.LayoutParams localObject = new LinearLayout.LayoutParams(mScreenWidth,
67                 (int) (9.0F * (mScreenWidth / 16.0F)));
68         scrollView.setHeaderLayoutParams(localObject);
69     }
70 }
java代碼需要的子布局:
head_view.xml:
 1 <RelativeLayout xmlns:android="http://schemas.android.com/apk/res/android"
 2     android:id="@+id/layout_view"
 3     android:layout_width="match_parent"
 4     android:layout_height="match_parent"
 5     android:layout_gravity="bottom"
 6     android:gravity="bottom">
 7
 8     <ImageView
 9         android:id="@+id/iv_user_head"
10         android:layout_width="wrap_content"
11         android:layout_height="wrap_content"
12         android:layout_centerInParent="true"
13         android:src="@drawable/ic_launcher" />
14
15     <TextView
16         android:id="@+id/tv_user_name"
17         android:textSize="12sp"
18         android:layout_width="wrap_content"
19         android:layout_height="wrap_content"
20         android:layout_below="@id/iv_user_head"
21         android:layout_centerHorizontal="true"
22         android:text="新浪微博"
23         android:textColor="#ffffff" />
24
25     <LinearLayout
26         android:id="@+id/ll_action_button"
27         android:layout_width="match_parent"
28         android:layout_height="wrap_content"
29         android:background="#66000000"
30         android:layout_alignParentBottom="true"
31         android:padding="10dip">
32
33         <TextView
34             android:id="@+id/tv_register"
35             android:layout_width="match_parent"
36             android:layout_height="wrap_content"
37             android:text="注冊"
38             android:layout_weight="1"
39             android:textSize="12sp"
40             android:gravity="center"
41             android:layout_gravity="center"
42             android:textColor="#ffffff" />
43
44         <TextView
45             android:id="@+id/tv_login"
46             android:layout_width="match_parent"
47             android:layout_height="wrap_content"
48             android:text="登錄"
49             android:layout_weight="1"
50             android:textSize="12sp"
51             android:gravity="center"
52             android:layout_gravity="center"
53             android:textColor="#ffffff" />
54     </LinearLayout>
55 </RelativeLayout>
head_zoom_view.xml:
1 <?xml version="1.0" encoding="utf-8"?>
2 <ImageView xmlns:android="http://schemas.android.com/apk/res/android"
3     android:id="@+id/imageView"
4     android:layout_width="match_parent"
5     android:layout_height="match_parent"
6     android:layout_gravity="center_horizontal"
7     android:scaleType="centerCrop"
8     android:src="@drawable/a" />
head_zoom_view其實就放了一張可供縮放拉伸的圖片。
content_view.xml:
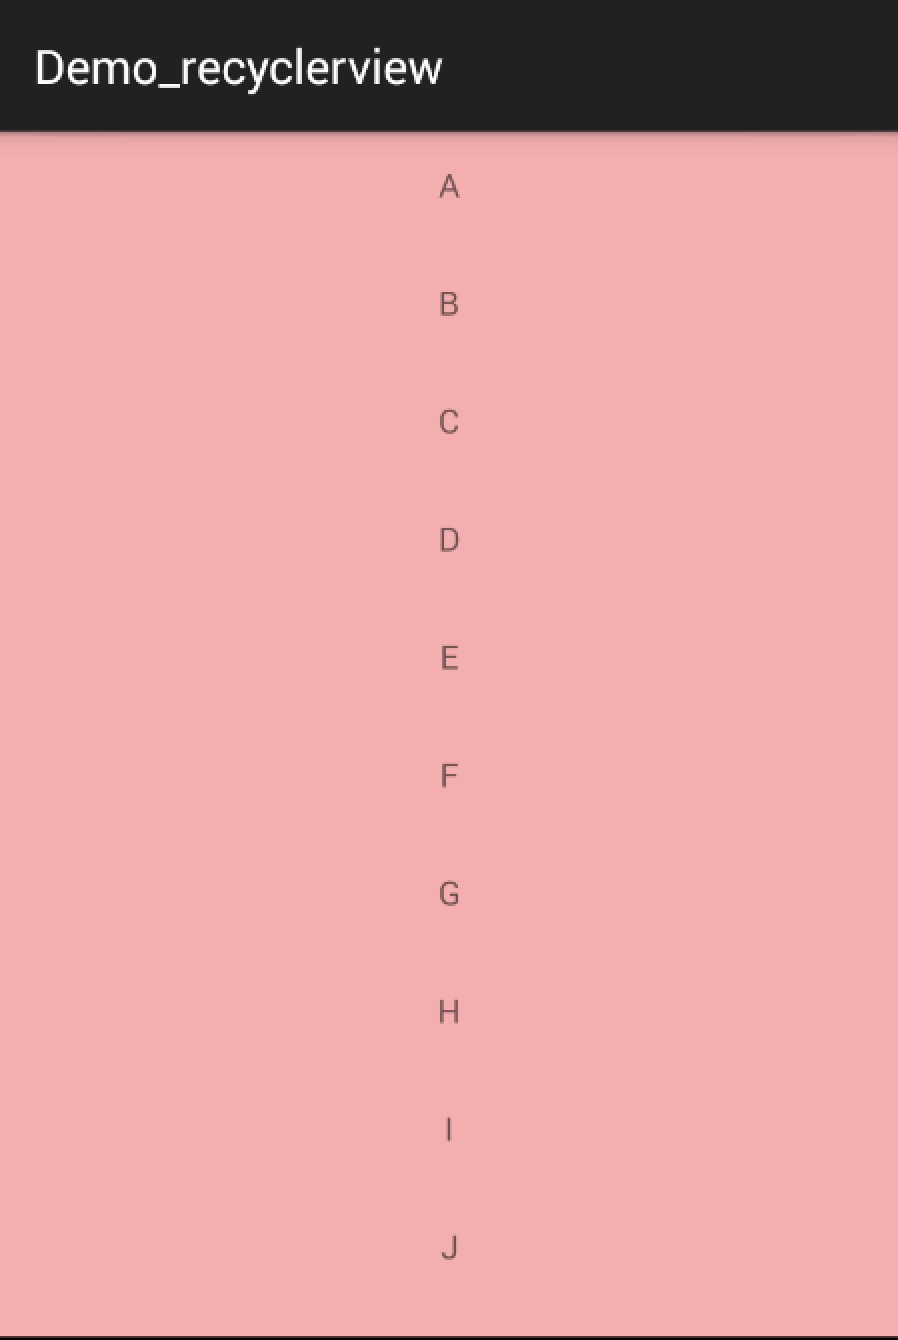
 1 <?xml version="1.0" encoding="utf-8"?>
 2 <LinearLayout xmlns:android="http://schemas.android.com/apk/res/android"
 3     android:layout_width="match_parent"
 4     android:layout_height="match_parent"
 5     android:background="#ffffff"
 6     android:orientation="vertical" >
 7
 8     <TextView
 9         android:id="@+id/tv_test1"
10         android:layout_width="match_parent"
11         android:layout_height="wrap_content"
12         android:gravity="center_vertical"
13         android:padding="20dp"
14         android:text="test1"
15         android:textSize="20sp" />
16
17     <TextView
18         android:id="@+id/tv_test2"
19         android:layout_width="match_parent"
20         android:layout_height="wrap_content"
21         android:gravity="center_vertical"
22         android:padding="20dp"
23         android:text="test2"
24         android:textSize="20sp" />
25
26     <TextView
27         android:id="@+id/tv_test3"
28         android:layout_width="match_parent"
29         android:layout_height="wrap_content"
30         android:gravity="center_vertical"
31         android:padding="20dp"
32         android:text="test3"
33         android:textSize="20sp" />
34
35     <TextView
36         android:layout_width="match_parent"
37         android:layout_height="wrap_content"
38         android:gravity="center_vertical"
39         android:padding="20dp"
40         android:text="test4"
41         android:textSize="20sp" />
42
43     <TextView
44         android:layout_width="match_parent"
45         android:layout_height="wrap_content"
46         android:gravity="center_vertical"
47         android:padding="20dp"
48         android:text="test5"
49         android:textSize="20sp" />
50
51     <TextView
52         android:layout_width="match_parent"
53         android:layout_height="wrap_content"
54         android:background="#eeeeee" />
55
56     <TextView
57         android:layout_width="match_parent"
58         android:layout_height="wrap_content"
59         android:gravity="center_vertical"
60         android:padding="20dp"
61         android:text="test1"
62         android:textSize="20sp" />
63
64     <TextView
65         android:layout_width="match_parent"
66         android:layout_height="wrap_content"
67         android:gravity="center_vertical"
68         android:padding="20dp"
69         android:text="test2"
70         android:textSize="20sp" />
71
72     <TextView
73         android:layout_width="match_parent"
74         android:layout_height="wrap_content"
75         android:gravity="center_vertical"
76         android:padding="20dp"
77         android:text="test3"
78         android:textSize="20sp" />
79
80     <TextView
81         android:layout_width="match_parent"
82         android:layout_height="wrap_content"
83         android:gravity="center_vertical"
84         android:padding="20dp"
85         android:text="test4"
86         android:textSize="20sp" />
87
88     <TextView
89         android:layout_width="match_parent"
90         android:layout_height="wrap_content"
91         android:gravity="center_vertical"
92         android:padding="20dp"
93         android:text="test5"
94         android:textSize="20sp" />
95
96 </LinearLayout>
實際開發中,如果確定要用ScrollView包括自己項目中的子View,那麼content_view.xml就是其他View的裝載“父”布局。重點需要在content_view.xml中展開。
 Android特效專輯(九)——仿微信雷達搜索好友特效,邏輯清晰實現簡單
Android特效專輯(九)——仿微信雷達搜索好友特效,邏輯清晰實現簡單 Android特效專輯(九)——仿微信雷達搜索好友特效,邏輯清晰實現
 Android學習筆記(25):帶動畫效果的View切換ViewAnimator及其子類
Android學習筆記(25):帶動畫效果的View切換ViewAnimator及其子類 ViewAnimator可以實現帶動畫效果的View切換,其派生的子類是一些帶動
 Android開發文摘集合1,android文摘集合
Android開發文摘集合1,android文摘集合作者:張明雲 原標題:Android 開發中,有哪些坑需要注意? 作者github主頁:zmywly8866.gith
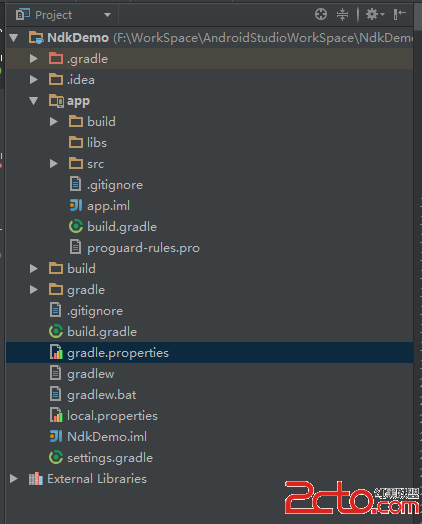 Android Studio Ndk 編程
Android Studio Ndk 編程 現在開發Android程序基本都已經從Eclipse轉到了Android Studio了, 最近項目需求, 需要用到ndk編程
 如何處理 android 方法總數超過 65536 . the number of method references in a .dex file exceed 64k,android.dex
如何處理 android 方法總數超過 65536 . the numb