編輯:關於android開發
本文實現在Android下圖片的合成
布局設計比較簡單:
<RelativeLayout xmlns:android="http://schemas.android.com/apk/res/android"
    xmlns:tools="http://schemas.android.com/tools"
    android:layout_width="match_parent"
    android:layout_height="match_parent"
    android:paddingBottom="@dimen/activity_vertical_margin"
    android:paddingLeft="@dimen/activity_horizontal_margin"
    android:paddingRight="@dimen/activity_horizontal_margin"
    android:paddingTop="@dimen/activity_vertical_margin"
    tools:context=".MainActivity" >

    <ImageView
        android:id="@+id/iv"
        android:layout_width="wrap_content"
        android:layout_height="wrap_content"
        />

</RelativeLayout>
邏輯部分代碼如下:
public class MainActivity extends Activity {

    @Override
    protected void onCreate(Bundle savedInstanceState) {
        super.onCreate(savedInstanceState);
        setContentView(R.layout.activity_main);

        ImageView iv = (ImageView) findViewById(R.id.iv);

        // 圖片合成-畫布 先去畫A 再去畫B
        Bitmap bitmap = BitmapFactory.decodeResource(getResources(),
                R.drawable.test); // bitmap為只讀的

        Bitmap alterBitmap = Bitmap.createBitmap(bitmap.getWidth(),
                bitmap.getHeight(), bitmap.getConfig());
        Canvas canvas = new Canvas(alterBitmap);
        Paint paint = new Paint();
        paint.setColor(Color.BLACK);

        canvas.drawBitmap(bitmap, new Matrix(), paint);

        Bitmap ic_luncher = BitmapFactory.decodeResource(getResources(),
                R.drawable.ic_launcher);

        canvas.drawBitmap(ic_luncher, new Matrix(), paint);
        iv.setImageBitmap(alterBitmap);

    }

}
最後的效果如下:

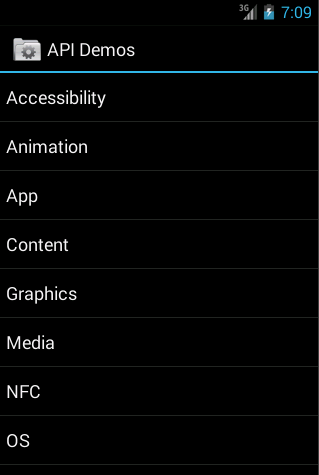
打開android手機的API Demo圖標
選擇Graphics,接著選擇Xfermodes,如下:
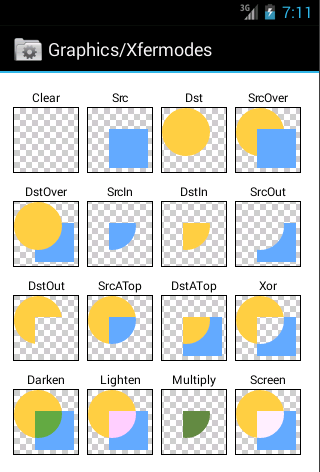
這裡顯示了各種圖片合成後的模式,我們可以在代碼中實現,這裡采用DARKEN模式,代碼如下:
public class MainActivity extends Activity {

    @Override
    protected void onCreate(Bundle savedInstanceState) {
        super.onCreate(savedInstanceState);
        setContentView(R.layout.activity_main);

        ImageView iv = (ImageView) findViewById(R.id.iv);

        // 圖片合成-畫布 先去畫A 再去畫B
        Bitmap bitmap = BitmapFactory.decodeResource(getResources(),
                R.drawable.test); // bitmap為只讀的

        Bitmap alterBitmap = Bitmap.createBitmap(bitmap.getWidth(),
                bitmap.getHeight(), bitmap.getConfig());
        Canvas canvas = new Canvas(alterBitmap);
        Paint paint = new Paint();
        paint.setColor(Color.BLACK);
        paint.setXfermode(new PorterDuffXfermode(PorterDuff.Mode.DARKEN));

        canvas.drawBitmap(bitmap, new Matrix(), paint);

        Bitmap ic_luncher = BitmapFactory.decodeResource(getResources(),
                R.drawable.ic_launcher);

        canvas.drawBitmap(ic_luncher, new Matrix(), paint);
        iv.setImageBitmap(alterBitmap);

    }

}
效果如下:

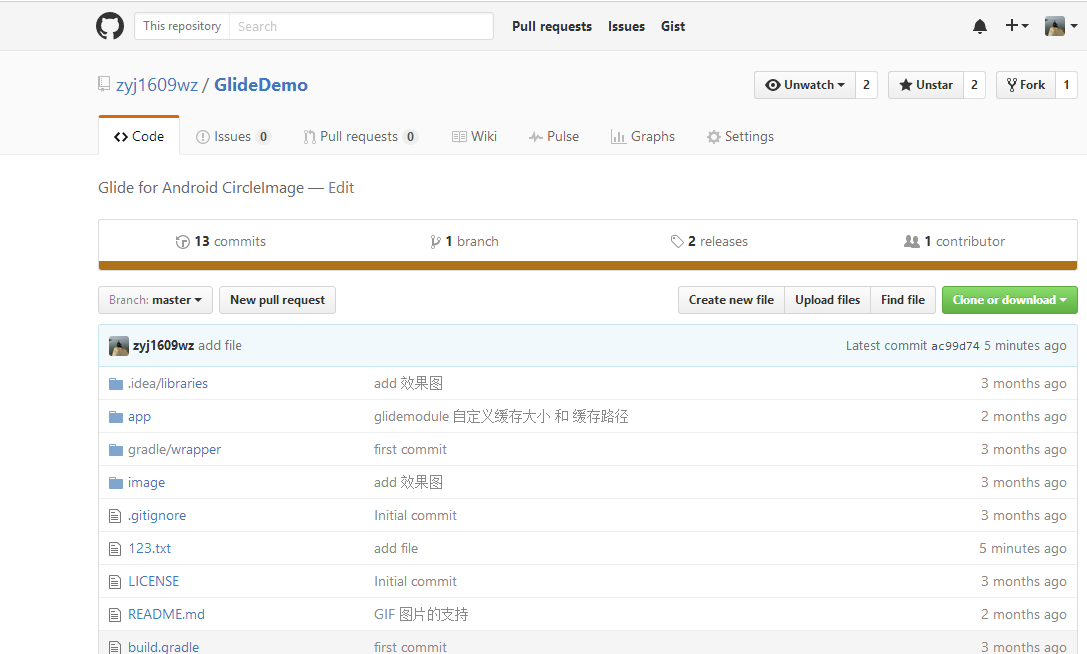 Android github 快速實現多人協作,androidgithub
Android github 快速實現多人協作,androidgithub前言:最近要做github多人協作,也就是多人開發。搜索了一些資料,千篇一律,而且操作麻煩。今天
 Android Developer:內存分析器
Android Developer:內存分析器 Heap Viewer,Memory Monitor和Allocation Tracker是用來可視化你的app使用內存
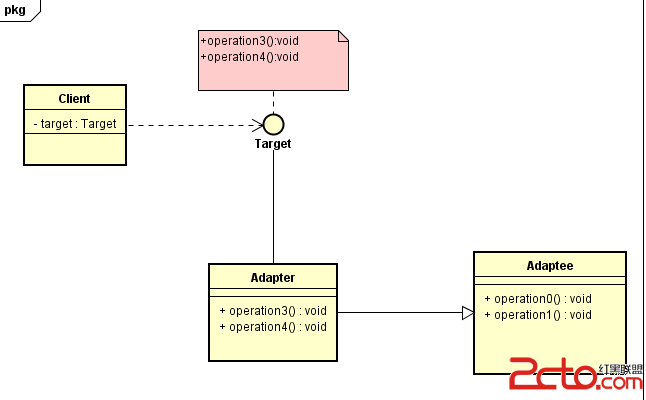 Android框架設計模式(四)——Adapter Method
Android框架設計模式(四)——Adapter Method 一、適配器模式介紹 適配器在平常在生活中是經常會用到的,特別是電子產品。像手機、電腦、家用電器都會用到
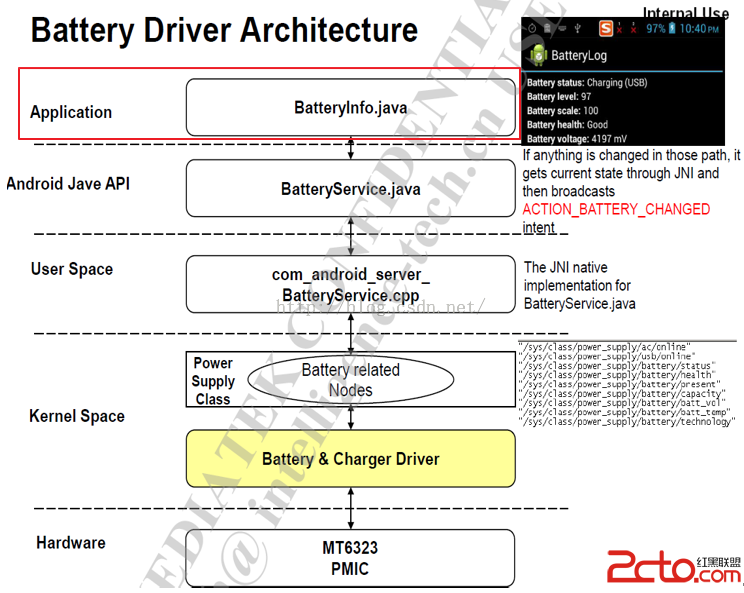 MSM8909+Android5.1.1之BSP開發---電池管理2---BatteryInfo.java
MSM8909+Android5.1.1之BSP開發---電池管理2---BatteryInfo.java MSM8909+Android5.1.1之BSP開發---電池