編輯:關於android開發
接著上篇《Android 采用get方式提交數據到服務器》,本文來實現采用post方式提交數據到服務器
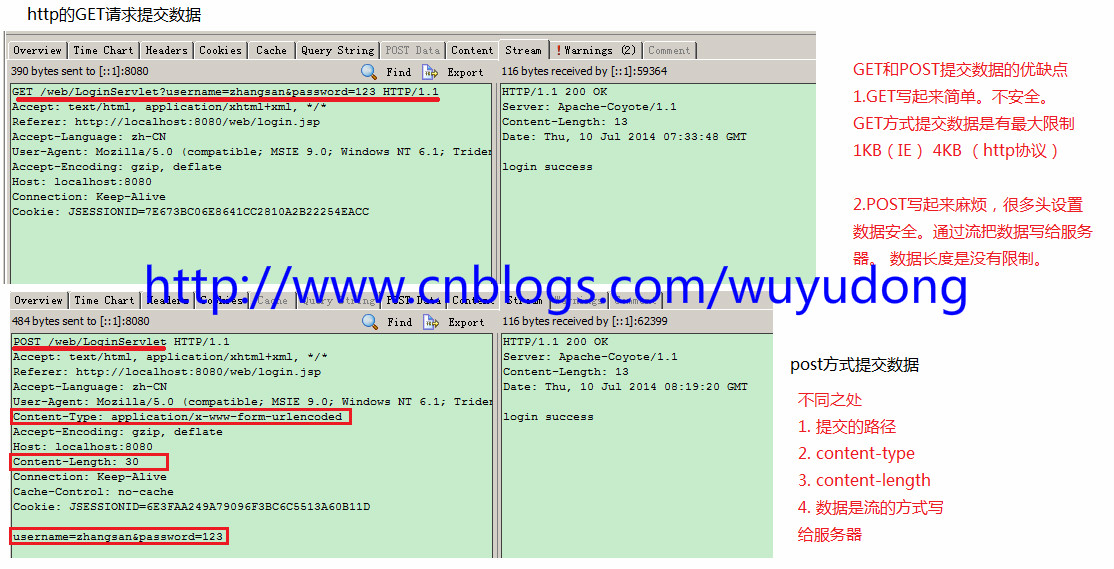
首先對比一下get方式和post方式:
修改布局:
<LinearLayout xmlns:android="http://schemas.android.com/apk/res/android"
    xmlns:tools="http://schemas.android.com/tools"
    android:layout_width="match_parent"
    android:layout_height="match_parent"
    android:orientation="vertical"
    tools:context=".MainActivity" >

    <EditText
        android:id="@+id/et_name"
        android:layout_width="match_parent"
        android:layout_height="wrap_content"
        android:hint="請輸入用戶名"
        android:inputType="text" />

    <EditText
        android:id="@+id/et_pwd"
        android:layout_width="match_parent"
        android:layout_height="wrap_content"
        android:hint="請輸入密碼"
        android:inputType="textPassword" />
    <Button
        android:onClick="LoginByGet"
        android:layout_width="match_parent"
        android:layout_height="wrap_content"
        android:text="GET方式登錄"
        />
     <Button
        android:onClick="LoginByPost"
        android:layout_width="match_parent"
        android:layout_height="wrap_content"
        android:text="POST方式登錄"
        />

</LinearLayout>
添加代碼:
package com.wuyudong.loginclient;

import java.io.ByteArrayOutputStream;
import java.io.InputStream;
import java.net.HttpURLConnection;
import java.net.URL;

import android.os.Build;
import android.os.Bundle;
import android.os.StrictMode;
import android.annotation.SuppressLint;
import android.annotation.TargetApi;
import android.app.Activity;
import android.text.TextUtils;
import android.view.View;
import android.widget.EditText;
import android.widget.Toast;

public class MainActivity extends Activity {
    private EditText et_name;
    private EditText et_pwd;

    protected void onCreate(Bundle savedInstanceState) {
        super.onCreate(savedInstanceState);
        setContentView(R.layout.activity_main);

        et_name = (EditText) findViewById(R.id.et_name);
        et_pwd = (EditText) findViewById(R.id.et_pwd);

        StrictMode.ThreadPolicy policy = new StrictMode.ThreadPolicy.Builder()
                .permitAll().build();
        StrictMode.setThreadPolicy(policy);

    }

    public void LoginByGet(View view) {

        String name = et_name.getText().toString().trim();
        String pwd = et_pwd.getText().toString().trim();

        if (TextUtils.isEmpty(name) || TextUtils.isEmpty(pwd)) {
            Toast.makeText(this, "用戶名密碼不能為空", 0).show();
        } else {
            // 模擬http請求,提交數據到服務器
            String path = "http://169.254.168.71:8080/web/LoginServlet?username="
                    + name + "&password=" + pwd;
            try {
                URL url = new URL(path);
                // 2.建立一個http連接
                HttpURLConnection conn = (HttpURLConnection) url
                        .openConnection();
                // 3.設置一些請求方式
                conn.setRequestMethod("GET");// 注意GET單詞字幕一定要大寫
                conn.setRequestProperty(
                        "User-Agent",
                        "Mozilla/5.0 (Windows NT 6.1; WOW64) AppleWebKit/537.36 (KHTML, like Gecko) Chrome/45.0.2454.101 Safari/537.36");

                int code = conn.getResponseCode(); // 服務器的響應碼 200 OK //404 頁面找不到
                                                    // // 503服務器內部錯誤
                if (code == 200) {
                    InputStream is = conn.getInputStream();
                    // 把is的內容轉換為字符串
                    ByteArrayOutputStream bos = new ByteArrayOutputStream();
                    byte[] buffer = new byte[1024];
                    int len = -1;
                    while ((len = is.read(buffer)) != -1) {
                        bos.write(buffer, 0, len);
                    }
                    String result = new String(bos.toByteArray());
                    is.close();
                    Toast.makeText(this, result, 0).show();

                } else {
                    Toast.makeText(this, "請求失敗,失敗原因: " + code, 0).show();
                }

            } catch (Exception e) {
                e.printStackTrace();
                Toast.makeText(this, "請求失敗,請檢查logcat日志控制台", 0).show();
            }

        }

    }

    /**
     * 采用post的方式提交數據到服務器
     *
     * @param view
     */
    public void LoginByPost(View view) {
        String name = et_name.getText().toString().trim();
        String pwd = et_pwd.getText().toString().trim();

        if (TextUtils.isEmpty(name) || TextUtils.isEmpty(pwd)) {
            Toast.makeText(this, "用戶名密碼不能為空", 0).show();
        } else {
            try {
                String path = "http://169.254.168.71:8080/web/LoginServlet?username="
                        + name + "&password=" + pwd;
                // 1.定義請求url
                URL url = new URL(path);
                // 2.建立一個http的連接
                HttpURLConnection conn = (HttpURLConnection) url
                        .openConnection();
                // 3.設置一些請求的參數
                conn.setRequestMethod("POST");
                conn.setRequestProperty(
                        "User-Agent",
                        "Mozilla/5.0 (Windows NT 6.1; WOW64) AppleWebKit/537.36 (KHTML, like Gecko) Chrome/45.0.2454.101 Safari/537.36");
                conn.setRequestProperty("Content-Type",
                        "application/x-www-form-urlencoded");
                String data = "username=" + name + "&password=" + pwd;
                conn.setRequestProperty("Content-Length", data.length() + "");
                conn.setConnectTimeout(5000);//設置連接超時時間
                conn.setReadTimeout(5000); //設置讀取的超時時間

                // 4.一定要記得設置 把數據以流的方式寫給服務器
                conn.setDoOutput(true); // 設置要向服務器寫數據
                conn.getOutputStream().write(data.getBytes());

                int code = conn.getResponseCode(); // 服務器的響應碼 200 OK //404 頁面找不到
                // // 503服務器內部錯誤
                if (code == 200) {
                    InputStream is = conn.getInputStream();
                    // 把is的內容轉換為字符串
                    ByteArrayOutputStream bos = new ByteArrayOutputStream();
                    byte[] buffer = new byte[1024];
                    int len = -1;
                    while ((len = is.read(buffer)) != -1) {
                        bos.write(buffer, 0, len);
                    }
                    String result = new String(bos.toByteArray());
                    is.close();
                    Toast.makeText(this, result, 0).show();

                } else {
                    Toast.makeText(this, "請求失敗,失敗原因: " + code, 0).show();
                }

            } catch (Exception e) {
                e.printStackTrace();
                Toast.makeText(this, "請求失敗,請檢查logcat日志控制台", 0).show();
            }
        }

    }
}
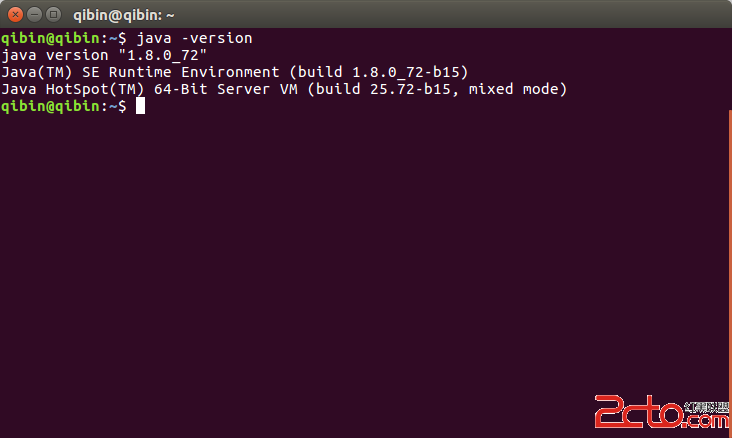 ubuntu下安裝AndroidStudio
ubuntu下安裝AndroidStudio 最近將電腦的操作系統換成了ubuntu,對於不習慣win8/win10的人來說ubuntu確實是一個不錯的選擇,基本的軟
 【微學堂】第22期| Nginx的性能優化
【微學堂】第22期| Nginx的性能優化分享主題:Nginx的性能優化分享時間:2016年11月24日(周四)20:00特邀講師:李強(撒加)運維幫專家顧問團成員,先後
 Android SurfaceView的生命周期,androidsurfaceview
Android SurfaceView的生命周期,androidsurfaceview本文利用SurfaceView來實現視頻的播放 本文地址:http://www.cn
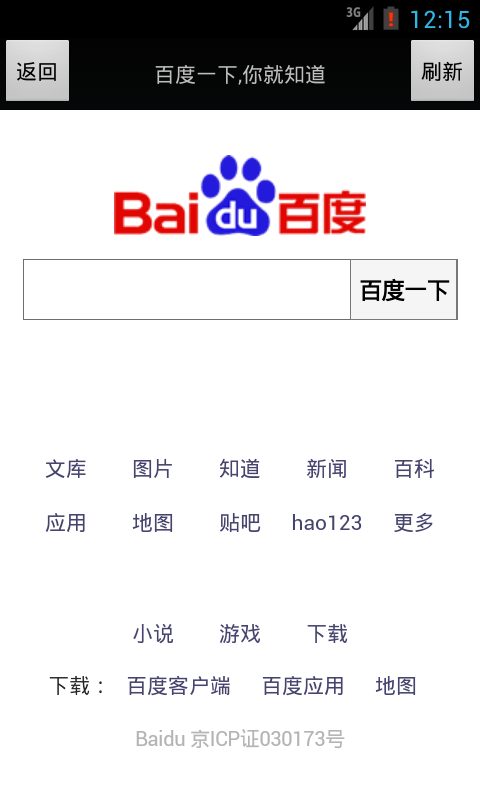 Android開發:控件之WebView
Android開發:控件之WebView 如何在Android應用中打開Web網站呢?谷歌為我們提供了解決方案,現在就讓我們一起看一下WebView控件吧。 為
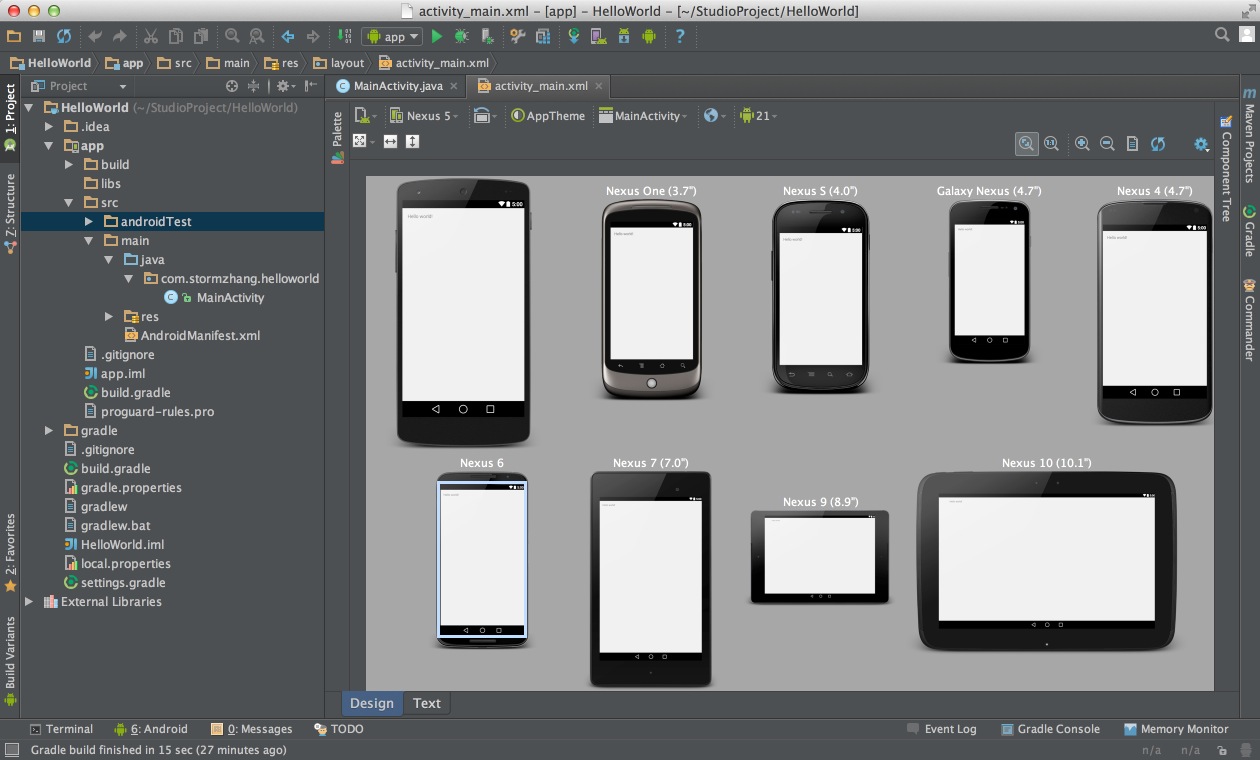 Android Studio系列教程一下載與安裝 背景Android Studio VS Eclipse准備下載創建HelloWorld項目,androidhelloworld
Android Studio系列教程一下載與安裝 背景Android S