編輯:關於Android編程
使用Intent調用語音識別程序
說明
Android中主要通過RecognizerIntent來實現語音識別,其實代碼比較簡單,但是如果找不到語音識別設備,就會拋出異常 ActivityNotFoundException,所以我們需要捕捉這個異常。而且語音識別在模擬器上是無法測試的,因為語音識別是訪問google 雲端數據,所以如果手機的網絡沒有開啟,就無法實現識別聲音的!一定要開啟手機的網絡,如果手機不存在語音識別功能的話,也是無法啟用識別!
注意:使用前需要安裝語音識別程序。如《語音搜索》,其使用的語音識別技術來自於Google,Intent可以識別到該程序。
本例參考自android例程:
development/samples/ApiDemos/src/com/example/android/apis/app/VoiceRecognition.java
核心代碼及說明
package com.example.test;

import android.app.Activity;
import android.content.Intent;
import android.content.pm.PackageManager;
import android.os.Bundle;
import android.speech.RecognizerIntent;
import android.view.View;
import android.view.View.OnClickListener;
import android.widget.Button;
import android.widget.Toast;
import java.util.ArrayList;
import java.util.List;

public class MainActivity extends Activity implements OnClickListener {
 private static final int VOICE_RECOGNITION_REQUEST_CODE = 1234;

 @Override
 public void onCreate(Bundle savedInstanceState) {
  super.onCreate(savedInstanceState);
  setContentView(R.layout.activity_main);
  Button btn = (Button) findViewById(R.id.btn); // 識別按鈕
  PackageManager pm = getPackageManager();
  List activities = pm.queryIntentActivities(new Intent(
    RecognizerIntent.ACTION_RECOGNIZE_SPEECH), 0); // 本地識別程序
  // new Intent(RecognizerIntent.ACTION_WEB_SEARCH), 0); // 網絡識別程序

  /*
   * 此處沒有使用捕捉異常,而是檢測是否有語音識別程序。
   * 也可以在startRecognizerActivity()方法中捕捉ActivityNotFoundException異常
   */
  if (activities.size() != 0) {
   btn.setOnClickListener(this);
  } else {
   // 若檢測不到語音識別程序在本機安裝,測將扭铵置灰
   btn.setEnabled(false);
   btn.setText("未檢測到語音識別設備");
  }
 }

 public void onClick(View v) {
  if (v.getId() == R.id.btn) {
   startRecognizerActivity();
  }
 }
 // 開始識別
 private void startRecognizerActivity() {
  // 通過Intent傳遞語音識別的模式,開啟語音
  Intent intent = new Intent(RecognizerIntent.ACTION_RECOGNIZE_SPEECH);
  // 語言模式和自由模式的語音識別
  intent.putExtra(RecognizerIntent.EXTRA_LANGUAGE_MODEL,
    RecognizerIntent.LANGUAGE_MODEL_FREE_FORM);
  // 提示語音開始
  intent.putExtra(RecognizerIntent.EXTRA_PROMPT, "開始語音");
  // 開始語音識別
  startActivityForResult(intent, VOICE_RECOGNITION_REQUEST_CODE);
  // 調出識別界面
 }

 @Override
 protected void onActivityResult(int requestCode, int resultCode, Intent data) {
  // 回調獲取從谷歌得到的數據
  if (requestCode == VOICE_RECOGNITION_REQUEST_CODE
    && resultCode == RESULT_OK) {
   // 取得語音的字符
   ArrayList<String> results = data
     .getStringArrayListExtra(RecognizerIntent.EXTRA_RESULTS);
   String resultString = "";
   for (int i = 0; i < results.size(); i++) {
    resultString += results.get(i);
   }
   Toast.makeText(this, resultString, Toast.LENGTH_SHORT).show();
  }
  // 語音識別後的回調,將識別的字串以Toast顯示
  super.onActivityResult(requestCode, resultCode, data);
 }
}
其主要原理就是將語音發送到google雲端,然後雲端處理,匹配相應的數據,發送到客戶端。
最後不要忘記,在manifest中加入網絡訪問權限:
<uses-permission android:name="android.permission.INTERNET" />
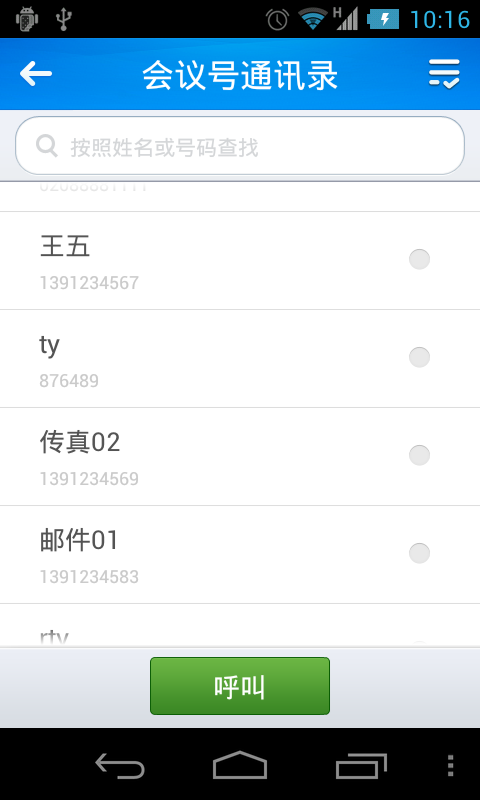
運行後效果:

以上就是對Android 實現語音識別的資料整理,後續繼續補充相關資料,謝謝大家對本站的支持!
 Android UI開發第四十三篇——使用Property Animation實現墨跡天氣3.0引導界面及動畫實現
前面寫過《墨跡天氣3.0引導界面及動畫實現》,裡面完美實現了動畫效果,那一篇文章使用的View Animation,這一篇文章使用的Property Animation實
 Android通訊錄開發之刪除功能的實現方法
無論是Android開發或者是其他移動平台的開發,ListView肯定是一個大咖,那麼對ListView的操作肯定是不會少的,上一篇博客介紹了如何實現全選和反選的功能,本
 Android 中的 Service 詳細介紹【下】
上一篇文章Android 中的 Service 全面總結詳解【下】 介紹了Service的一些知識以及本地Service的使用,如果對Service還不太了解的建議先看下
 Android實現Activity、Service與Broadcaster三大組件之間互相調用的方法詳解
本文實例講述了Android實現Activity、Service與Broadcaster三大組件之間互相調用的方法。分享給大家供大家參考,具體如下:我們研究兩個問題,1、