編輯:關於Android編程
Android的自動化測試有很多框架,其中ui automator是google官方提供的黑盒UI相關的自動化測試工具,(GitHub主頁:case使用java寫,今天實踐了一下官方文檔中樣例程序,其中還是有一些小問題需要總結一下的。
環境准備:
1.JDK(是的,你沒看錯,基礎的android開發環境必備),以及對應的環境變量配置,不會的可以自己百度下下
2.Android Studio(IDE尊崇個人意願)
3.android SDK以及配置
4.ANT(主要用於build我們的腳本,生成jar包)
ant的搭建主要分幾步:
1.下載ant安裝文件並且解壓安裝;
2.新建系統環境變量ANT_HOME,參數值是你的ant安裝目錄;
3.在Path環境變量中添加ant安裝目錄的bin文件夾,比如我的就是C:\cod\apache-ant-1.9.6\bin
4.配置完以後,測試一下,在命令行下輸入ant -version,如果顯示你所安裝的ant版本信息,證明環境變量配置成功
使用流程
1、使用ADT創建一個java的項目
在創建項目的時候要加上JUnit與你使用的Android platforms中對應的android.jar與uiautomator.jar

2、新建一個包(我這裡就只叫com)
3、再這個包下創建一個class,輸入以下java代碼,代碼全是官方文檔上的代碼,除了最上面的package
package com;

import com.android.uiautomator.core.UiObject;
import com.android.uiautomator.core.UiObjectNotFoundException;
import com.android.uiautomator.core.UiScrollable;
import com.android.uiautomator.core.UiSelector;
import com.android.uiautomator.testrunner.UiAutomatorTestCase;

public class Runer extends UiAutomatorTestCase {

  public void testDemo() throws UiObjectNotFoundException {

   // Simulate a short press on the HOME button.
   getUiDevice().pressHome();

   // We're now in the home screen. Next, we want to simulate
   // a user bringing up the All Apps screen.
   // If you use the uiautomatorviewer tool to capture a snapshot
   // of the Home screen, notice that the All Apps button's
   // content-description property has the value “Apps”. We can
   // use this property to create a UiSelector to find the button.
   UiObject allAppsButton = new UiObject(new UiSelector()
     .description("Apps"));

   // Simulate a click to bring up the All Apps screen.
   allAppsButton.clickAndWaitForNewWindow();

   // In the All Apps screen, the Settings app is located in
   // the Apps tab. To simulate the user bringing up the Apps tab,
   // we create a UiSelector to find a tab with the text
   // label “Apps”.
   UiObject appsTab = new UiObject(new UiSelector()
     .text("Apps"));

   // Simulate a click to enter the Apps tab.
   appsTab.click();

   // Next, in the apps tabs, we can simulate a user swiping until
   // they come to the Settings app icon. Since the container view
   // is scrollable, we can use a UiScrollable object.
   UiScrollable appViews = new UiScrollable(new UiSelector()
     .scrollable(true));

   // Set the swiping mode to horizontal (the default is vertical)
   appViews.setAsHorizontalList();

   // Create a UiSelector to find the Settings app and simulate
   // a user click to launch the app.
   UiObject settingsApp = appViews.getChildByText(new UiSelector()
     .className(android.widget.TextView.class.getName()),
     "Settings");
   settingsApp.clickAndWaitForNewWindow();

   // Validate that the package name is the expected one
   UiObject settingsValidation = new UiObject(new UiSelector()
     .packageName("com.android.settings"));
   assertTrue("Unable to detect Settings",
     settingsValidation.exists());
   UiObject reportBug = new UiObject(new UiSelector().text("Sound"));
   reportBug.clickAndWaitForNewWindow();
   UiObject soundValidation = new UiObject(new UiSelector()
   .text("Volumes"));
  assertTrue("Unable to detect Sound",
      soundValidation.exists());

   getUiDevice().pressHome();

 }
}
4、使用ant工具生成build.xmlbuild.xml:26: Class not found: javac1.8
網上查了查,是插件與我java環境不符,下載最新的ant插件就可以了http://ant.apache.org/bindownload.cgi

下載這個tar.gz包,解壓,然後將apache-ant-1.9.4\bin目錄添加到環境變量PATH中
然後cmd到android sdk的tools目錄,使用andrlid list命令,記住你將要在模擬器中運行的(也是你剛剛導入android.jar與uiautomator.jar包時所在的platforms)
在cmd下使用
android create uitest-project -n <name> -t <android-sdk-ID> -p <path>
-n 為生成的jar包名稱,自已任意定義,
-t 為上面查看到的值,我這裡是1
-p 為輸出路徑,這裡就是剛才創建的java項目所在的路徑
android create uitest-project -n AutoRunner -t 1 -p D:\myAndroidStudy\androidTest
然後再cmd進入D:\myAndroidStudy\androidTest,使用ant build命令生成AutoRunner.jar文件
5、將這個AutoRunner.jar文件push到模擬器中
adb push AutoRunner.jar /data/local/tmp
6、使用
adb shell uiautomator runtest AutoRunner.jar –c com.Runer
使Runer類運行

我的代碼裡又在官方基礎上多了一個點擊”sound”的操作與點擊Home鍵操作
 UiObject reportBug = new UiObject(new UiSelector().text("Sound"));
   reportBug.clickAndWaitForNewWindow();
   UiObject soundValidation = new UiObject(new UiSelector()
   .text("Volumes"));
  assertTrue("Unable to detect Sound",
      soundValidation.exists());

   getUiDevice().pressHome();
 image

這個其實也只是一個簡單的玩具代碼,沒有什麼意義,但是官方作為一個引導,其中也使用了一些最常見的接口。以後再深入的學習uiautomator
總結
優點:
1.可以對所有操作進行自動化,操作簡單;
2.不需要對被測程序進行重簽名,且,可以測試所有設備上的程序,比如~某APP,比如~撥號,比如~發信息等等
3.對於控件定位,要比robotium簡單一點點
缺點:
1.uiautomator需要android level 16以上才可以使用,因為在level 16及以上的API裡面才帶有uiautomator工具
2.如果想要使用resource-id定位控件,則需要level 18及以上才可以
3.對中文支持不好(不代表不支持,第三方jar可以實現)
4.個人感覺,控件定位不如robotium那樣層級分明,僅僅個人感覺,用戶行為注入還是和插樁有點點區別的
 Android網絡應用之Socket(一)
socket編程是網絡通信的一個基礎應用,無論是手機端還是PC端都需要socket技術來建立網絡通信。在本章小編主要從以下幾個方面來介紹socket的相關知識:分別是&l
 DragonBoard410c手把手進行安卓開發
在上一篇中我們介紹了基於DragonBoard 410c的Debian開發。並且通過UART口登錄到了Debian中的Shell,實現了基本的控制台應用。本文主要是針對安
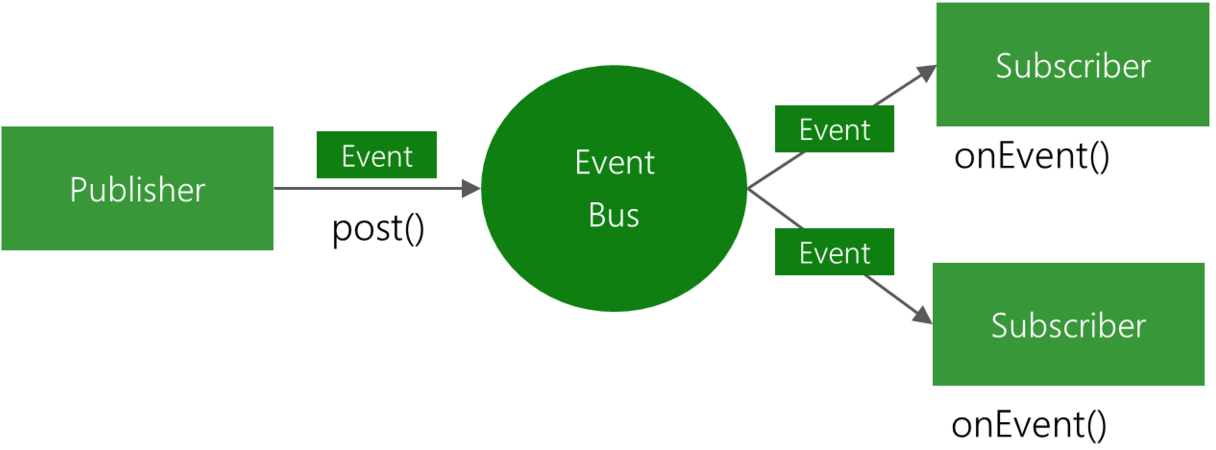
 Android事件總線(一)EventBus3.0用法全解析
前言EventBus是一款針對Android優化的發布/訂閱事件總線。簡化了應用程序內各組件間、組件與後台線程間的通信。優點是開銷小,代碼更優雅,以及將發送者和接收者解耦
 Android EventBus3.0使用及源碼解析
叨了個叨最近因為換工作的一些瑣事搞的我一個頭兩個大,也沒怎麼去學新東西,實在是有些愧疚。新項目用到了EventBus3.0,原來只是聽說EventBus的鼎鼎大名,一直沒