編輯:關於Android編程
本文實例講述了Android控件之ImageView用法。分享給大家供大家參考。具體如下:
ImageView控件是一個圖片控件,負責顯示圖片。
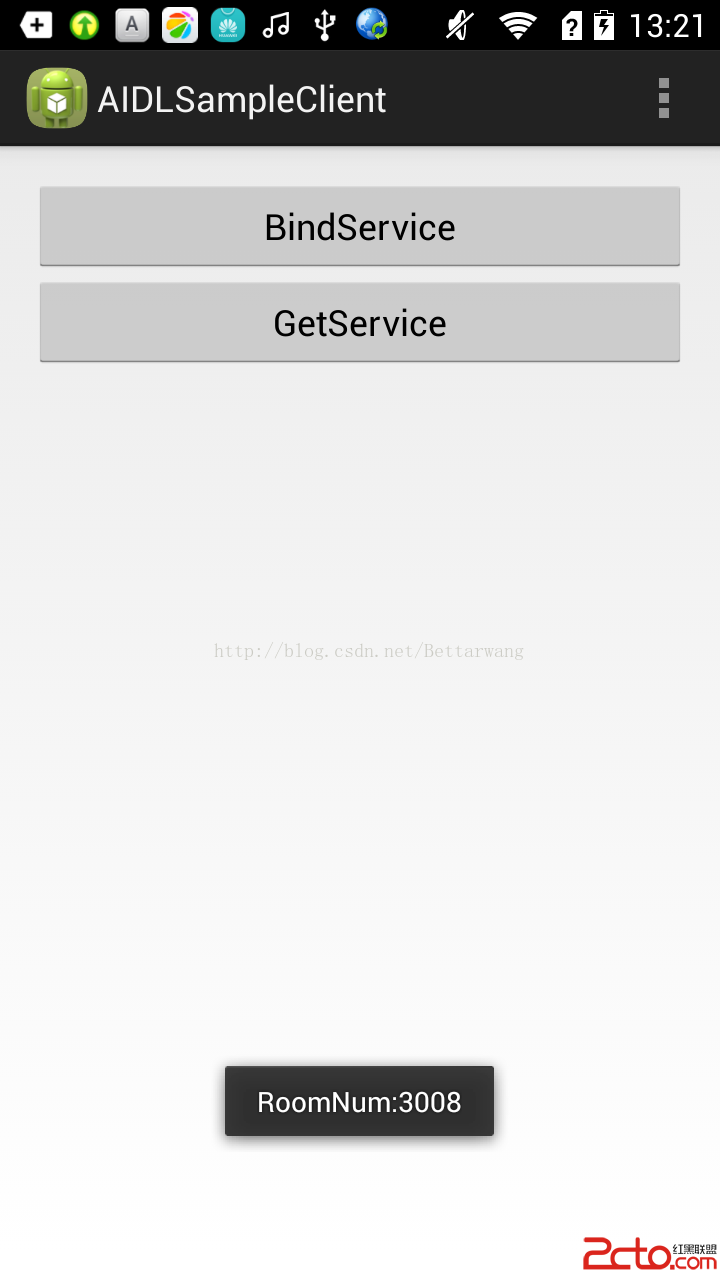
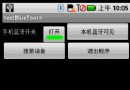
以下模擬手機圖片查看器
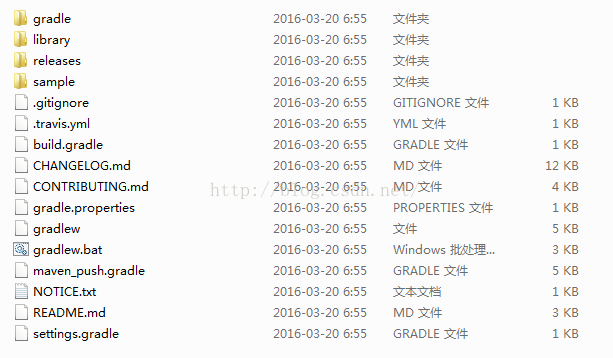
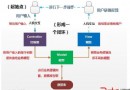
目錄結構:

main.xml布局文件:
<?xml version="1.0" encoding="utf-8"?>
<LinearLayout xmlns:android="http://schemas.android.com/apk/res/android"
 android:orientation="vertical"
 android:layout_width="fill_parent"
 android:layout_height="fill_parent">
 <ImageView android:id="@+id/imageView"
  android:layout_width="wrap_content"
  android:layout_height="wrap_content"
  android:layout_gravity="center_horizontal"
  android:src="@drawable/p1"/>
 <LinearLayout xmlns:android="http://schemas.android.com/apk/res/android"
  android:orientation="horizontal"
  android:layout_width="fill_parent"
  android:layout_height="wrap_content"
  android:layout_gravity="center_horizontal">
  <Button android:id="@+id/previous"
   android:layout_width="wrap_content"
   android:layout_height="wrap_content"
   android:text="上一張"
   android:layout_gravity="center_horizontal"/>
  <Button android:id="@+id/alpha_plus"
   android:layout_width="wrap_content"
   android:layout_height="wrap_content"
   android:text="透明度增加"
   android:layout_gravity="center_horizontal"/>
  <Button android:id="@+id/alpha_minus"
   android:layout_width="wrap_content"
   android:layout_height="wrap_content"
   android:text="透明度減少"
   android:layout_gravity="center_horizontal"/>
  <Button android:id="@+id/next"
   android:layout_width="wrap_content"
   android:layout_height="wrap_content"
   android:text="下一張"
   android:layout_gravity="center_horizontal"/>
 </LinearLayout>
</LinearLayout>
ImageViewActivity類:
package com.ljq.iv;
import android.app.Activity;
import android.os.Bundle;
import android.view.View;
import android.widget.Button;
import android.widget.ImageView;
public class ImageViewActivity extends Activity {
 private ImageView imageView=null;
 private Button previous=null;//上一張
 private Button next=null;//下一張
 private Button alpha_plus=null;//透明度增加
 private Button alpha_minus=null;//透明度減少
 private int currentImgId=0;//記錄當前ImageView顯示的圖片id
 private int alpha=255;//記錄ImageView的透明度
 int [] imgId = {   //ImageView顯示的圖片數組
   R.drawable.p1,
   R.drawable.p2,
   R.drawable.p3,
   R.drawable.p4,
   R.drawable.p5,
   R.drawable.p6,
   R.drawable.p7,
   R.drawable.p8,
  };
 @Override
 public void onCreate(Bundle savedInstanceState) {
  super.onCreate(savedInstanceState);
  setContentView(R.layout.main);
  imageView=(ImageView)findViewById(R.id.imageView);
  previous=(Button)findViewById(R.id.previous);
  next=(Button)findViewById(R.id.next);
  alpha_plus=(Button)findViewById(R.id.alpha_plus);
  alpha_minus=(Button)findViewById(R.id.alpha_minus);
  previous.setOnClickListener(listener);
  next.setOnClickListener(listener);
  alpha_plus.setOnClickListener(listener);
  alpha_minus.setOnClickListener(listener);
 }
 private View.OnClickListener listener = new View.OnClickListener(){
  public void onClick(View v) {
   if(v==previous){
    currentImgId=(currentImgId-1+imgId.length)%imgId.length;
    imageView.setImageResource(imgId[currentImgId]);
   }
   if(v==next){
    currentImgId=(currentImgId+1)%imgId.length;
    imageView.setImageResource(imgId[currentImgId]);
   }
   if(v==alpha_plus){
    alpha+=10;
    if(alpha>255){
     alpha=255;
    }
    imageView.setAlpha(alpha);
   }
   if(v==alpha_minus){
    alpha-=10;
    if(alpha<0){
     alpha=0;
    }
    imageView.setAlpha(alpha);
   }
  }
 };
}
運行結果:

希望本文所述對大家的Android程序設計有所幫助。
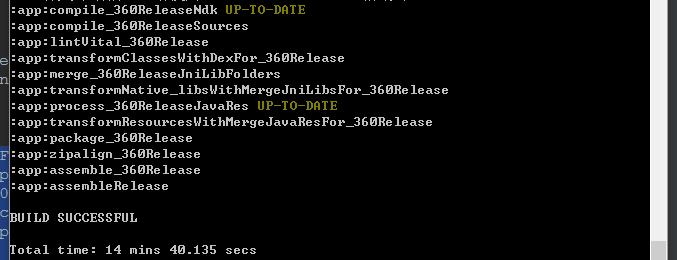 Android Studio多渠道批量打包及代碼混淆
一、批量打包1、集成了友盟統計,並在AndroidManifest.xml中添加了如下代碼<meta-dataandroid:name=UMENG_CHANNELa
 Android-async-http封裝網絡請求框架源碼分析
Android-async-http開源項目可以是我們輕松的獲取網絡數據或者向服務器發送數據,使用起來非常簡單, 這個網絡請求庫是基於Apache HttpClient庫
 框架模式 MVC 在Android中的使用
算來學習Android開發已有2年的歷史了,在這2年的學習當中,基本掌握了Android的基礎知識。越到後面的學習越感覺困難,一來是自認為android沒啥可學的了(自認
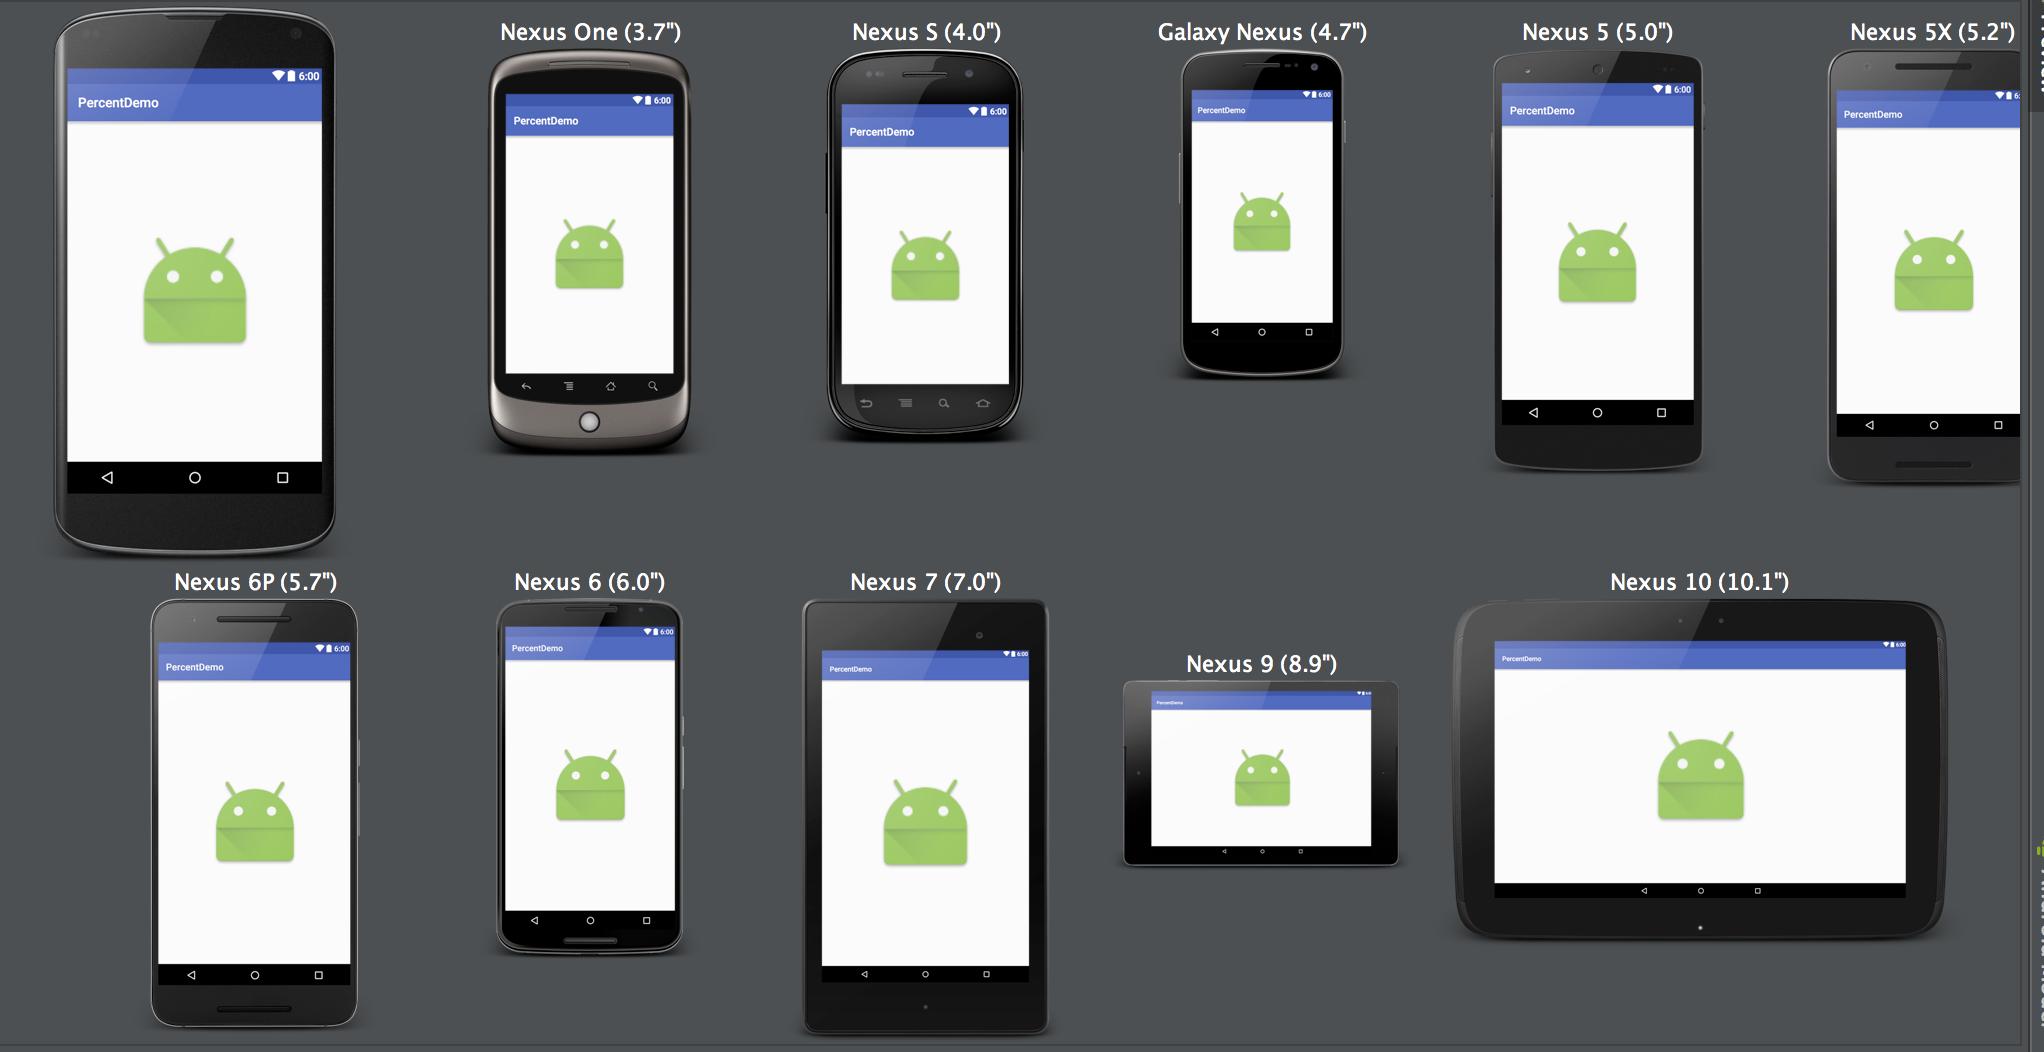 屏幕適配之百分比方案詳解
最近看到DrawerLayout,support v4中提供的類,想到對google提供的這些支持庫,自己一點都不熟悉,想著看看Google提供的支持庫都有什麼內容。結果