編輯:關於Android編程
GPS定位是目前很多手機都有的功能,且非常實用。本文以實例形式講述了Android中GPS定位的用法。分享給大家供大家參考之用。具體方法如下:
一般在Android中通過GPS獲得當前位置,首先要獲得一個LocationManager實例,通過該實例的getLastKnownLocation()方法獲得第一個的位置,該方法的說明如下:
void android.location.LocationManager.requestLocationUpdates(String provider, long minTime, float minDistance, LocationListener listener)
provider即定位方式,可以采用GPS定位(LocationManager.GPS_PROVIDER)或者網絡定位(LocationManager.NETWORK_PROVIDER),本文是GPS定位,因此使用LocationManager.GPS_PROVIDER。minTime是位置更新的間隔時間。listener是位置改變的監聽器,自己定義一個LocationListener(),重寫onLocationChanged(),加入位置改變時的動作。
布局文件如下:
<LinearLayout xmlns:android="http://schemas.android.com/apk/res/android"
  xmlns:tools="http://schemas.android.com/tools"
  android:layout_width="match_parent"
  android:layout_height="match_parent"
  android:orientation="vertical"
  android:paddingBottom="@dimen/activity_vertical_margin"
  android:paddingLeft="@dimen/activity_horizontal_margin"
  android:paddingRight="@dimen/activity_horizontal_margin"
  android:paddingTop="@dimen/activity_vertical_margin"
  tools:context=".MainActivity" >

  <TextView
    android:id="@+id/txt_time"

    android:layout_width="fill_parent"
    android:layout_height="wrap_content"
    android:text="時間:" />

  <TextView
    android:id="@+id/txt_lat"

    android:layout_width="fill_parent"
    android:layout_height="wrap_content"
    android:text="經度:" />

  <TextView
    android:id="@+id/txt_lng"

    android:layout_width="fill_parent"
    android:layout_height="wrap_content"
    android:text="緯度:" />

</LinearLayout>
MainActivity.java文件如下:
package com.hzhi.my_gps;
import java.text.SimpleDateFormat;
import java.util.Date;
import java.util.Timer;
import java.util.TimerTask;
import android.location.Criteria;
import android.location.Location;
import android.location.LocationListener;
import android.location.LocationManager;
import android.os.Bundle;
import android.os.Handler;
import android.os.Message;
import android.app.Activity;
import android.content.Context;
import android.view.Menu;
import android.widget.TextView;
public class MainActivity extends Activity {

  TextView txt_time;
  TextView txt_lat;
  TextView txt_lng;
  LocationManager lom;
  Location loc;
  Double lat;
  Double lng;
  SimpleDateFormat formatter = new SimpleDateFormat("yyyy-MM-dd HH:mm:ss");
  Date now;
  String str_date;
  Timer timer;

  @Override
  protected void onCreate(Bundle savedInstanceState) {

    super.onCreate(savedInstanceState);
    setContentView(R.layout.activity_main);

    get_con();
    get_gps();

    timer = new Timer(true);
    timer.schedule(task, 0, 1000);
  }

  @Override
  public boolean onCreateOptionsMenu(Menu menu) {
    // Inflate the menu; this adds items to the action bar if it is present.
    getMenuInflater().inflate(R.menu.main, menu);
    return true;
  }

  public void get_gps(){

    lom = (LocationManager) getSystemService(Context.LOCATION_SERVICE);
    loc = lom.getLastKnownLocation(LocationManager.GPS_PROVIDER);

    if (loc != null) {
      lat = loc.getLatitude();
      lng = loc.getLongitude();
      txt_lat.setText("緯度:" + String.valueOf(lat));
      txt_lng.setText("經度:" + String.valueOf(lng));
    }
    else{
      txt_lat.setText("緯度:未知" );
      txt_lng.setText("經度:未知" );
    }

    Criteria criteria = new Criteria();
    criteria.setAccuracy(Criteria.ACCURACY_FINE);
    criteria.setAltitudeRequired(false);
    criteria.setBearingRequired(false);
    criteria.setCostAllowed(true);
    criteria.setPowerRequirement(Criteria.POWER_LOW);
    String provider = lom.getBestProvider(criteria, true);

    lom.requestLocationUpdates(provider, 1000, 10, los);
  }

  LocationListener los = new LocationListener(){
    public void onLocationChanged(Location location){
      if (location != null) {
        lat = location.getLatitude();
        lng = location.getLongitude();
        txt_lat.setText("緯度:" + String.valueOf(lat));
        txt_lng.setText("經度:" + String.valueOf(lng));
      }
      else{
        txt_lat.setText("緯度:未知" );
        txt_lng.setText("經度:未知" );
      }
    };

    public void onProviderDisabled(String provider){

    };

    public void onProviderEnabled(String provider){ };

    public void onStatusChanged(String provider, int status,
    Bundle extras){ };
  };

  // 獲取控件
  public void get_con(){

    txt_time = (TextView) findViewById(R.id.txt_time);
    txt_lat = (TextView) findViewById(R.id.txt_lat);
    txt_lng = (TextView) findViewById(R.id.txt_lng);
  }

  Handler handler = new Handler(){

    public void handleMessage(Message msg){
      switch (msg.what){
      case 1:
        get_time();
        break;
      }
    }
  };

  TimerTask task = new TimerTask(){
     public void run() {
       Message message = new Message();
       message.what = 1;
       handler.sendMessage(message);
    }
  };

  // 獲取時間
  public void get_time(){

    now = new Date(System.currentTimeMillis());
    str_date = formatter.format(now);
    txt_time.setText("時間:" + str_date);
  }
}
在AndroidManifest.xml文件中加入權限:
<uses-permission android:name="android.permission.ACCESS_FINE_LOCATION"/>
運行前先打開GPS衛星,運行結果如下圖所示:

讀者可以在室外信號充足的地方試試,是可以獲取GPS位置的。
希望本文所述對大家的Android程序設計有所幫助。
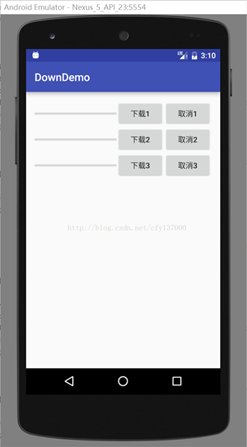 詳解Android使用OKHttp3實現下載(斷點續傳、顯示進度)
OKHttp3是如今非常流行的Android網絡請求框架,那麼如何利用Android實現斷點續傳呢,今天寫了個Demo嘗試了一下,感覺還是有點意思准備階段我們會用到OKH
 深入理解TextView實現Rich Text--在同一個TextView設置不同字體風格
背景介紹在開發應用過程中經常會遇到顯示一些不同的字體風格的信息猶如默認的LockScreen上面的時間和充電信息。對於類似的情況,可能第一反應就是用不同的多個TextVi
 Android開源項目分類匯總(六)工具庫
主要包括那些不錯的開發庫,包括依賴注入框架、圖片緩存、網絡相關、數據庫ORM建模、Android公共庫、Android 高版本向低版本兼容、多媒體相關及其他。一、依賴注入
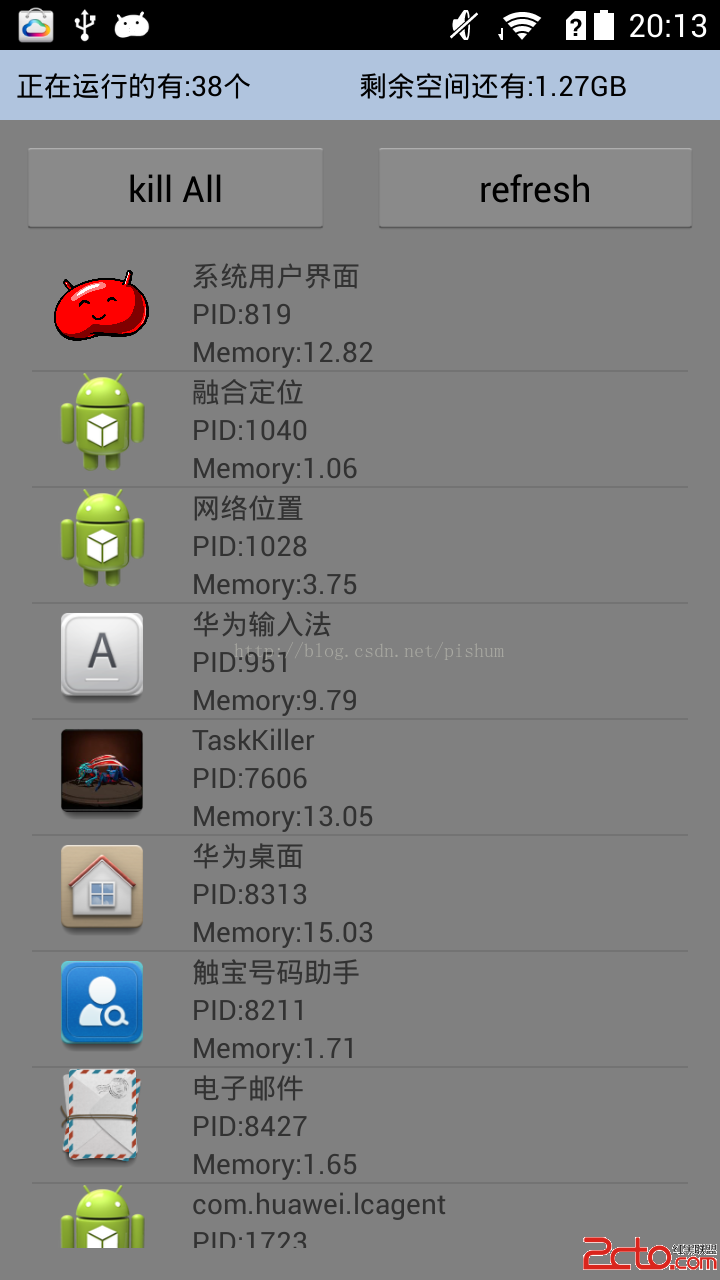 Android獲取正在運行的程序並kill掉它
獲取正在運行的程序並把它加入到一個listview的adapter類面,方法如下: // 正在運行的 public List getRunningProcess()