編輯:關於Android編程
也可以使用IntentService,它是service子類,在處理後台任務時,不需要你自己開線程,可以直接在 onHandleIntent()中進行任務。
1.... public class HelloIntentService extends IntentService { A constructor is required, and must call the super IntentService(String) constructor with a name for the worker thread. public HelloIntentService() { super("HelloIntentService"); } * The IntentService calls this method from the default worker thread with * the intent that started the service. When this method returns, IntentService * stops the service, as appropriate. @Override protected void onHandleIntent(Intent intent) { // Normally we would do some work here, like download a file. // For our sample, we just sleep for 5 seconds. try { Thread.sleep(5000); } catch (InterruptedException e) { // Restore interrupt status. Thread.currentThread().interrupt(); } } }...
使用intentservice,在任務結束後會自動關閉服務。
b.使用Messenger,適用於需要跨進程通訊且線程安全且非並發,同一個時間只能接受到一個請求,你可以使用Messenger和Handler這2個 類來進行service和client的交互。
服務端建立信使對象,通過通過onbind將服務端信使對象放在IBind中回調給客戶端,這樣子客戶端就可以拿到服務端信使對象,使用服務端信使對象給服務端發信息了。
在客戶端連接上服務端後,可以建立客戶端信使對象,將客戶端信使對象以消息的形式,發送給服務端,服務端拿到客戶端信使對象後可以給客戶端發消息。
這個是線程安全的。因為都是在同一個隊列裡,在同一個線程裡進行的。它本身是基於AIDL構建的。
c.使用AIDL,適用於需要跨進程,且非線程安全,能夠同一時間處理多個請求的場合。
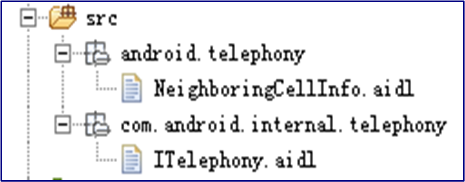
它的使用是創建一個.aidl file文件,裡面定義接口,然後android sdk tool使用它來生成一個抽象類,抽象類裡實現各種接口方法。
注意:對於大多數應用,我們都不應該使用AIDL來bindservice.因為這會使得結果更復雜。
public class LocalService extends Service {
    // Binder given to clients
    private final IBinder mBinder = new LocalBinder();
    // Random number generator
    private final Random mGenerator = new Random();

     //Class used for the client Binder.  Because we know this service always
     //runs in the same process as its clients, we don't need to deal with IPC.
    public class LocalBinder extends Binder {
        LocalService getService() {
            // Return this instance of LocalService so clients can call public methods
            return LocalService.this;
        }
    }

    @Override
    public IBinder onBind(Intent intent) {
        return mBinder;
    }

    //method for clients
    public int getRandomNumber() {
      return mGenerator.nextInt(100);
    }
}
public class BindingActivity extends Activity {
    LocalService mService;
    boolean mBound = false;

    @Override
    protected void onCreate(Bundle savedInstanceState) {
        super.onCreate(savedInstanceState);
        setContentView(R.layout.main);
    }

    @Override
    protected void onStart() {
        super.onStart();
        // Bind to LocalService
        Intent intent = new Intent(this, LocalService.class);
        bindService(intent, mConnection, Context.BIND_AUTO_CREATE);
    }

    @Override
    protected void onStop() {
        super.onStop();
        // Unbind from the service
        if (mBound) {
            unbindService(mConnection);
            mBound = false;
        }
    }

    //** Called when a button is clicked (the button in the layout file attaches to
    //  * this method with the android:onClick attribute)
    public void onButtonClick(View v) {
        if (mBound) {
            // Call a method from the LocalService.
            // However, if this call were something that might hang, then this request should
            // occur in a separate thread to avoid slowing down the activity performance.
            int num = mService.getRandomNumber();
            Toast.makeText(this, "number: " + num, Toast.LENGTH_SHORT).show();
        }
    }

 // Defines callbacks for service binding, passed to bindService()
    private ServiceConnection mConnection = new ServiceConnection() {

        @Override
        public void onServiceConnected(ComponentName className,
                IBinder service) {
            // We've bound to LocalService, cast the IBinder and get LocalService instance
            LocalBinder binder = (LocalBinder) service;
            mService = binder.getService();
            mBound = true;
        }

        @Override
        public void onServiceDisconnected(ComponentName arg0) {
            mBound = false;
        }
    };
}
如果您只需要在 Activity 可見時與服務交互,則應在 onStart() 期間綁定,在 onStop() 期間取消綁定。
如果您希望 Activity 在後台停止運行狀態下仍可接收響應,則可在 onCreate() 期間綁定,在 onDestroy() 期間取消綁定。請注意,這意味著您的 Activity 在其整個運行過程中(甚至包括後台運行期間)都需要使用服務,因此如果服務位於其他進程內,那麼當您提高該進程的權重時,系統終止該進程的可能性會增加
下面是個完整的例子;客戶端和服務端使用Messenger來通訊。
服務端:Server_Service
package com.example.administrator.service_messenger;

import android.app.Service;
import android.content.Intent;
import android.content.ServiceConnection;
import android.os.Handler;
import android.os.IBinder;
import android.os.Message;
import android.os.Messenger;
import android.os.RemoteException;
import android.widget.Toast;

/**
 * 在manifest清單文件中聲明service為另起新的進程。
 */
public class Server_Service extends Service {

    private Messenger clientMessenger;

    /**
     * 服務端的handler
     */
    class ServerHandler extends Handler {
        @Override
        public void handleMessage(Message msg) {
            switch (msg.what) {
                case Client.MSG_FROM_CLIENT:

                    String fromClient = msg.getData().getString("msgFromClient");
                    //收到來自客戶端的信息
                    Toast.makeText(getApplicationContext(), fromClient, Toast.LENGTH_SHORT).show();

                    //回復一下客戶端
                    Message msgFromServer = Message.obtain(null, Client.MSG_FROM_SERVER);
                    msgFromServer.arg1 =200;
                    try {
                        clientMessenger.send(msgFromServer);
                    } catch (RemoteException e) {
                        e.printStackTrace();
                    }
                    break;
                case Client.MSG_FROM_CLIENT_MESSE:  //得到客戶端的信使對象
                    clientMessenger = msg.replyTo;
                    break;
            }
        }
    }

    /**
     * 服務端的Messenger,使用服務端的handler做參數構造。
     */
    final Messenger serverMessenger = new Messenger(new ServerHandler());

    /**
     * 我們在這裡使用服務端的信使對象serverMessenger的IBinder,將其返回給客戶端中的
     * serviceConntected
     */
    @Override
    public IBinder onBind(Intent intent) {
        Toast.makeText(getApplicationContext(), "客戶端綁定服務端成功", Toast.LENGTH_SHORT).show();
        return serverMessenger.getBinder();
    }

    @Override
    public void unbindService(ServiceConnection conn) {
        super.unbindService(conn);
        Toast.makeText(getApplicationContext(), "客戶端取消了服務綁定", Toast.LENGTH_SHORT).show();
    }
}
在manifest下配置:
package com.example.administrator.service_messenger;

import android.content.ComponentName;
import android.content.Context;
import android.content.Intent;
import android.content.ServiceConnection;
import android.os.Bundle;
import android.os.Handler;
import android.os.IBinder;
import android.os.Message;
import android.os.Messenger;
import android.os.RemoteException;
import android.support.v7.app.AppCompatActivity;
import android.view.View;
import android.widget.Toast;

import java.io.UnsupportedEncodingException;
import java.util.Calendar;

public class Client extends AppCompatActivity {

    public static final int MSG_FROM_CLIENT = 1;

    public static final int MSG_FROM_CLIENT_MESSE = 2;

    public static final int MSG_FROM_SERVER = 3;
    //在客戶端裡拿到了服務端的信使對象
    Messenger serverMessenger = null;

    //標記是否已經連上了服務端
    boolean mBound;

    @Override
    protected void onCreate(Bundle savedInstanceState) {
        super.onCreate(savedInstanceState);
        setContentView(R.layout.activity_client);

        //綁定服務
        findViewById(R.id.bt_bind).setOnClickListener(new View.OnClickListener() {
            @Override
            public void onClick(View v) {
                bindService();
            }
        });

        //通過服務端的信使來發信息給服務端
        findViewById(R.id.bt_send).setOnClickListener(new View.OnClickListener() {
            @Override
            public void onClick(View v) {
                try {
                    sendInfoToServer();
                } catch (UnsupportedEncodingException e) {
                    e.printStackTrace();
                }
            }
        });


        //手動解綁服務
        findViewById(R.id.bt_unbind).setOnClickListener(new View.OnClickListener() {
            @Override
            public void onClick(View v) {
                unBindService();
            }
        });
    }

    @Override
    protected void onDestroy() {
        super.onDestroy();
        //在activity銷毀時,可以選擇取消綁定服務
        unBindService();
    }

    //客戶端的handler
    private Handler clientHandler = new Handler() {
        @Override
        public void handleMessage(Message msg) {
            switch (msg.what) {
                case MSG_FROM_SERVER:
                    Toast.makeText(getApplicationContext(),  "server received :"+msg.arg1+"", Toast.LENGTH_SHORT).show();
                    break;

            }
        }
    };

    /**
     * 客戶端的Messenger,使用客戶的handler做參數構造。
     */
    final Messenger clientMessenger = new Messenger(clientHandler);

    private ServiceConnection mConnection = new ServiceConnection() {
        public void onServiceConnected(ComponentName className, IBinder service) {
            //當我們連接上服務端後,會調用該方法。在方法裡會回調給我們IBinder對象,
            //由於bindservice綁定服務後,服務端返回給客戶端的IBinder是同一個。
            //所以這裡我們可以利用IBinder來構建服務端裡的信使對象。
            //之後有了服務端的信使對象,就可以隨便網服務端發送信息了。

            //構建服務端信使對象
            serverMessenger = new Messenger(service);
            mBound = true;

            //並將客戶端的messenger發給服務端,讓服務端也可以給客戶端發送消息
            Message msg = Message.obtain(null, MSG_FROM_CLIENT_MESSE);
            msg.replyTo = clientMessenger;
            try {
                serverMessenger.send(msg);
            } catch (RemoteException e) {
                e.printStackTrace();
            }
        }

        public void onServiceDisconnected(ComponentName className) {
            // 當連接服務端異常時調用
            serverMessenger = null;
            mBound = false;
        }
    };

    private void sendInfoToServer() throws UnsupportedEncodingException {
        if (!mBound) return;
        Message msg = Message.obtain(null, MSG_FROM_CLIENT, 0, 0);
        String strMsg = "server received:" + Calendar.getInstance().getTime();
        Bundle data = new Bundle();
        data.putString("msgFromClient", strMsg);
        msg.setData(data);
        try {
            serverMessenger.send(msg);
        } catch (RemoteException e) {
            e.printStackTrace();
        }
    }

    @Override
    protected void onStart() {
        super.onStart();
        // 在界面可見時,可以選擇去綁定服務
    }

    @Override
    protected void onStop() {
        super.onStop();
        // 在界面不可見時,可以選擇去解綁服務
    }

    private void bindService() {
        bindService(new Intent(this, Server_Service.class), mConnection,
                Context.BIND_AUTO_CREATE);
    }

    private void unBindService() {
        if (mBound) {
            unbindService(mConnection);
            mBound = false;
        }
    }

}
 基於XMPP 協議的開發 android
設計過一款基於開源的XMPP即時通信協議的軟件,采用C/S協議,通過GPRS無線網絡用TCP協議到服務器,以架設開源的Openfire 服務器作為即時通訊平台 系統主要由
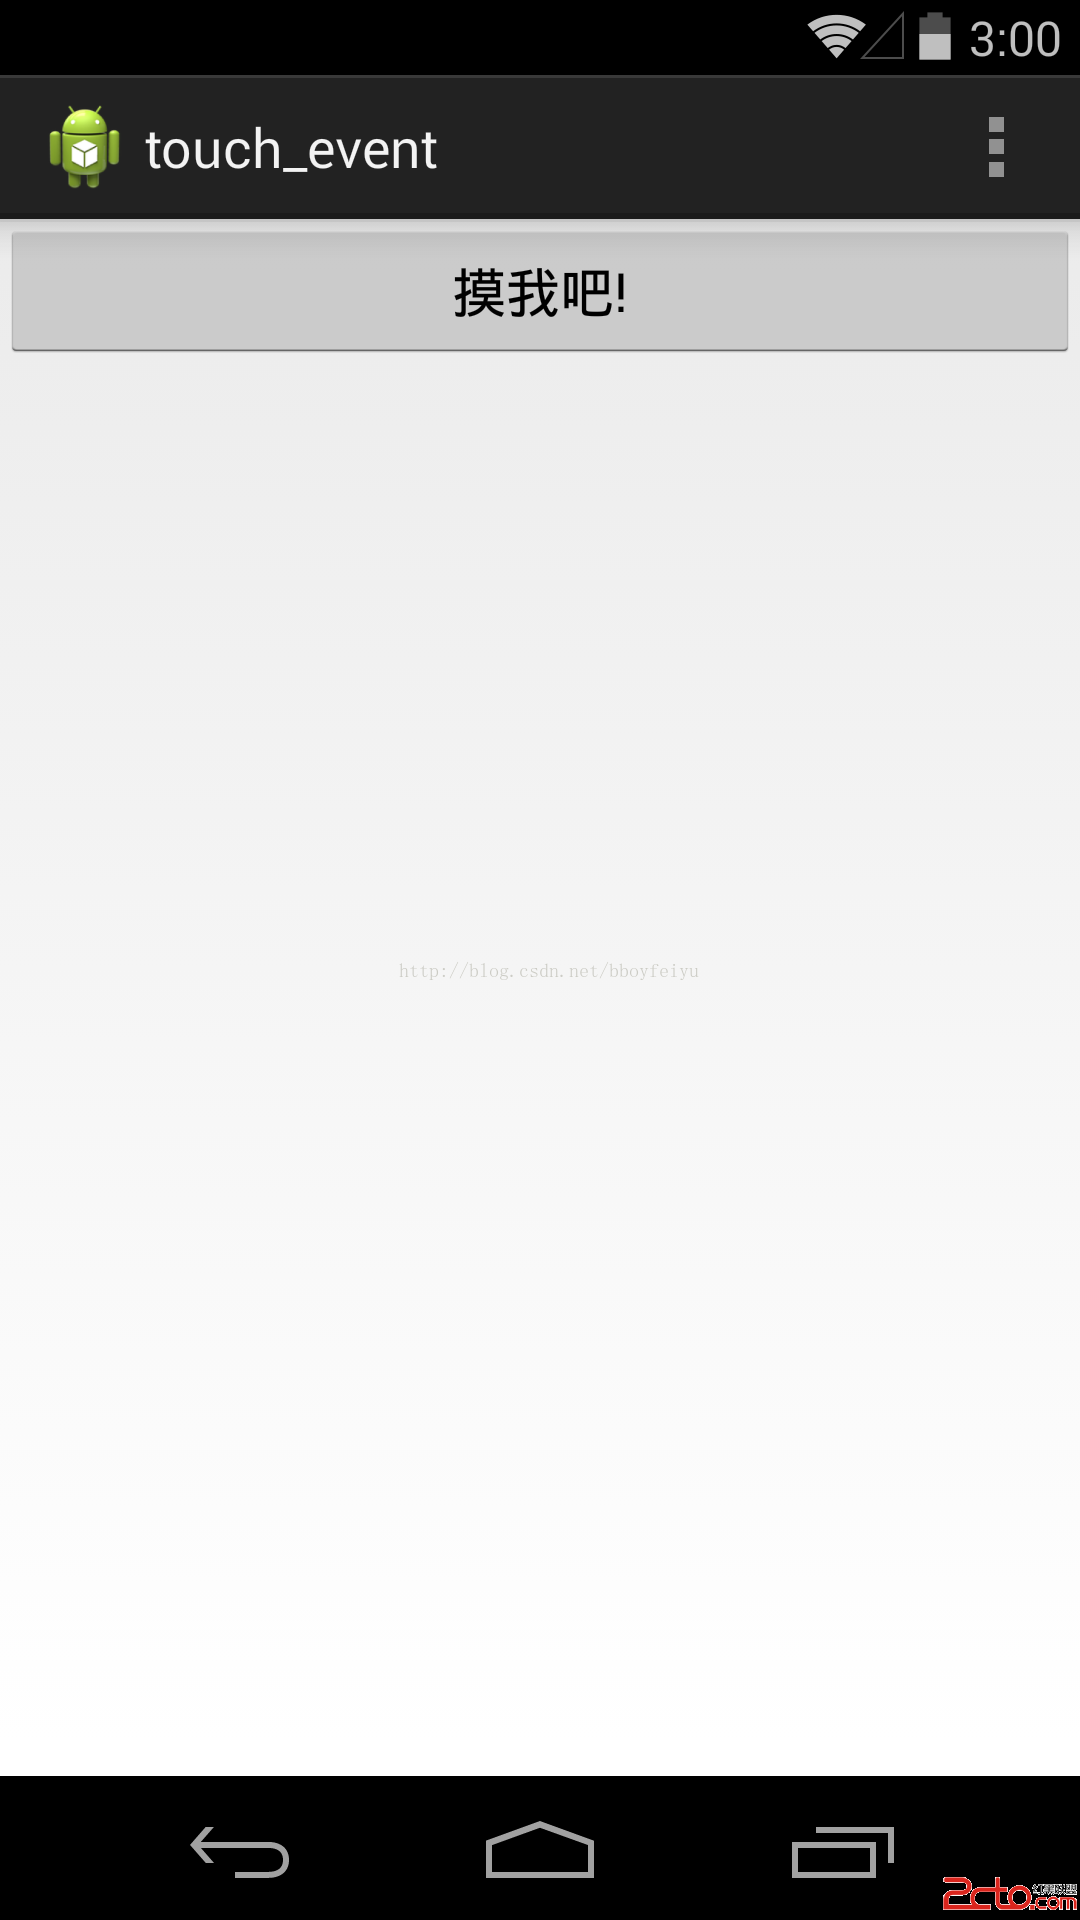 Android Touch事件分發過程
盡管網絡上已經有很多關於這個話題的優秀文章了,但還是寫了這篇文章,主要還是為了加強自己的記憶吧,自己過一遍總比看別人的分析要深刻得多,那就走起吧。簡單示例 先看一
 安卓(Android)手機拔號盤你所不知道的功能
如果大家有過維修手機的經歷,就會發現,維修師傅經常會在手機的拔號盤裡輸入一串數字字母,然後屏幕就會出現你以前從來都沒有見過的菜單,大家這時不必驚訝,其實那不
 Android獲取時間戳,以及將時間戳轉換為時間
實際開發中,服務端返回的時間一般是時間戳的格式。這時客戶端就需要對時間戳做出處理,將時間戳轉換為標准的時間格式。 打印效果圖: 直接上代碼