編輯:關於Android編程
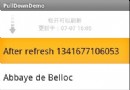
先看看效果圖:
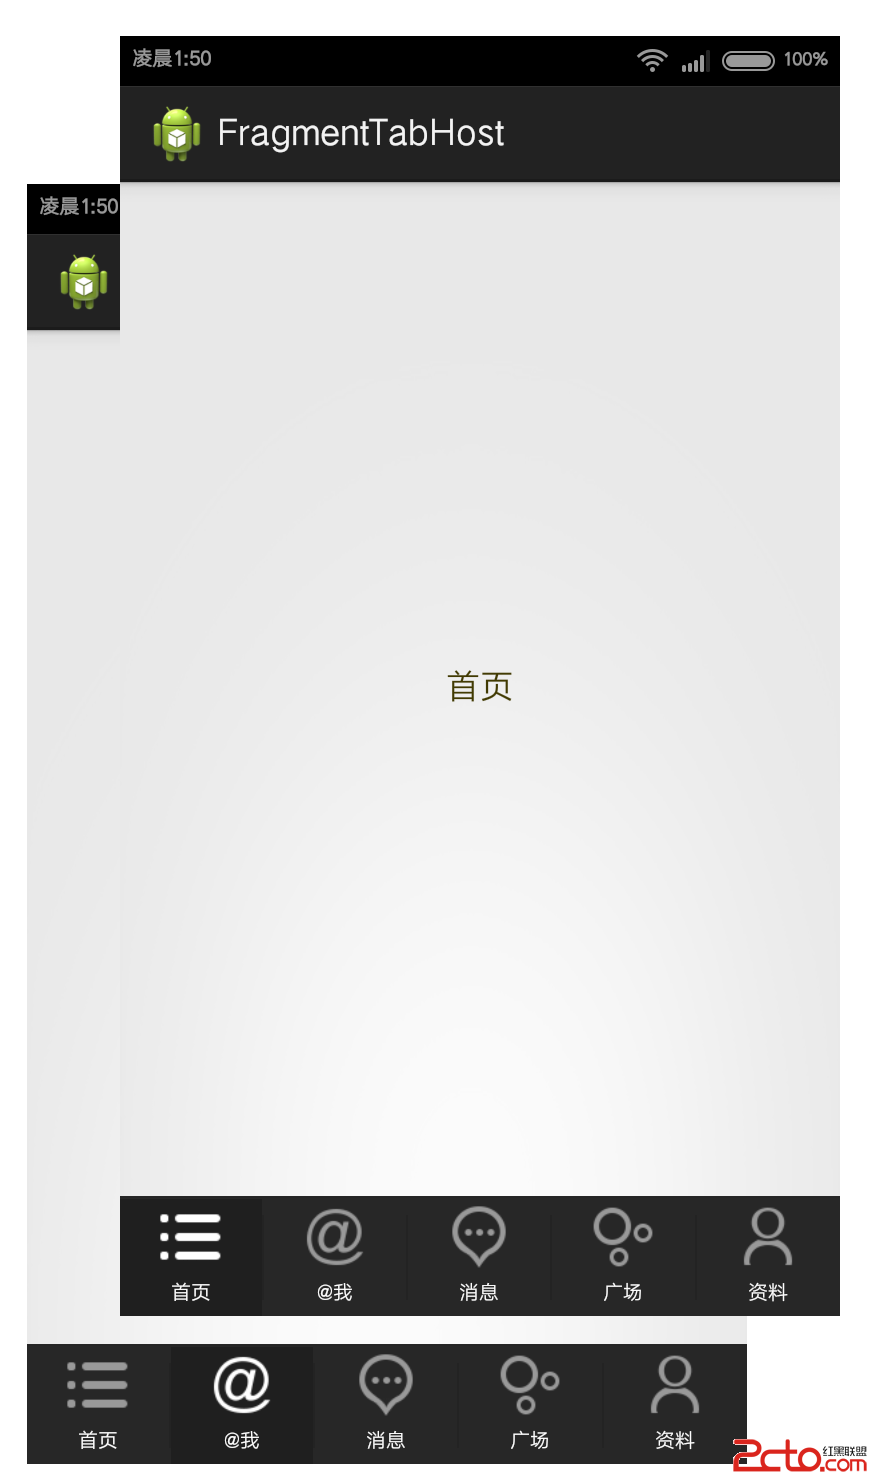
第一篇Tab系列的文章首先實現這種風格的底部Tab:背景條顏色不變,我們是用了深灰的顏色,圖標會發生相應的變化,當選中某個標簽後該標簽的背板會由正常的顏色變為不正常,哈哈,是變為加深的灰色,更加凸顯當前頁的效果,所以我比較這種類型。在這裡文字的變化我沒處理,如果變色使用個selector就解決了,這裡不再贅述。
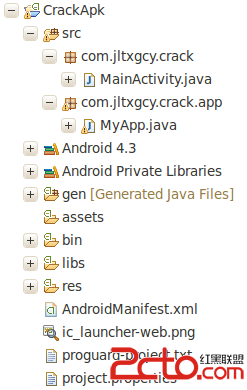
再看一下整個Project的結構,如下
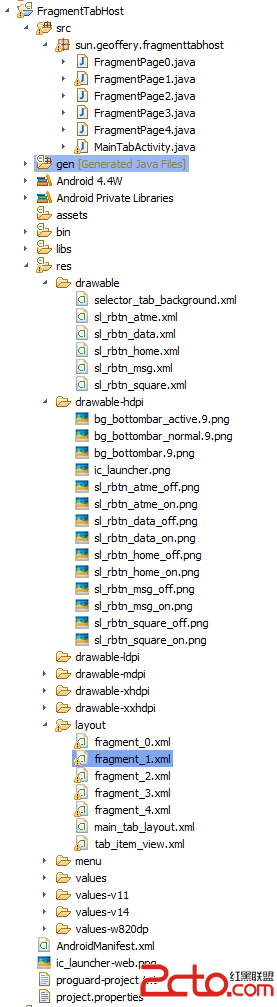
下面逐一介紹一下實現過程,具體實現還是看注釋吧,代碼也不是很多,就不啰嗦了。
step1:首先是主界面MainTabActivity.java
package sun.geoffery.fragmenttabhost;

import android.os.Bundle;
import android.support.v4.app.FragmentActivity;
import android.support.v4.app.FragmentTabHost;
import android.view.LayoutInflater;
import android.view.View;
import android.widget.ImageView;
import android.widget.TabHost.TabSpec;
import android.widget.TextView;

/**
 * All rights Reserved, Designed By GeofferySun
 * @Title: 	MainTabActivity.java
 * @Package sun.geoffery.fragmenttabhost
 * @Description:自定義TabHost
 * @author:	GeofferySun
 * @date:	2014-9-28 下午11:33:15
 * @version	V1.0
 */
public class MainTabActivity extends FragmentActivity {
	// 定義FragmentTabHost對象
	private FragmentTabHost mTabHost;

	// 定義一個布局
	private LayoutInflater mInflater;

	// 定義數組來存放Fragment界面
	private Class mFragmentAry[] = { FragmentPage0.class, FragmentPage1.class,
			FragmentPage2.class, FragmentPage3.class, FragmentPage4.class };

	// 定義數組來存放按鈕圖片
	private int mImgAry[] = { R.drawable.sl_rbtn_home,
			R.drawable.sl_rbtn_atme,
			R.drawable.sl_rbtn_msg,
			R.drawable.sl_rbtn_square,
			R.drawable.sl_rbtn_data };

	// Tab選項卡的文字
	private String mTxtAry[] = { "首頁", "@我", "消息", "廣場", "資料" };

	public void onCreate(Bundle savedInstanceState) {
		super.onCreate(savedInstanceState);
		setContentView(R.layout.main_tab_layout);

		initView();
	}

	/**
	 * 初始化組件
	 */
	private void initView() {
		// 實例化布局對象
		mInflater = LayoutInflater.from(this);

		// 實例化TabHost對象,得到TabHost
		mTabHost = (FragmentTabHost) findViewById(android.R.id.tabhost);
		mTabHost.setup(this, getSupportFragmentManager(), R.id.realtabcontent);

		// 得到fragment的個數
		int count = mFragmentAry.length;

		for (int i = 0; i < count; i++) {
			// 為每一個Tab按鈕設置圖標、文字和內容
			TabSpec tabSpec = mTabHost.newTabSpec(mTxtAry[i]).setIndicator(getTabItemView(i));
			// 將Tab按鈕添加進Tab選項卡中
			mTabHost.addTab(tabSpec, mFragmentAry[i], null);
			// 設置Tab按鈕的背景
			mTabHost.getTabWidget().getChildAt(i).setBackgroundResource(R.drawable.selector_tab_background);
		}
	}

	/**
	 * 給Tab按鈕設置圖標和文字
	 * @param index
	 * @return
	 */
	private View getTabItemView(int index) {
		View view = mInflater.inflate(R.layout.tab_item_view, null);

		ImageView imageView = (ImageView) view.findViewById(R.id.imageview);
		imageView.setImageResource(mImgAry[index]);

		TextView textView = (TextView) view.findViewById(R.id.textview);
		textView.setText(mTxtAry[index]);

		return view;
	}
}
package sun.geoffery.fragmenttabhost;

import android.os.Bundle;
import android.support.v4.app.Fragment;
import android.view.LayoutInflater;
import android.view.View;
import android.view.ViewGroup;

public class FragmentPage0 extends Fragment {

	@Override
	public View onCreateView(LayoutInflater inflater, ViewGroup container,
			Bundle savedInstanceState) {
		return inflater.inflate(R.layout.fragment_0, null);
	}
}
step3:單選標簽的背板文件selector_tab_background.xml
step4:標簽的圖標sl_rbtn_atme.xml,有點擊效果就要這麼搞
step5:主界面布局main_tab_layout.xml
step6:每個標簽的布局tab_item_view.xml,上邊一個圖標,下邊一個文字<frameLayout android:id="@+id/realtabcontent" android:layout_width="fill_parent" android:layout_height="0dip" android:layout_weight="1" /> <frameLayout android:id="@android:id/tabcontent" android:layout_width="0dp" android:layout_height="0dp" android:layout_weight="0" />
step7:每個標簽對應頁面的布局fragment_0.xml
OK,到此為止,就完事兒了,以上步驟沒有按照開發順序來,但還是應該能看懂的吧,哈哈,看不懂請留言咪我。
 Android程序開發之Listview下拉刷新上拉(滑動分頁)加載更多
最近做的類似於微博的項目中,有個Android功能要使用到listview的向下拉刷新來刷新最新消息,向上拉刷新(滑動分頁)來加載更多。新浪微博就是使用這種方式的典型。當
 (Android review)文件的讀寫(對File的操作)
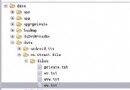
Android中對操作的文件主要可以分為:File、XML、SharedPreference。這篇博客主要介紹對File的操作:1、MainActivity保存到SD卡中
 Android AlertDialog實現分享對話框/退出對話框/下載對話框
一.摘要彈窗通常用於提示用戶進行某種操作,比如:點擊分享按鈕,彈窗分享對話框;雙擊返回按鈕,彈窗退出對話框;下載文件,提示下載對話框等等,分享對話框/退出對話框/下載對話
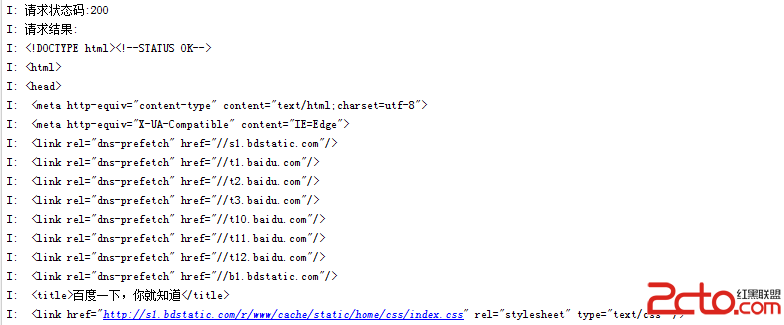 Android網絡編程(二)HttpClient與HttpURLConnection
前言上一篇我們了解了HTTP協議原理,這一篇我們來講講Apache的HttpClient和Java的HttpURLConnection,這兩種都是我們平常請求網絡會用到的