編輯:關於android開發
一、簡介
Android的消息機制主要是指Handler的運行機制,那麼什麼是Handler的運行機制那?通俗的來講就是,使用Handler將子線程的Message放入主線程的Messagequeue中,在主線程使用。
二、學習內容
學習Android的消息機制,我們需要先了解如下內容。
平常我們接觸的大多是Handler和Message,今天就讓我們來深入的了解一下他們。
三、代碼詳解
一般而言我們都是這樣使用Handler的
xxHandler.sendEmptyMessage(xxx);
當然還有其他表示方法,但我們深入到源代碼中,會發現,他們最終都調用了一個方法
 public boolean sendMessageAtTime(Message msg, long uptimeMillis) {
        MessageQueue queue = mQueue;
        if (queue == null) {
            RuntimeException e = new RuntimeException(
                    this + " sendMessageAtTime() called with no mQueue");
            Log.w("Looper", e.getMessage(), e);
            return false;
        }
        return enqueueMessage(queue, msg, uptimeMillis);
    }
sendMessageAtTime()方法,但這依然不是結束,我們可以看到最後一句enqueueMessage(queue, msg, uptimeMillis);按字面意思來說插入一條消息,那麼疑問來了,消息插入了哪裡。
 1   boolean enqueueMessage(Message msg, long when) {
 2         if (msg.target == null) {
 3             throw new IllegalArgumentException("Message must have a target.");
 4         }
 5         if (msg.isInUse()) {
 6             throw new IllegalStateException(msg + " This message is already in use.");
 7         }
 8
 9         synchronized (this) {
10             if (mQuitting) {
11                 IllegalStateException e = new IllegalStateException(
12                         msg.target + " sending message to a Handler on a dead thread");
13                 Log.w(TAG, e.getMessage(), e);
14                 msg.recycle();
15                 return false;
16             }
17
18             msg.markInUse();
19             msg.when = when;
20             Message p = mMessages;
21             boolean needWake;
22             if (p == null || when == 0 || when < p.when) {
23                 // New head, wake up the event queue if blocked.
24                 msg.next = p;
25                 mMessages = msg;
26                 needWake = mBlocked;
27             } else {
28                 // Inserted within the middle of the queue.  Usually we don't have to wake
29                 // up the event queue unless there is a barrier at the head of the queue
30                 // and the message is the earliest asynchronous message in the queue.
31                 needWake = mBlocked && p.target == null && msg.isAsynchronous();
32                 Message prev;
33                 for (;;) {
34                     prev = p;
35                     p = p.next;
36                     if (p == null || when < p.when) {
37                         break;
38                     }
39                     if (needWake && p.isAsynchronous()) {
40                         needWake = false;
41                     }
42                 }
43                 msg.next = p; // invariant: p == prev.next
44                 prev.next = msg;
45             }
46
47             // We can assume mPtr != 0 because mQuitting is false.
48             if (needWake) {
49                 nativeWake(mPtr);
50             }
51         }
52         return true;
53     }
進入源代碼,我們發現,我們需要了解一個新類Messagequeue。
雖然我們一般把他叫做消息隊列,但是通過研究,我們發下,它實際上是一種單鏈表的數據結構,而我們對它的操作主要是插入和讀取。
看代碼33-44,學過數據結構,我們可以輕松的看出,這是一個單鏈表的插入末尾的操作。
這樣就明白了,我們send方法實質就是向Messagequeue中插入這麼一條消息,那麼另一個問題隨之而來,我們該如何處理這條消息。
處理消息我們離不開一個重要的,Looper。那麼它在消息機制中又有什麼樣的作用那?
Looper扮演著消息循環的角色,具體而言它會不停的從MessageQueue中查看是否有新消息如果有新消息就會立刻處理,否則就已知阻塞在那裡,現在讓我們來看一下他的代碼實現。
首先是構造方法
 private Looper(boolean quitAllowed) {
        mQueue = new MessageQueue(quitAllowed);
        mThread = Thread.currentThread();
    }
可以發現,它將當前線程對象保存了起來。我們繼續
Looper在新線程創建過程中有兩個重要的方法looper.prepare() looper.loop
new Thread(){
    public void run(){
        Looper.prepare();
        Handler handler = new Handler();
        Looper.loop();
    }
}.start();
我們先來看prepare()方法
1 private static void prepare(boolean quitAllowed) {
2         if (sThreadLocal.get() != null) {
3             throw new RuntimeException("Only one Looper may be created per thread");
4         }
5         sThreadLocal.set(new Looper(quitAllowed));
6     }
咦,我們可以看到這裡面又有一個ThreadLocal類,我們在這簡單了解一下,他的特性,set(),get()方法。
首先ThreadLocal是一個線程內部的數據存儲類,通過它可以在指定的線程中存儲數據,數據存儲後,只有在制定線程中可以獲取存儲的數據,對於其他線程而言則無法獲取到數據。簡單的來說。套用一個列子:
private ThreadLocal<Boolean> mBooleanThreadLocal = new                ThreadLocal<Boolean>();//


mBooleanThreadLocal.set(true);
Log.d(TAH,"Threadmain"+mBooleanThreadLocal.get());
new Thread("Thread#1"){
    public void run(){
        mBooleanThreadLocal.set(false);
        Log.d(TAH,"Thread#1"+mBooleanThreadLocal.get());
    };
}.start();

new Thread("Thread#2"){
    public void run(){
        Log.d(TAH,"Thread#2"+mBooleanThreadLocal.get());
    };
}.start();
上面的代碼運行後,我們會發現,每一個線程的值都是不同的,即使他們訪問的是同意個ThreadLocal對象。
那麼我們接下來會在之後分析源碼,為什麼他會不一樣。現在我們跳回prepare()方法那一步,loop()方法源碼貼上
 1 public static void loop() {
 2         final Looper me = myLooper();
 3         if (me == null) {
 4             throw new RuntimeException("No Looper; Looper.prepare() wasn't called on this thread.");
 5         }
 6         final MessageQueue queue = me.mQueue;
 7
 8         // Make sure the identity of this thread is that of the local process,
 9         // and keep track of what that identity token actually is.
10         Binder.clearCallingIdentity();
11         final long ident = Binder.clearCallingIdentity();
12
13         for (;;) {
14             Message msg = queue.next(); // might block
15             if (msg == null) {
16                 // No message indicates that the message queue is quitting.
17                 return;
18             }
19
20             // This must be in a local variable, in case a UI event sets the logger
21             Printer logging = me.mLogging;
22             if (logging != null) {
23                 logging.println(">>>>> Dispatching to " + msg.target + " " +
24                         msg.callback + ": " + msg.what);
25             }
26
27             msg.target.dispatchMessage(msg);
28
29             if (logging != null) {
30                 logging.println("<<<<< Finished to " + msg.target + " " + msg.callback);
31             }
32
33             // Make sure that during the course of dispatching the
34             // identity of the thread wasn't corrupted.
35             final long newIdent = Binder.clearCallingIdentity();
36             if (ident != newIdent) {
37                 Log.wtf(TAG, "Thread identity changed from 0x"
38                         + Long.toHexString(ident) + " to 0x"
39                         + Long.toHexString(newIdent) + " while dispatching to "
40                         + msg.target.getClass().getName() + " "
41                         + msg.callback + " what=" + msg.what);
42             }
43
44             msg.recycleUnchecked();
45         }
46     }
首先loop()方法,獲得這個線程的Looper,若沒有拋出異常。再獲得新建的Messagequeue,在這裡我們有必要補充一下Messagequeue的next()方法。
  1   Message next() {
  2         // Return here if the message loop has already quit and been disposed.
  3         // This can happen if the application tries to restart a looper after quit
  4         // which is not supported.
  5         final long ptr = mPtr;
  6         if (ptr == 0) {
  7             return null;
  8         }
  9
 10         int pendingIdleHandlerCount = -1; // -1 only during first iteration
 11         int nextPollTimeoutMillis = 0;
 12         for (;;) {
 13             if (nextPollTimeoutMillis != 0) {
 14                 Binder.flushPendingCommands();
 15             }
 16
 17             nativePollOnce(ptr, nextPollTimeoutMillis);
 18
 19             synchronized (this) {
 20                 // Try to retrieve the next message.  Return if found.
 21                 final long now = SystemClock.uptimeMillis();
 22                 Message prevMsg = null;
 23                 Message msg = mMessages;
 24                 if (msg != null && msg.target == null) {
 25                     // Stalled by a barrier.  Find the next asynchronous message in the queue.
 26                     do {
 27                         prevMsg = msg;
 28                         msg = msg.next;
 29                     } while (msg != null && !msg.isAsynchronous());
 30                 }
 31                 if (msg != null) {
 32                     if (now < msg.when) {
 33                         // Next message is not ready.  Set a timeout to wake up when it is ready.
 34                         nextPollTimeoutMillis = (int) Math.min(msg.when - now, Integer.MAX_VALUE);
 35                     } else {
 36                         // Got a message.
 37                         mBlocked = false;
 38                         if (prevMsg != null) {
 39                             prevMsg.next = msg.next;
 40                         } else {
 41                             mMessages = msg.next;
 42                         }
 43                         msg.next = null;
 44                         if (DEBUG) Log.v(TAG, "Returning message: " + msg);
 45                         msg.markInUse();
 46                         return msg;
 47                     }
 48                 } else {
 49                     // No more messages.
 50                     nextPollTimeoutMillis = -1;
 51                 }
 52
 53                 // Process the quit message now that all pending messages have been handled.
 54                 if (mQuitting) {
 55                     dispose();
 56                     return null;
 57                 }
 58
 59                 // If first time idle, then get the number of idlers to run.
 60                 // Idle handles only run if the queue is empty or if the first message
 61                 // in the queue (possibly a barrier) is due to be handled in the future.
 62                 if (pendingIdleHandlerCount < 0
 63                         && (mMessages == null || now < mMessages.when)) {
 64                     pendingIdleHandlerCount = mIdleHandlers.size();
 65                 }
 66                 if (pendingIdleHandlerCount <= 0) {
 67                     // No idle handlers to run.  Loop and wait some more.
 68                     mBlocked = true;
 69                     continue;
 70                 }
 71
 72                 if (mPendingIdleHandlers == null) {
 73                     mPendingIdleHandlers = new IdleHandler[Math.max(pendingIdleHandlerCount, 4)];
 74                 }
 75                 mPendingIdleHandlers = mIdleHandlers.toArray(mPendingIdleHandlers);
 76             }
 77
 78             // Run the idle handlers.
 79             // We only ever reach this code block during the first iteration.
 80             for (int i = 0; i < pendingIdleHandlerCount; i++) {
 81                 final IdleHandler idler = mPendingIdleHandlers[i];
 82                 mPendingIdleHandlers[i] = null; // release the reference to the handler
 83
 84                 boolean keep = false;
 85                 try {
 86                     keep = idler.queueIdle();
 87                 } catch (Throwable t) {
 88                     Log.wtf(TAG, "IdleHandler threw exception", t);
 89                 }
 90
 91                 if (!keep) {
 92                     synchronized (this) {
 93                         mIdleHandlers.remove(idler);
 94                     }
 95                 }
 96             }
 97
 98             // Reset the idle handler count to 0 so we do not run them again.
 99             pendingIdleHandlerCount = 0;
100
101             // While calling an idle handler, a new message could have been delivered
102             // so go back and look again for a pending message without waiting.
103             nextPollTimeoutMillis = 0;
104         }
105     }
從24-30我們可以看到,他遍歷了整個queue找到msg,若是msg為null,我們可以看到50,他把nextPollTimeoutMillis = -1;實際上是等待enqueueMessage的nativeWake來喚醒。較深的源碼涉及了native層代碼,有興趣可以研究一下。簡單來說next()方法,在有消息是會返回這條消息,若沒有,則阻塞在這裡。
我們回到loop()方法27msg.target.dispatchMessage(msg);我們看代碼
 public void dispatchMessage(Message msg) {
        if (msg.callback != null) {
            handleCallback(msg);
        } else {
            if (mCallback != null) {
                if (mCallback.handleMessage(msg)) {
                    return;
                }
            }
            handleMessage(msg);
        }
    }
msg.target實際上就是發送這條消息的Handler,我們可以看到它將msg交給dispatchMessage(),最後調用了我們熟悉的方法handleMessage(msg);
三、總結
到目前為止,我們了解了android的消息機制流程,但它實際上還涉及了深層的native層方法,這裡有一篇博客專門講解這個轉載一下
http://www.cnblogs.com/angeldevil/p/3340644.html。
 自定義控件之 圓形 / 圓角 ImageView,圓角imageview
自定義控件之 圓形 / 圓角 ImageView,圓角imageview一、問題在哪裡? 問題來源於app開發中一個很常見的場景——用戶頭像要展示
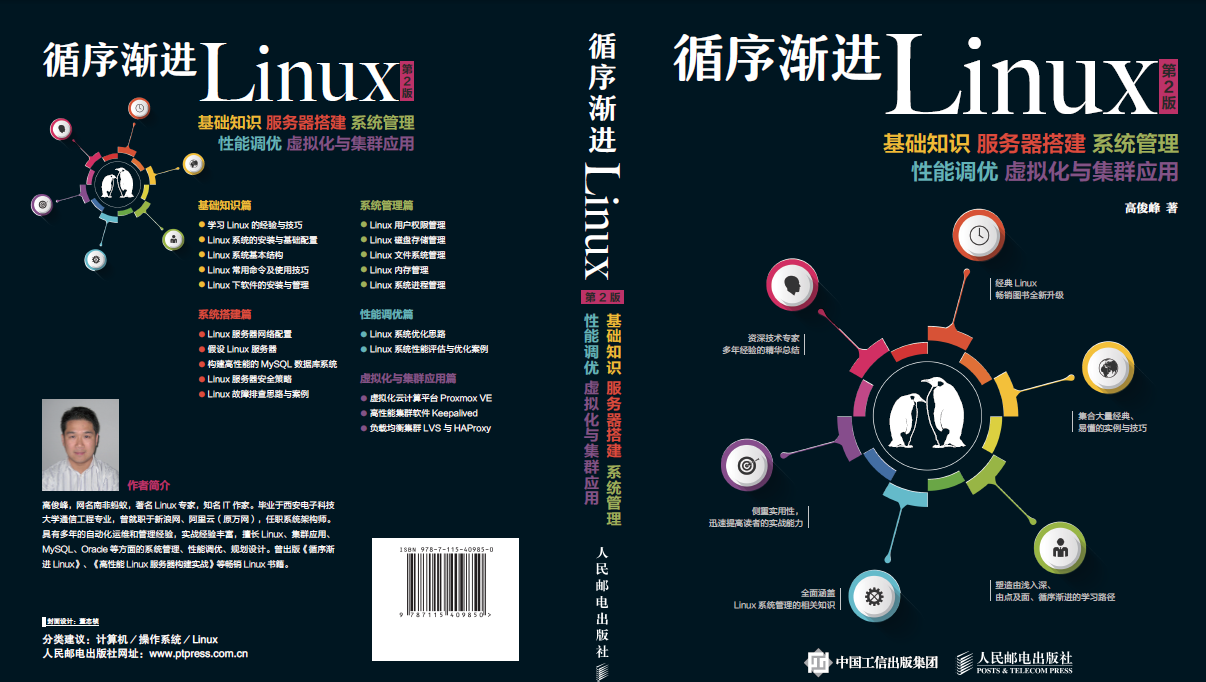 《循序漸進Linux》第二版即將出版發行(附封面)
《循序漸進Linux》第二版即將出版發行(附封面)從《循序漸進Linux》第一版發布,到現在已經近6年了,6年的時間,技術發生了很大的變化,Linux系統的內核版本從2.
 計算機網絡和Internet之核心網絡,計算機網絡internet
計算機網絡和Internet之核心網絡,計算機網絡internet1.網狀的路由器 路由器的鏈接組成了網絡的核心。 任何一個路由器,或者某條線路掛掉,但是網絡還是通的,這
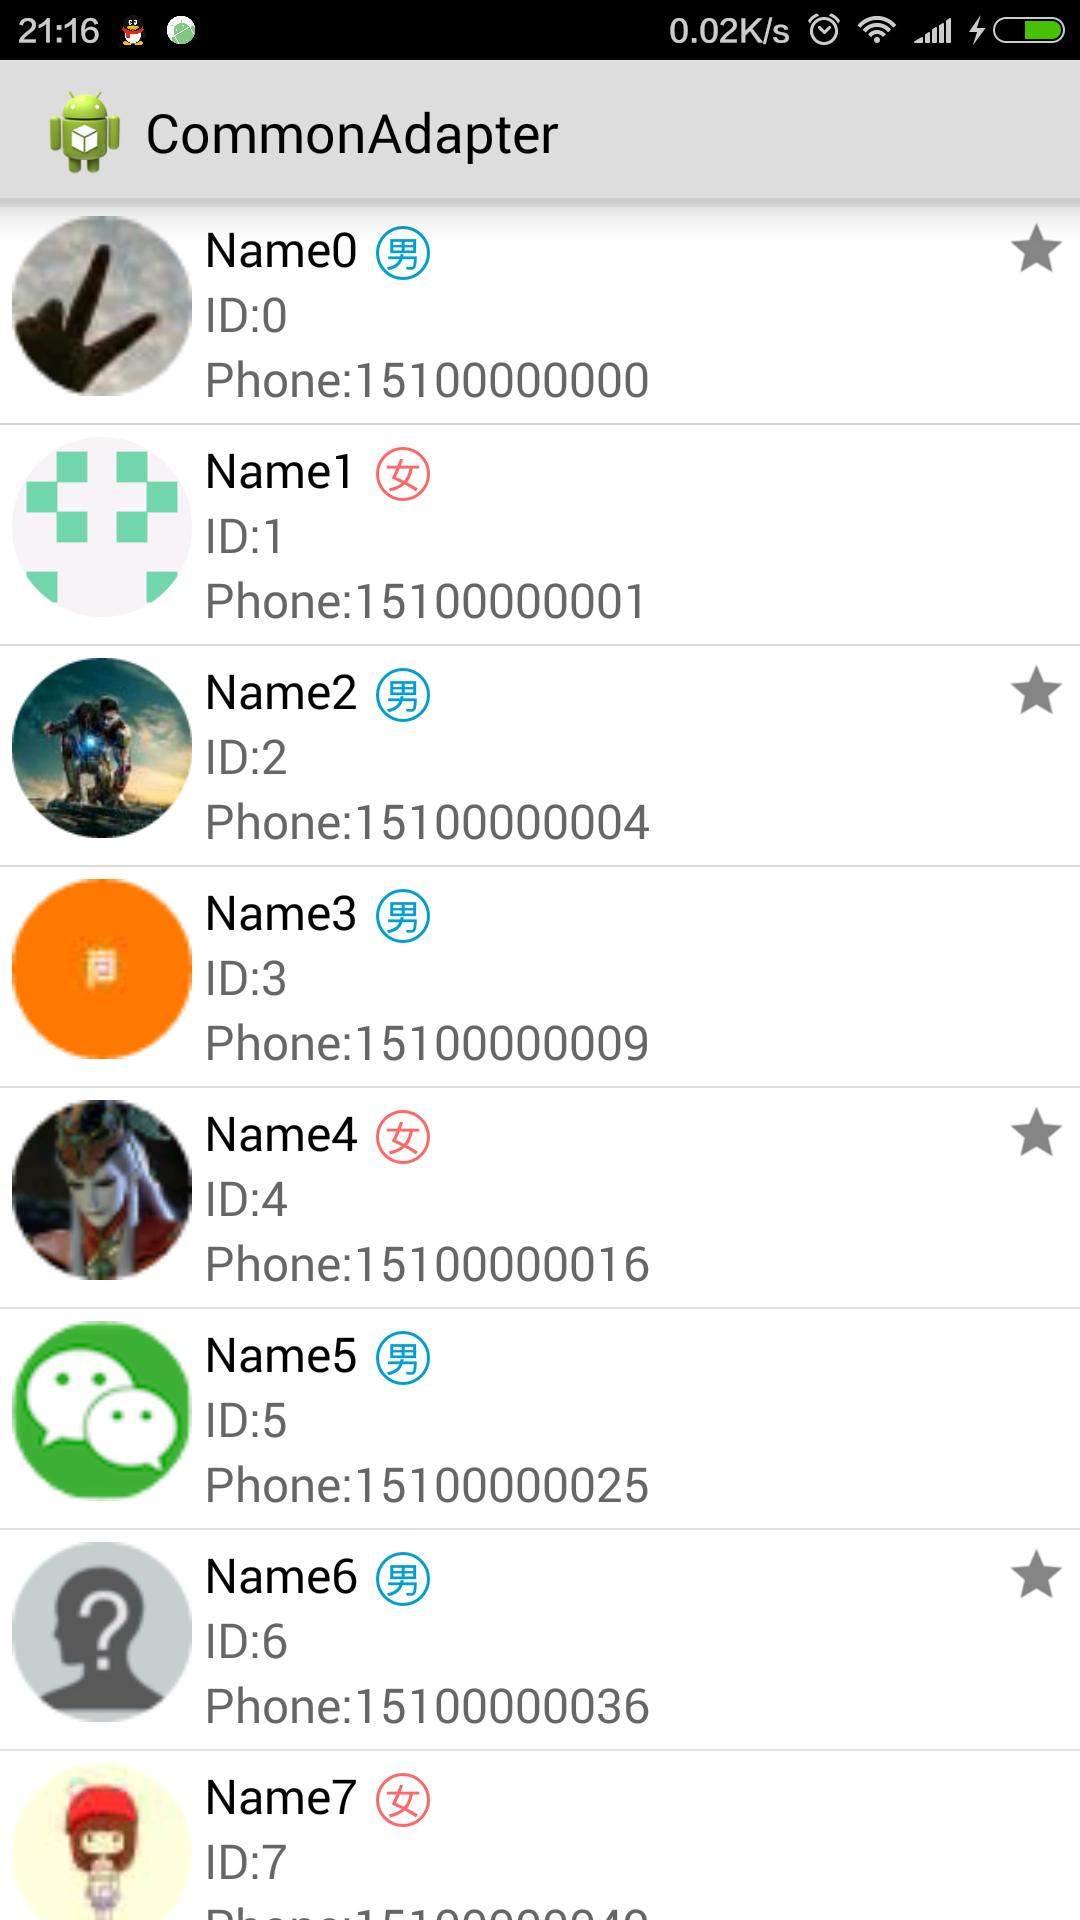 高靈活低耦合Adapter快速開發攻略,耦合adapter攻略
高靈活低耦合Adapter快速開發攻略,耦合adapter攻略Android開發中經常需要使用Adapter。 傳統方法是自定義一個Adapter並繼承AndroidSD