編輯:關於android開發
Android 提供了不少硬體功能。其中照相機功能更是兵家必爭之地。
甚至爆發如「三星門」等事件。不過本篇文章的目的只呼叫Android系統定義的API,取得相片後顯示出來。
現在我們先引入幾個 Android 負責處理 Camera 的命名空間。
當然會多些,不過要是在 Visual Studio 內開發的同學,很快就可以用工具移除。
using System;
using System.Linq;
using System.Text;
using System.Collections.Generic;

using Android.OS;
using Android.App;
using Android.Views;
using Android.Widget;
using Android.Content;
using Android.Runtime;
using Android.Graphics;
using Android.Provider;
using Android.Content.PM;

using Java.IO;

using Environment = Android.OS.Environment;
using Uri = Android.Net.Uri;
我們先檢查硬體配備是否已準備好?
private bool IsThereAnAppToTakePictures ()
{
  Intent intent = new Intent (MediaStore.ActionImageCapture);
   IList<ResolveInfo> availableActivities = PackageManager.QueryIntentActivities (intent, PackageInfoFlags.MatchDefaultOnly);
   return availableActivities != null && availableActivities.Count > 0;
}
特別請大家注意
Intent intent = new Intent (MediaStore.ActionImageCapture);
在這邊我們使用系統提供的 Intent 來取得照相機的功能。
然後我們準備存儲目錄
private void CreateDirectoryForPictures ()
{
    App._dir = new File (
    Environment.GetExternalStoragePublicDirectory ( Environment.DirectoryPictures), "AndroidTips");
    if (!App._dir.Exists ())
    {
        bool result =App._dir.Mkdirs( );
        Debug.WriteLine ("mkdir:" + result);
    }
}
準備處理 Bitmap 的方法(改變大小確保能按比例顯示)
public static class BitmapHelpers
{
  public static Bitmap LoadAndResizeBitmap (this string fileName, int width, int height)
   {
    // First we get the the dimensions of the file on disk
       BitmapFactory.Options options = new BitmapFactory.Options { InJustDecodeBounds = true };
       BitmapFactory.DecodeFile (fileName, options);

       int outHeight = options.OutHeight;
       int outWidth = options.OutWidth;
       int inSampleSize = 1;

       if (outHeight > height || outWidth > width)
       {
         inSampleSize = outWidth > outHeight
            ? outHeight / height : outWidth / width;
       }

       // Now we will load the image and have BitmapFactory resize it for us.
       options.InSampleSize = inSampleSize;
       options.InJustDecodeBounds = false;
       Bitmap resizedBitmap = BitmapFactory.DecodeFile (fileName, options);

       return resizedBitmap;
  }
}
準備回調的方法
protected override void OnActivityResult (int requestCode, Result resultCode, Intent data)
{
    base.OnActivityResult (requestCode, resultCode, data);

    // Make it available in the gallery

    Intent mediaScanIntent = new Intent (Intent.ActionMediaScannerScanFile);
    Uri contentUri = Uri.FromFile (App._file);
    mediaScanIntent.SetData (contentUri);
    SendBroadcast (mediaScanIntent);

    // Display in ImageView. We will resize the bitmap to fit the display.
    // Loading the full sized image will consume to much memory
    // and cause the application to crash.

    int height = Resources.DisplayMetrics.HeightPixels;
    int width = resultImageView.Height ;
    App.bitmap = App._file.Path.LoadAndResizeBitmap (width, height);
    if (App.bitmap != null) {
        resultImageView.SetImageBitmap (App.bitmap);

        Debug.WriteLine ("contentUri:" + contentUri);

        App.bitmap = null;
    }


    // Dispose of the Java side bitmap.
    GC.Collect();
}
如此即可快速調用照相機的功能。
參考資料:https://developer.xamarin.com/recipes/android/other_ux/camera_intent/take_a_picture_and_save_using_camera_app/
 年底了,給MySQL做個例行巡檢吧
年底了,給MySQL做個例行巡檢吧前言:例行巡檢是節假日來臨之前的必做項目,對服務器做一輪全面的健康檢查,一方面可以確保節假日期間服務器的穩定,另外還可以檢查一下平時監控
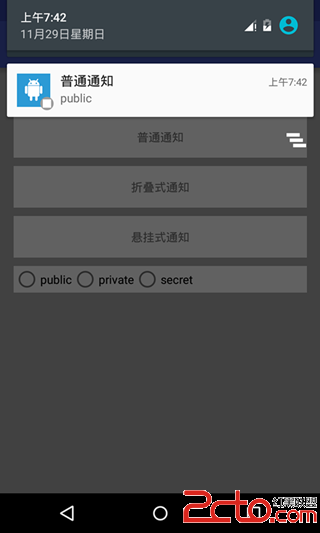 Android5.x Notification應用解析
Android5.x Notification應用解析 Notification可以讓我們在獲得消息的時候,在狀態欄,鎖屏界面來顯示相應的信息,很難想象如果沒有Not
 Android Studio自定義注釋模板及生成JavaDoc,androidjavadoc
Android Studio自定義注釋模板及生成JavaDoc,androidjavadoc剛開始學習Android,使用了Android Studio IDE。為了將來
 安卓--selector簡單使用,安卓--selector
安卓--selector簡單使用,安卓--selectorselector ---選擇器 在App的使用中經常能看到selector的身影 如:一個按鍵看上去白色或者其它