編輯:關於android開發
package com.example.yanlei.wifi;

import android.graphics.Bitmap;
import android.graphics.BitmapFactory;
import android.os.Bundle;
import android.support.v7.app.AppCompatActivity;
import android.view.View;
import android.view.View.OnClickListener;
import android.widget.Button;
import android.widget.ImageView;


public class MainActivity extends AppCompatActivity {

    /* (non-Javadoc)
    * @see android.app.Activity#onCreate(android.os.Bundle)
    */
    @Override
    public void onCreate(Bundle savedInstanceState) {
        super.onCreate(savedInstanceState);
        setContentView(R.layout.activity_main);
        //通過Id來獲取界面中組件的引用
        Button rgb2greyBtn  = (Button) findViewById(R.id.rgb2greybtn);
        ImageView imageView1 = (ImageView) findViewById(R.id.imageView1);
        final ImageView imageView2 = (ImageView) findViewById(R.id.imageView2);
        //通過位圖工廠,創建一個位圖
        final Bitmap bitmap = BitmapFactory.decodeResource(getResources(), R.drawable.c);
        imageView1.setImageBitmap(bitmap);
        //為“轉換為灰度圖”按鈕添加監聽事件
        rgb2greyBtn.setOnClickListener(new OnClickListener() {

            @Override
            public void onClick(View v) {
                // TODO Auto-generated method stub
                //將轉換過後的灰度圖顯示出來
                imageView2.setImageBitmap(convertGreyImg(bitmap));
            }
        });

    }

    /**
     * 將彩色圖轉換為灰度圖
     * @param img 位圖
     * @return  返回轉換好的位圖
     */
    public Bitmap convertGreyImg(Bitmap img) {
        int width = img.getWidth();         //獲取位圖的寬
        int height = img.getHeight();       //獲取位圖的高

        int []pixels = new int[width * height]; //通過位圖的大小創建像素點數組

        img.getPixels(pixels, 0, width, 0, 0, width, height);
        int alpha = 0xFF << 24;
        for(int i = 0; i < height; i++)  {
            for(int j = 0; j < width; j++) {
                int grey = pixels[width * i + j];

                int red = ((grey  & 0x00FF0000 ) >> 16);
                int green = ((grey & 0x0000FF00) >> 8);
                int blue = (grey & 0x000000FF);

                grey = (int)((float) red * 0.3 + (float)green * 0.59 + (float)blue * 0.11);
                grey = alpha | (grey << 16) | (grey << 8) | grey;
                pixels[width * i + j] = grey;
            }
        }
        Bitmap result = Bitmap.createBitmap(width, height, Bitmap.Config.RGB_565);
        result.setPixels(pixels, 0, width, 0, 0, width, height);
        return result;
    }
}
<LinearLayout xmlns:android="http://schemas.android.com/apk/res/android"
    xmlns:tools="http://schemas.android.com/tools"
    android:id="@+id/LinearLayout1"
    android:layout_width="match_parent"
    android:layout_height="match_parent"
    android:orientation="vertical" >
    <ImageView
        android:id="@+id/imageView1"
        android:layout_width="wrap_content"
        android:layout_height="wrap_content"
        android:layout_gravity="center_horizontal"
        />
    <Button
        android:id="@+id/rgb2greybtn"
        android:layout_width="wrap_content"
        android:layout_height="wrap_content"
        android:text="@string/rgb2greybtn"
        android:layout_gravity="center_horizontal"/>
    <ImageView
        android:id="@+id/imageView2"
        android:layout_width="wrap_content"
        android:layout_height="wrap_content"
        android:layout_gravity="center_horizontal"
        />"
</LinearLayout>
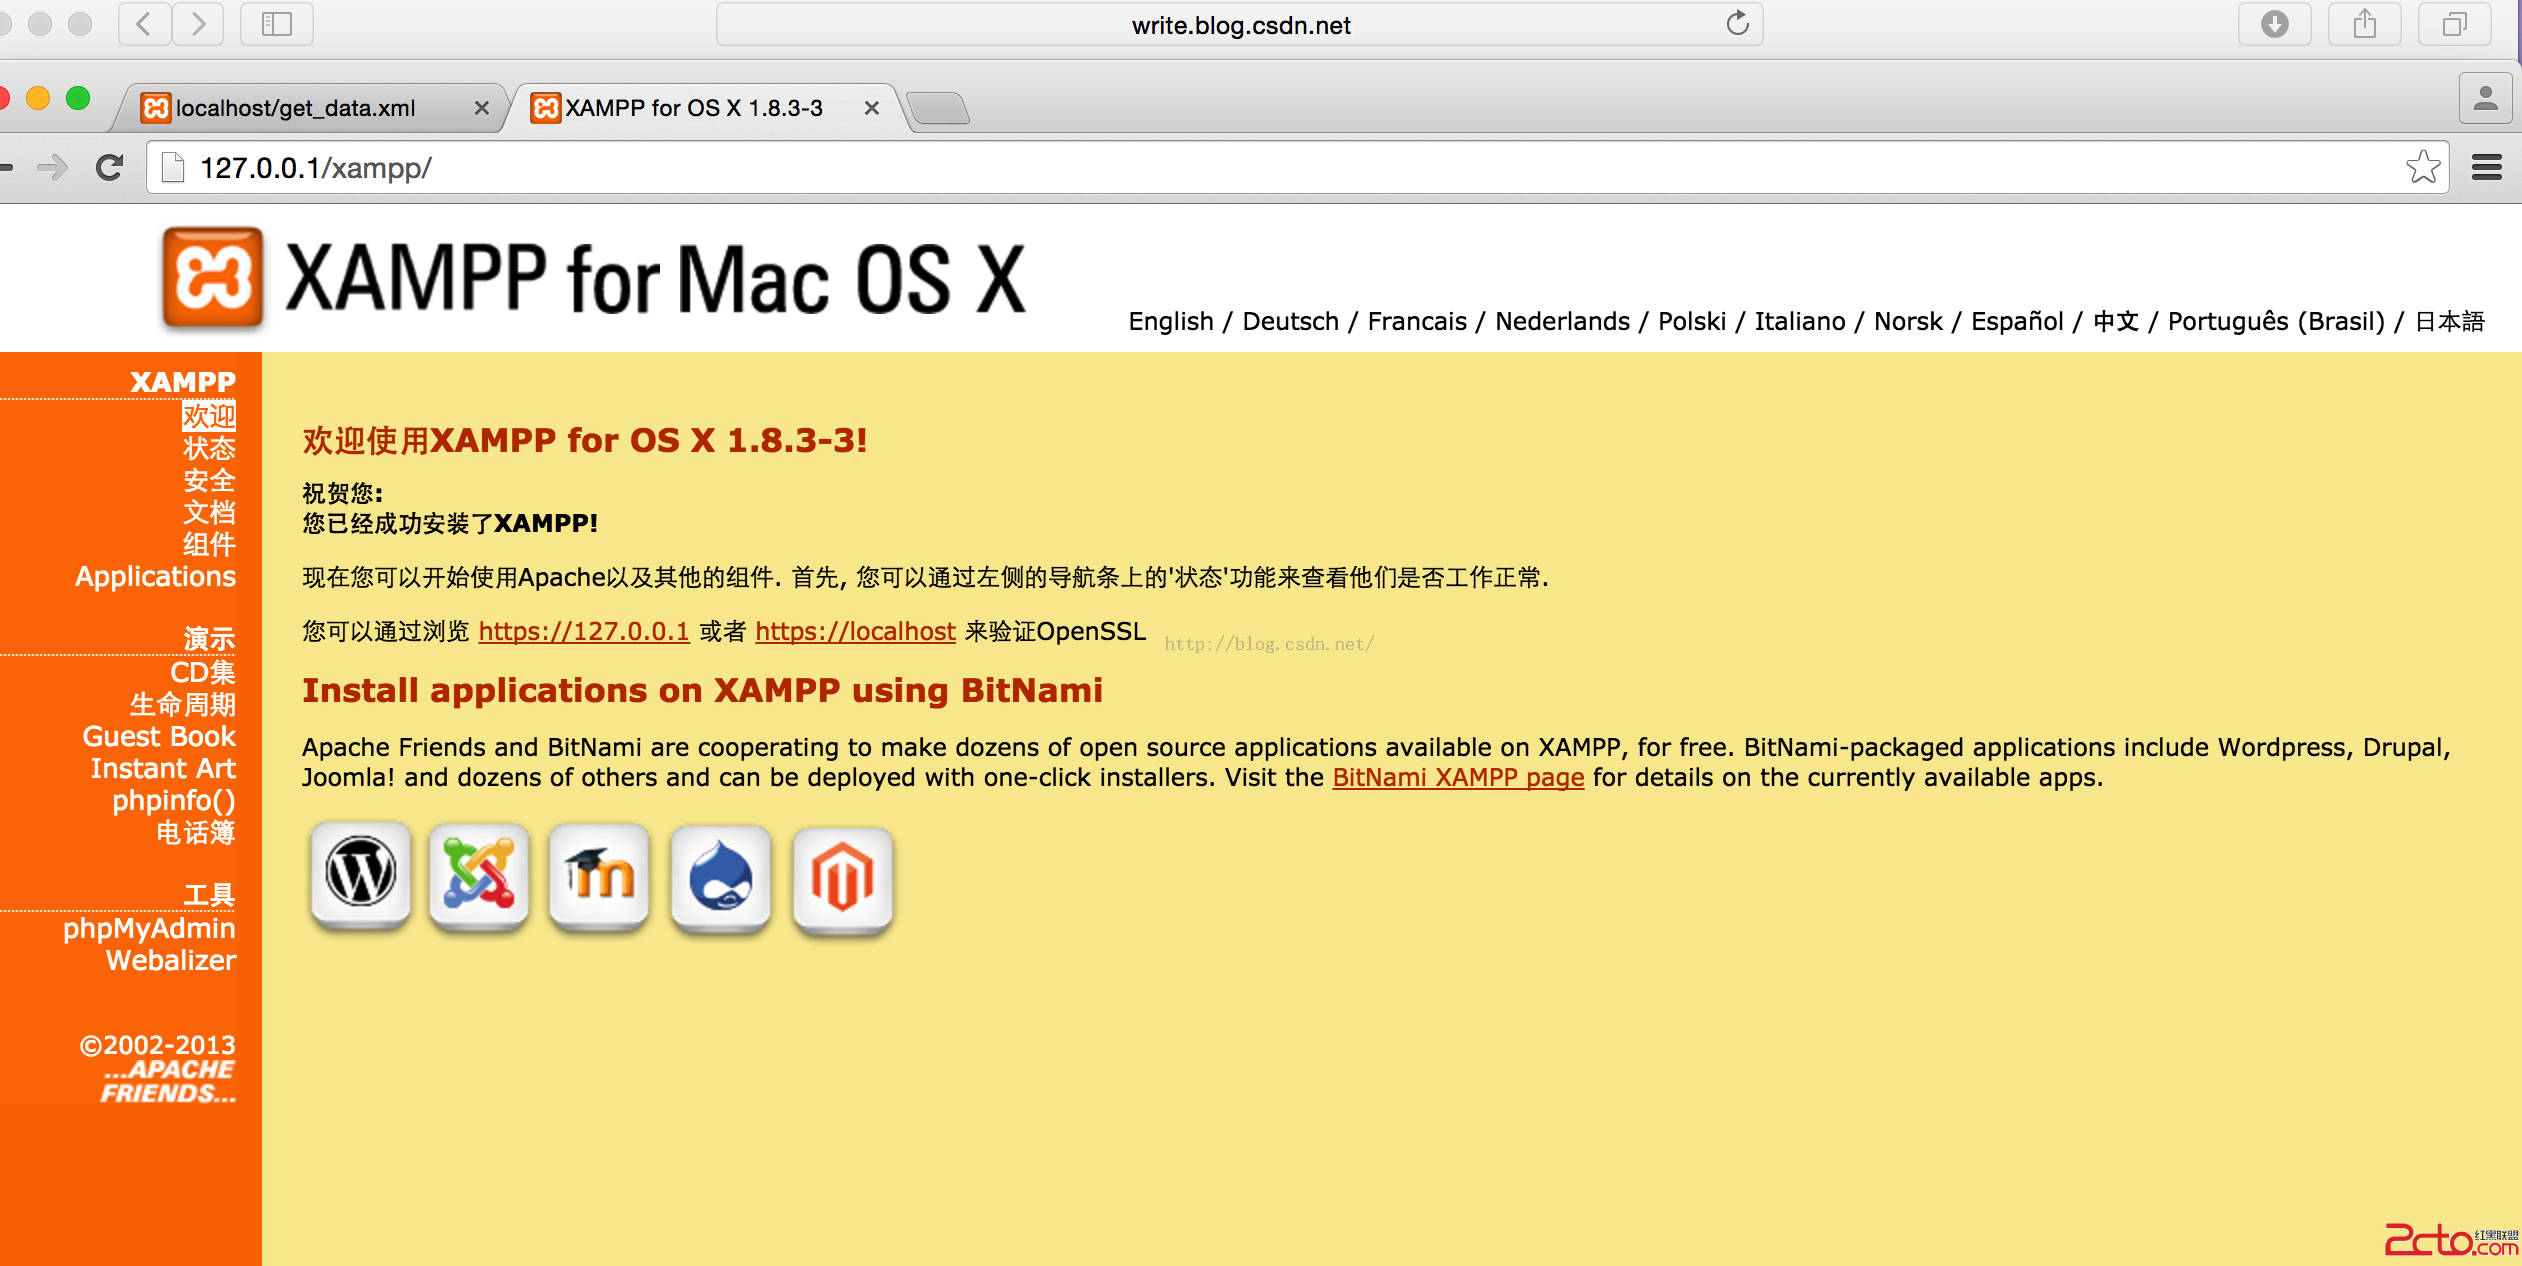
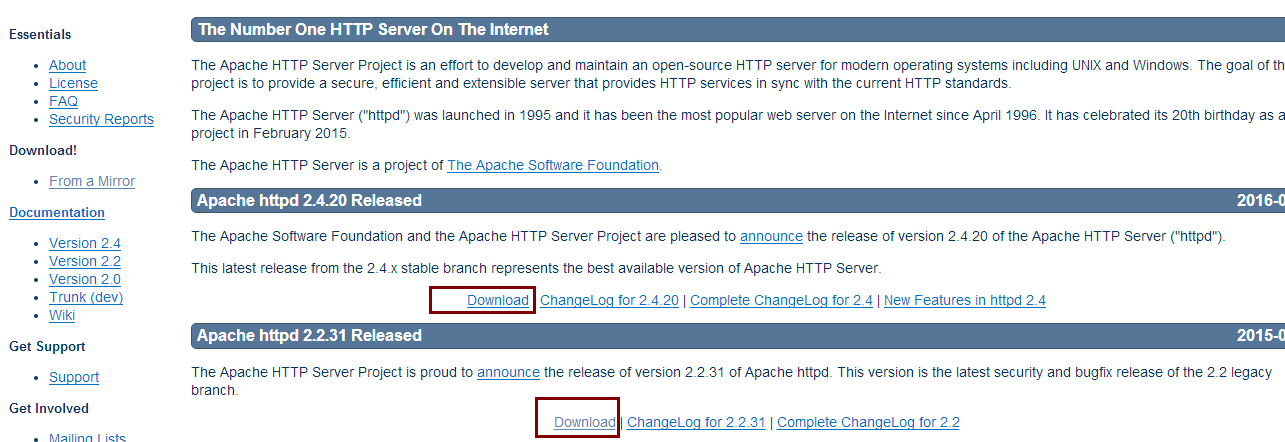 Apache的詳細安裝教程和遇到的問題解決方案,apache解決方案
Apache的詳細安裝教程和遇到的問題解決方案,apache解決方案有時需要自己去搭建一個Web服務器,有很多服務器可供選擇,這裡我自己搭建了一個Apache服務器,Ap
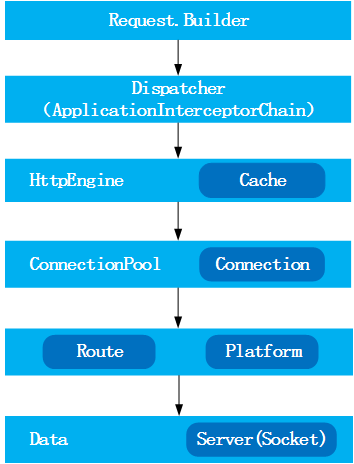
 Android網絡編程(二)HttpClient與HttpURLConnection
Android網絡編程(二)HttpClient與HttpURLConnection 前言 上一篇我們了解了HTTP協議原理,這一篇我們來講講Apache的HttpCli
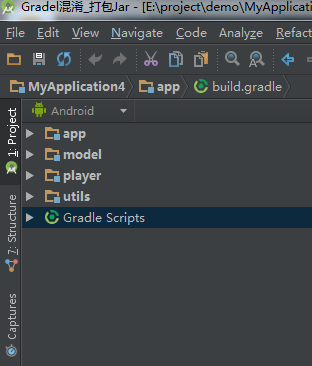
 Android開發學習之路--網絡編程之xml、json
Android開發學習之路--網絡編程之xml、json 一般網絡數據通過http來get,post,那麼其中的數據不可能雜亂無章,比如我要post一段數據,肯定是要
 (轉)漢字轉拼音HanziToPinyin,拼音hanzitopinyin
(轉)漢字轉拼音HanziToPinyin,拼音hanzitopinyin本文轉載於:http://blog.csdn.net/zhangphil/article/det