編輯:Android編程入門
由於http只支持上傳的數據轉化為字符串,對於想直接上傳圖片較不容易,故可以先將其轉化為字節流,再將字節流轉化為字符串。在此過程中經常出現錯誤,故可以考慮先將其用base64進行加密編碼,在服務器端或客戶端在將其通過base64解碼成字節流,進而再轉為相應的圖片文件。
如圖:
客戶端主要代碼:
 import java.io.ByteArrayOutputStream;
 import java.util.ArrayList;
 import java.util.List;

 import org.apache.http.HttpEntity;
 import org.apache.http.HttpResponse;
 import org.apache.http.NameValuePair;
 import org.apache.http.client.HttpClient;
 import org.apache.http.client.entity.UrlEncodedFormEntity;
 import org.apache.http.client.methods.HttpPost;
 import org.apache.http.impl.client.DefaultHttpClient;
 import org.apache.http.message.BasicNameValuePair;
 import org.apache.http.util.EntityUtils;

 import com.hexiaochun.utils.Base64Coder;
 import android.graphics.Bitmap;

 public class updaImage {
     public static void updata(Bitmap upbitmap) {

         ByteArrayOutputStream stream = new ByteArrayOutputStream();
         upbitmap.compress(Bitmap.CompressFormat.JPEG, 60, stream);
         byte[] b = stream.toByteArray();
         /*
          * 將圖片流以字符串形式存儲下來,base64coder是一個常用的編碼類, 經常用於各種網絡數據傳輸時用來加密和解密
          * 用,用來確保數據的唯一性
          */
         String file = new String(Base64Coder.encodeLines(b));
         HttpClient client = new DefaultHttpClient();
         // 設置上傳參數
         List<NameValuePair> formparams = new ArrayList<NameValuePair>();
         formparams.add(new BasicNameValuePair("file", file));
         HttpPost post = new HttpPost(MainActivity.HOST);
         UrlEncodedFormEntity entity;
         try {
             entity = new UrlEncodedFormEntity(formparams, "UTF-8");
             post.addHeader("Accept", "text/javascript, text/html, application/xml, text/xml");
             post.addHeader("Accept-Charset", "GBK,utf-8;q=0.7,*;q=0.3");
             // 加消息報頭,進行gzip壓縮,提高網絡開銷
             post.addHeader("Accept-Encoding", "gzip,deflate,sdch");
             post.addHeader("Connection", "Keep-Alive");
             post.addHeader("Cache-Control", "no-cache");
             post.addHeader("Content-Type", "application/x-www-form-urlencoded");
             post.setEntity(entity);

             HttpResponse response = client.execute(post);
             System.out.println(response.getStatusLine().getStatusCode());
             HttpEntity e = response.getEntity();
             System.out.println(EntityUtils.toString(e));
             if (200 == response.getStatusLine().getStatusCode()) {
                 System.out.println("上傳完成");
             } else {
                 System.out.println("上傳失敗");
             }
             client.getConnectionManager().shutdown();
         } catch (Exception e) {
             e.printStackTrace();
         }

     }

 }
將圖片進行壓縮代碼如下:
 import android.graphics.Bitmap;
 import android.graphics.Matrix;
 /**
  *
  * 裁剪圖片類
  *
  */
 public class ZoomBitmap {
     /**
      *
      * @param bgimage傳入的圖片
      * @param newWidth需要裁剪原圖的長
      * @param newHeight
      * @return 裁剪後的圖片
      */
     public static Bitmap zoomImage(Bitmap bgimage, double newWidth,
             double newHeight) {
         // 獲取這個圖片的寬和高
         float width = bgimage.getWidth();
         float height = bgimage.getHeight();
         // 創建操作圖片用的matrix對象
         Matrix matrix = new Matrix();
         // 計算寬高縮放率
         float scaleWidth = ((float) newWidth) / width;
         float scaleHeight = ((float) newHeight) / height;
         // 縮放圖片動作
         matrix.postScale(scaleWidth, scaleHeight);
         Bitmap bitmap = Bitmap.createBitmap(bgimage, 0, 0, (int) width,
                 (int) height, matrix, true);
         return bitmap;
     }
 }
服務端主要代碼:
 import java.io.File;
 import java.io.FileOutputStream;
 import java.io.IOException;

 import javax.servlet.ServletException;
 import javax.servlet.http.HttpServlet;
 import javax.servlet.http.HttpServletRequest;
 import javax.servlet.http.HttpServletResponse;

 import com.hexiaochun.utils.Base64Coder;

 public class UpServer extends HttpServlet {

     private String file;


     @Override
     protected void doPost(HttpServletRequest req, HttpServletResponse resp)
             throws ServletException, IOException {
         file = req.getParameter("file");
         if (file != null) {

             byte[] b = Base64Coder.decodeLines(file);
             String filepath = req.getSession().getServletContext()
                     .getRealPath("/files");
             File file = new File(filepath);
             if (!file.exists())
                 file.mkdirs();
             FileOutputStream fos = new FileOutputStream(file.getPath()
                     + "/image" + (int) (Math.random() * 100) + ".bmp");
             System.out.println(file.getPath());
             fos.write(b);
             fos.flush();
             fos.close();
         }
     }

 }
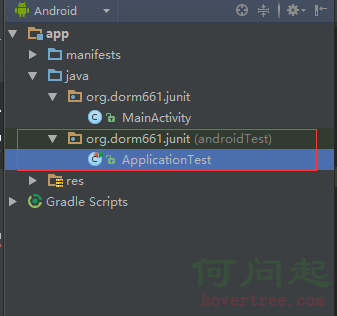
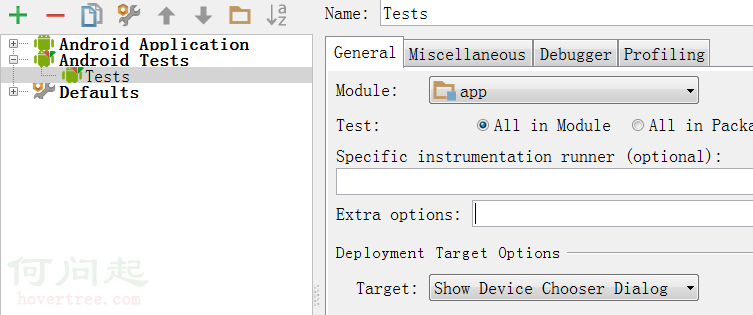 在Android Studio中進行單元測試
寫單元測試類1.創建單元測試文件夾,即新建一個用於單元測試的包,存放單元測試的類。2.創建一個類如 ExampleTest,注意要繼承自InstrumentationTe
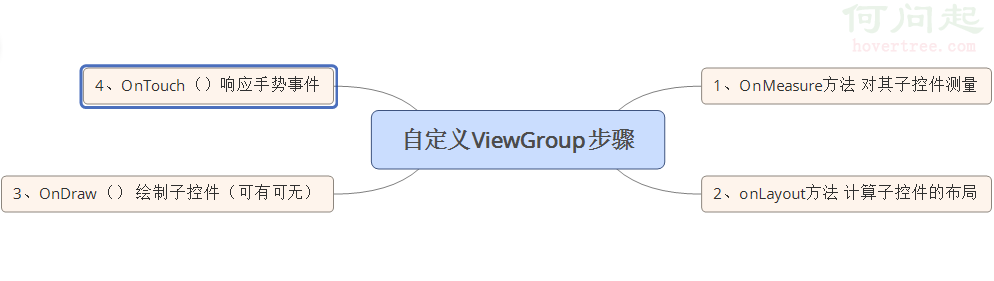 Android 自定義ViewGroup的步驟
前面幾節,我們重點討論了自定義View的三板斧,這節我們來討論自定義ViewGroup,為什麼要自定義ViewGroup,其實就是為了更好的管理View。 自定義Vie
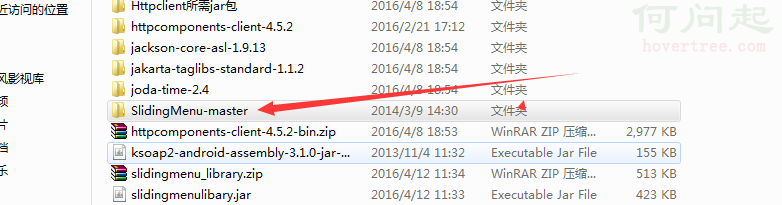 Android Studio導入第三方庫(SlidingMenu)教程
搞了半天,android的初學者,看著網上各種例子,特此記錄。注意:本教程針對像SlidingMenu這樣使用Android Studio結構的第三方庫。開始:第一步,去
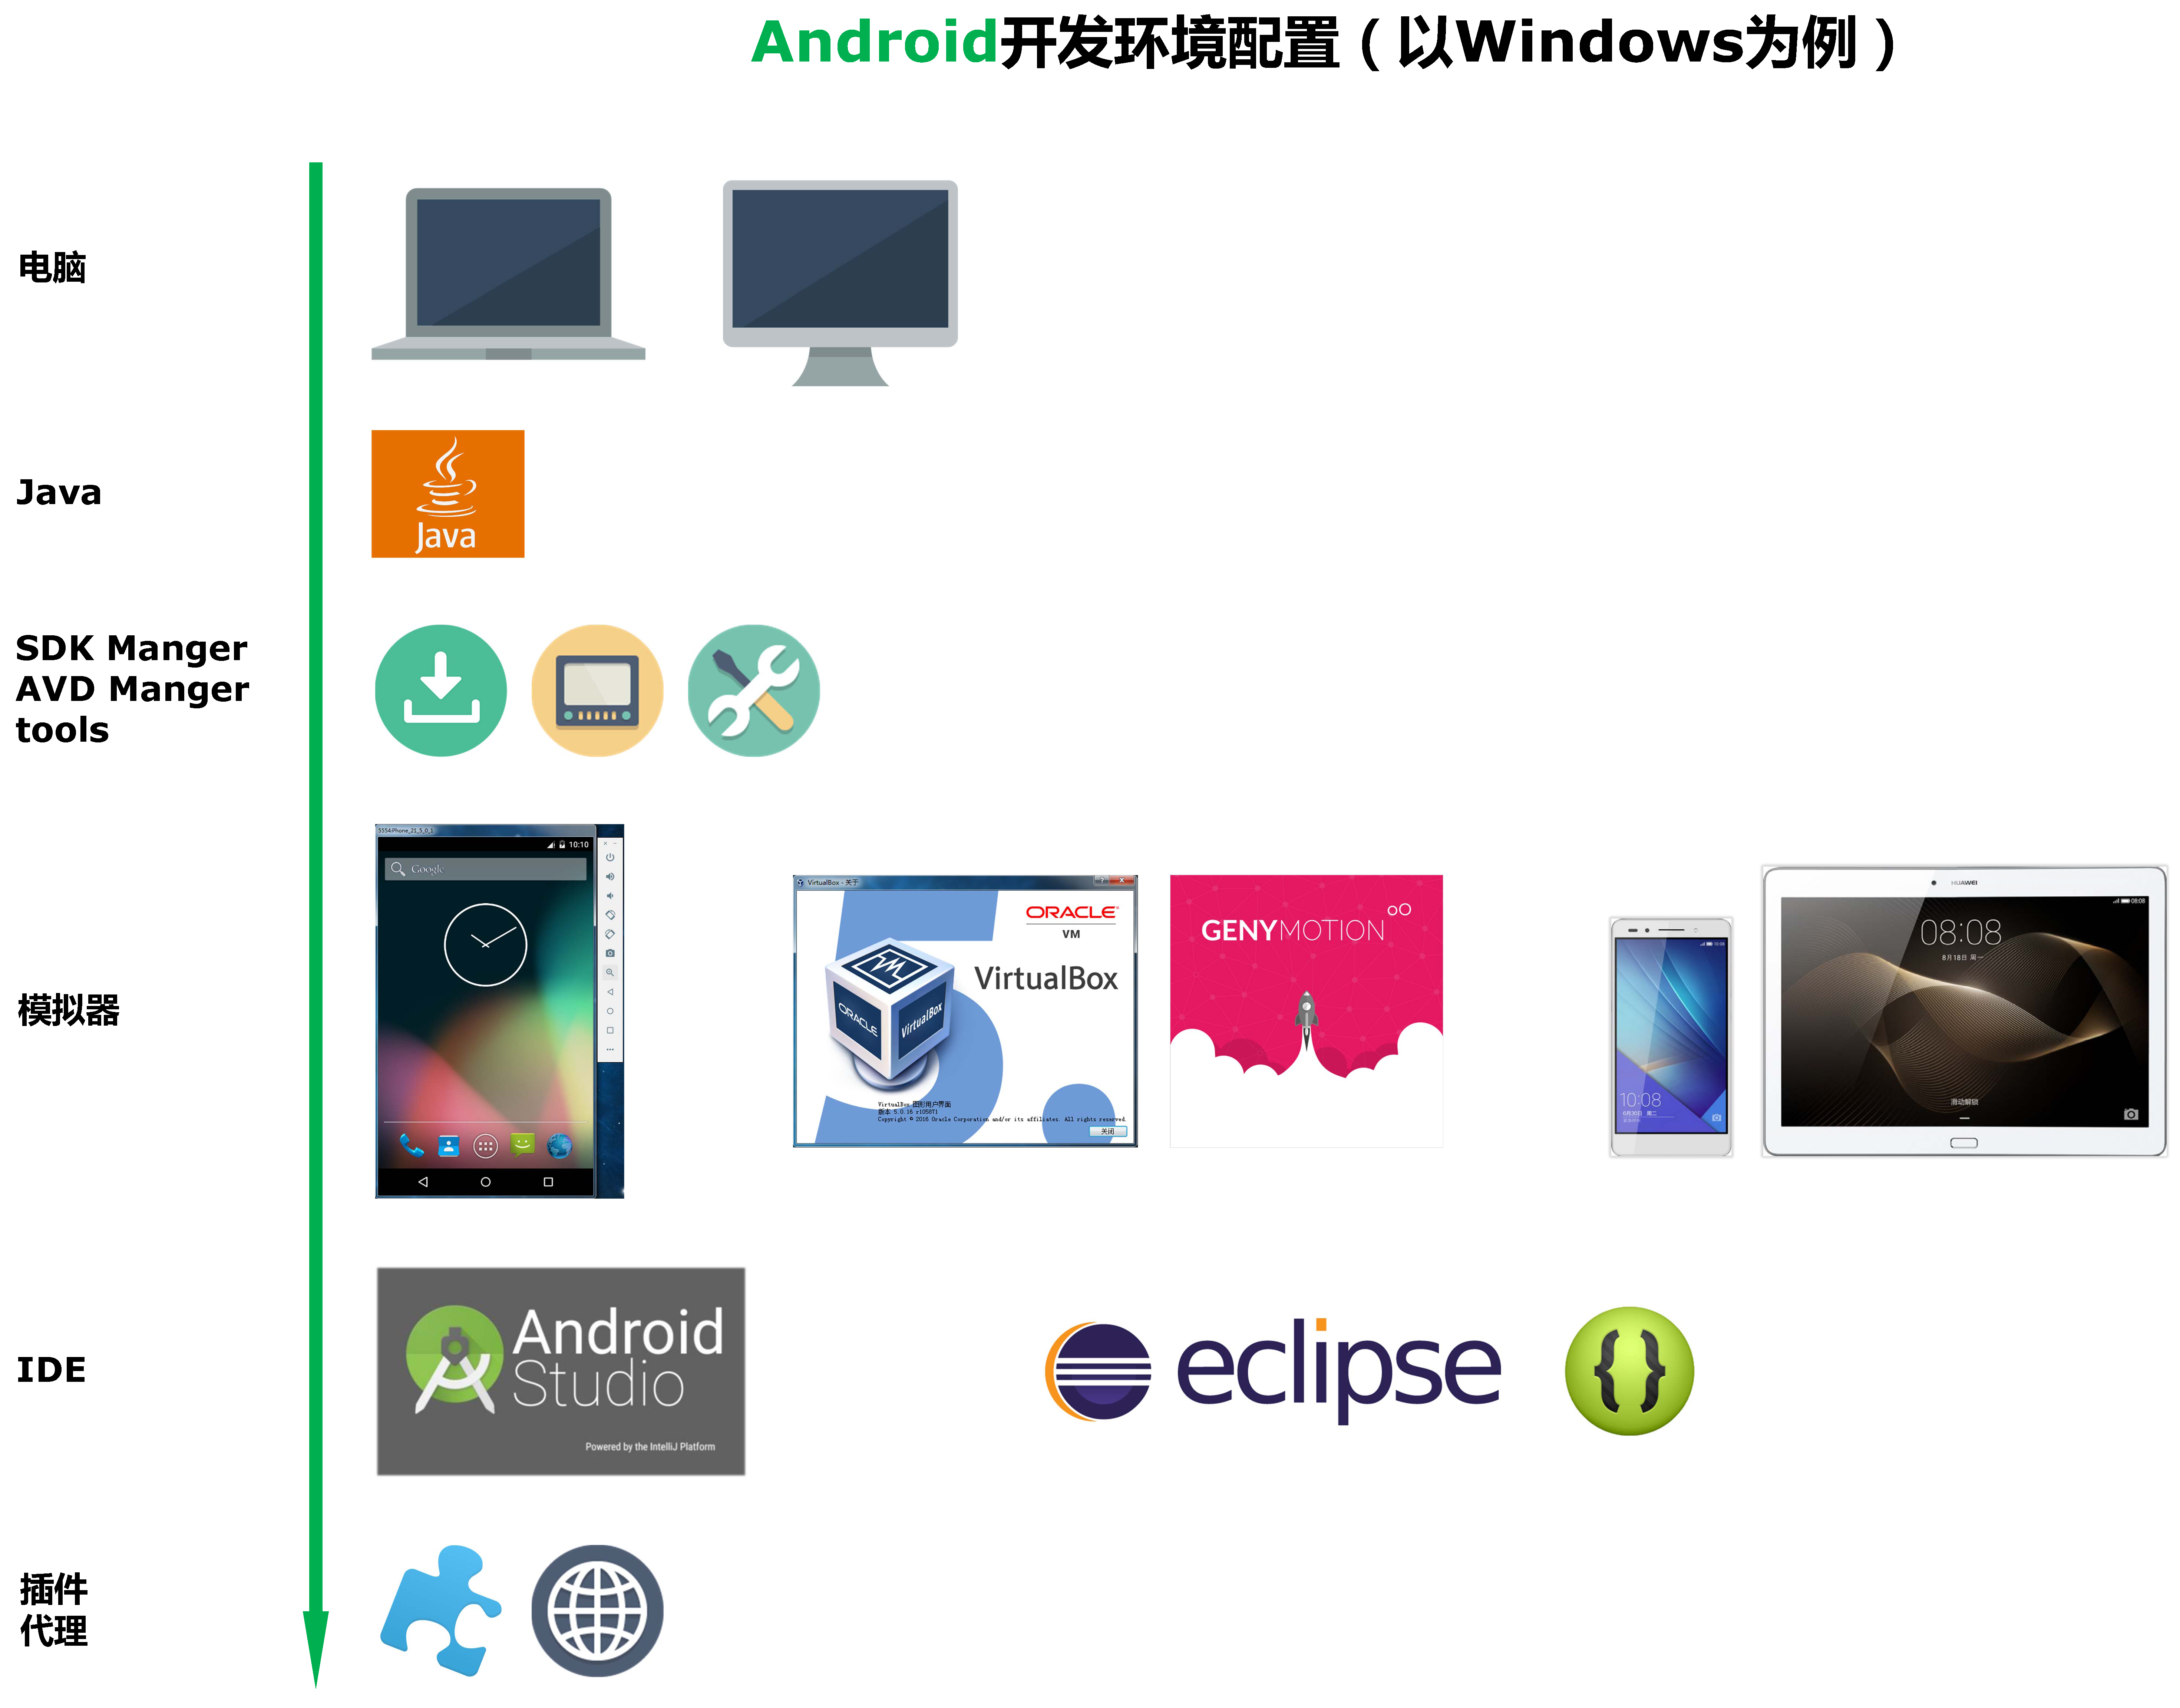 Android開發環境配置(以windows為例)
Android開發環境配置工具 如果你准備從事Android開發,那麼無論選擇在eclipse下開發,還是選擇在AndroidStudio下開發,都可以參照