編輯:關於Android編程
本文實例講述了Android簡單啟動畫面實現方法。分享給大家供大家參考,具體如下:
每個Android應用程序啟動之後都會出現一個Splash啟動界面,顯示產品LOGO、公司LOGO或者開發者信息。如果應用程序啟動時間比較長,那麼啟動界面就是一個很好的東西,可以讓用戶耐心等待這段枯燥的時間,提高用戶體驗。
1. splash.xml布局文件
<RelativeLayout xmlns:android="http://schemas.android.com/apk/res/android"
xmlns:tools="http://schemas.android.com/tools"
android:layout_width="match_parent"
android:layout_height="match_parent"
tools:context=".SplashActivity" >
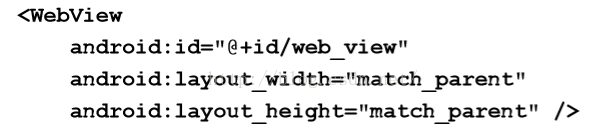
<ImageView
android:layout_width="match_parent"
android:layout_height="match_parent"
android:background="@drawable/welcome_android"
android:scaleType="fitCenter" />
</RelativeLayout>
2. SplashActivity類,使用Handler的postDelayed方法,3秒後執行跳轉到主視圖
package cn.eoe.leigo.splash;
import android.app.Activity;
import android.content.Intent;
import android.os.Bundle;
import android.os.Handler;
/**
 *
 * @{#} SplashActivity.java Create on 2013-5-2 下午9:10:01
 *
 * class desc:  啟動畫面
 *
 * <p>Copyright: Copyright(c) 2013 </p>
 * @Version 1.0
 * @Author <a href="mailto:gaolei_xj@163.com">Leo</a>
 *
 *
 */
public class SplashActivity extends Activity {
  //延遲3秒
  private static final long SPLASH_DELAY_MILLIS = 3000;
  @Override
  protected void onCreate(Bundle savedInstanceState) {
    super.onCreate(savedInstanceState);
    setContentView(R.layout.splash);
    // 使用Handler的postDelayed方法,3秒後執行跳轉到MainActivity
    new Handler().postDelayed(new Runnable() {
      public void run() {
        goHome();
      }
    }, SPLASH_DELAY_MILLIS);
  }
  private void goHome() {
    Intent intent = new Intent(SplashActivity.this, MainActivity.class);
    SplashActivity.this.startActivity(intent);
    SplashActivity.this.finish();
  }
}
3. 配置AndroidManifest.xml
<?xml version="1.0" encoding="utf-8"?>
<manifest xmlns:android="http://schemas.android.com/apk/res/android"
  package="cn.eoe.leigo.splash"
  android:versionCode="1"
  android:versionName="1.0" >
  <uses-sdk
    android:minSdkVersion="10"
    android:targetSdkVersion="10" />
  <application
    android:icon="@drawable/logo"
    android:label="@string/app_name" >
    <activity
      android:name=".SplashActivity"
      android:configChanges="keyboardHidden"
      android:label="@string/app_name"
      android:launchMode="singleTask"
      android:screenOrientation="portrait"
      android:theme="@android:style/Theme.NoTitleBar.Fullscreen" >
      <intent-filter>
        <action android:name="android.intent.action.MAIN" />
        <category android:name="android.intent.category.LAUNCHER" />
      </intent-filter>
    </activity>
    <activity android:name=".MainActivity" />
  </application>
PS:關於AndroidManifest.xml文件相關屬性功能可參考本站在線工具:
Android Manifest功能與權限描述大全:
http://tools.jb51.net/table/AndroidManifest
更多關於Android相關內容感興趣的讀者可查看本站專題:《Android編程之activity操作技巧總結》、《Android視圖View技巧總結》、《Android操作SQLite數據庫技巧總結》、《Android操作json格式數據技巧總結》、《Android數據庫操作技巧總結》、《Android文件操作技巧匯總》、《Android編程開發之SD卡操作方法匯總》、《Android開發入門與進階教程》、《Android資源操作技巧匯總》及《Android控件用法總結》
希望本文所述對大家Android程序設計有所幫助。
 Android手機衛士之綁定sim卡序列號
現在開始具體 處理每一個導航頁面的邏輯,首先看第二個導航頁這裡需要實現綁定sim卡序列號的功能,注意添加相應的權限:uses-permission android:nam
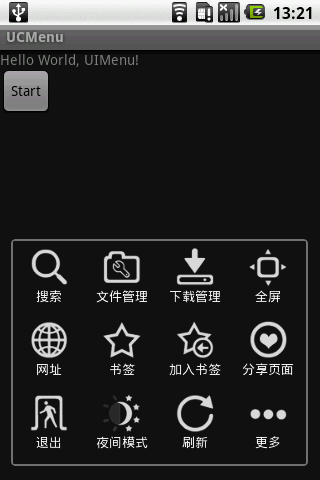 Android實現模仿UCweb菜單效果的方法
本文實例講述了Android實現模仿UCweb菜單效果的方法。分享給大家供大家參考。具體如下:UCWeb的菜單看起來不錯,自己模仿做一個,思路實現如下:1、保留menu按
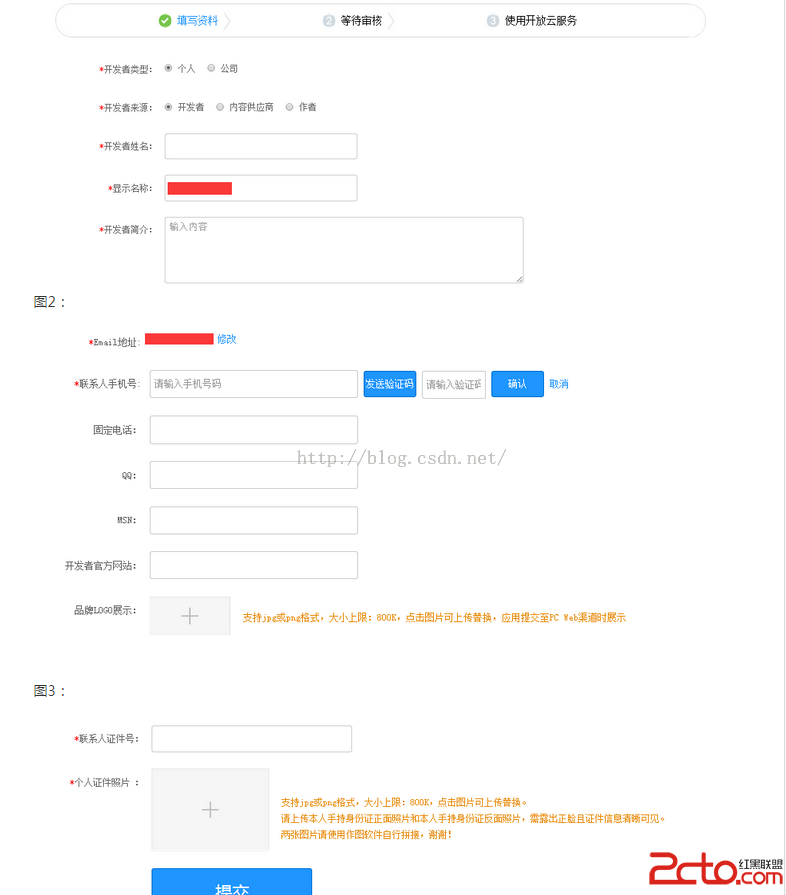 Android App發布到應用市場的流程
AndroidApp上架所需文件上架准備App文件:1.安裝包2.應用商標:圖片格式PNG,大小512*512,小於800KB。3.應用截圖(4~6張):圖片格式JPG或
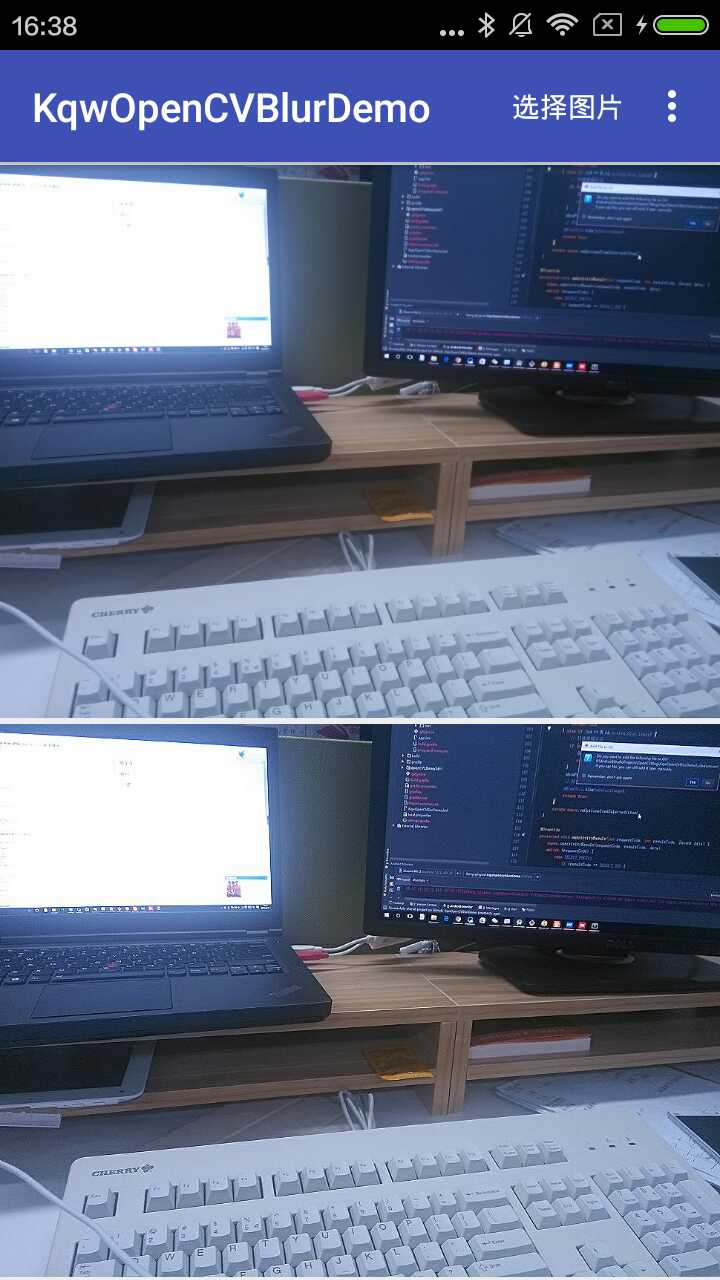 OpenCV實現圖片銳化
效果圖源碼KqwOpenCVBlurDemo銳化也可以看作是一種線性濾波操作,並且錨點像素有較高的權重,而周圍的像素權重較低。因此,我們可以自定義一個這樣的核。/*