編輯:關於Android編程
上一篇,初步開發了這個應用,功能都有了(見http://www.jb51.net/article/96992.htm 點擊打開鏈接)。
但是遺留了兩個問題:1、還是無法卸載;2、必須手動去點擊應用程序進入程序,再點擊按鈕,這顯得很麻煩。
這一篇就解決上面兩個問題,做出最好的效果。
首先解決無法卸載問題:
在清單文件中,再配置一鍵卸載的主活動(兩個主活動無所謂,只不過在桌面上顯示兩個圖標而已,其實仍然是一個應用)
<activity
   android:name="com.itydl.lockscreen.Remove"
   android:label="一鍵卸載" >
   <intent-filter>
    <action android:name="android.intent.action.MAIN" />

    <category android:name="android.intent.category.LAUNCHER" />
   </intent-filter>
  </activity>
在新建的活動裡面,寫取消激活和卸載的代碼:
package com.itydl.lockscreen;

import android.app.Activity;
import android.app.admin.DevicePolicyManager;
import android.content.ComponentName;
import android.content.Intent;
import android.net.Uri;
import android.os.Bundle;
import android.view.View;

public class Remove extends Activity {
 @Override
 protected void onCreate(Bundle savedInstanceState) {
  //
  super.onCreate(savedInstanceState);
  setContentView(R.layout.activity_remove);
 }

 public void remove(View v){
  //調用卸載的界面,要去上層源碼中看一下卸載界面的意圖是什麼。通過查看源碼,如下:
  /**
   * <intent-filter>
    <action android:name="android.intent.action.VIEW" />
    <action android:name="android.intent.action.DELETE" />
    <category android:name="android.intent.category.DEFAULT" />
    <data android:scheme="package" />
   </intent-filter>
   */

  //在卸載之前首先要取消設激活設備管理器
  //獲取設備管理器
  DevicePolicyManager dpm = (DevicePolicyManager) getSystemService(DEVICE_POLICY_SERVICE);
  ComponentName who = new ComponentName(this,DeviceAdminSample.class);
  dpm.removeActiveAdmin(who);//Remove a current administration component. This can only be called by the application that owns the administration component

  //卸載,啟動卸載界面
  Intent remove = new Intent("android.intent.action.DELETE");
  remove.addCategory("android.intent.category.DEFAULT");
  remove.setData(Uri.parse("package:"+getPackageName()));//表示卸載本程序,Return the name of this application's package.

  startActivity(remove);//卸載用戶apk界面
 }
}
但是要注意一點,新建的一鍵卸載布局,一定做以下修改:
<RelativeLayout xmlns:android="http://schemas.android.com/apk/res/android"
 xmlns:tools="http://schemas.android.com/tools"
 android:layout_width="match_parent"
 android:layout_height="match_parent" > --------------------這裡一定修改。

 <Button
  android:onClick="remove"
  android:layout_width="wrap_content"
  android:layout_height="wrap_content"
  android:text="一鍵卸載" />

</RelativeLayout>
運行程序,當用戶想要卸載的時候,點擊一鍵卸載進入卸載界面,即可對這個應用完成卸載了。
最後在用戶體驗上做點文章:
這個時候,一鍵鎖屏是通過點擊按鈕實現的,為了省事,不要開啟鎖屏的界面。
把鎖屏界面按鈕全部刪掉,背景設置為透明色
<RelativeLayout xmlns:android="http://schemas.android.com/apk/res/android"
 xmlns:tools="http://schemas.android.com/tools"
 android:layout_width="match_parent"
 android:layout_height="match_parent"
 android:background="#00000000">
 ---------------------設置為透明色


</RelativeLayout>
在鎖屏活動的onCreat方法裡面加入一句代碼:lockScreen(null);表示不需要任何view去啟動點擊事件。
這樣打開應用的時候就調用lockScreen(View v)裡面的鎖屏或者開啟設備管理器功能,代碼如下:
@Override
protected void onCreate(Bundle savedInstanceState) {
 super.onCreate(savedInstanceState);
 dmp = (DevicePolicyManager) getSystemService(DEVICE_POLICY_SERVICE);
 lockScreen(null);
}
同時,一鍵卸載的應用也做以上同樣的事情:
重新運行程序,一運行就進入激活設備管理器界面。現在把一鍵鎖屏圖標放置到主界面,一點擊就鎖屏,特別的方便。而且想卸載這個程序的時候,一點擊就直接卸載掉了。
到現在為止,這個應用,完美開發完畢,秒殺市面上99%的一鍵鎖屏應用。
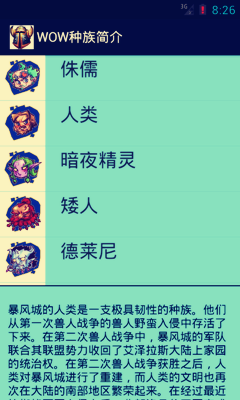
下面是應用的截圖:

以上就是本文的全部內容,希望對大家的學習有所幫助,也希望大家多多支持本站。
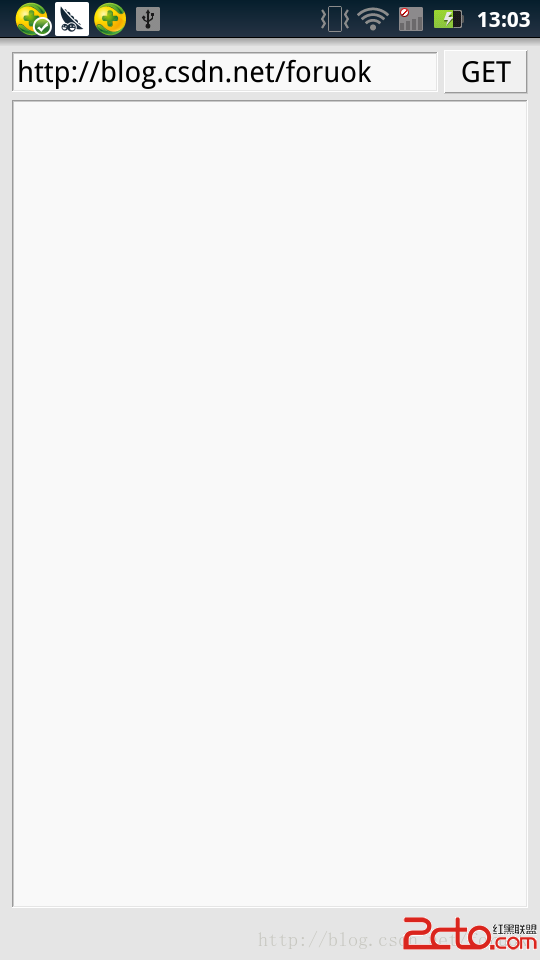 Qt on Android:使用JNI與第三方jar包
很多朋友在論壇和QQ群裡問到這個,今天有時間寫了個簡單的示例。 功能很簡單,允許你輸入一個web頁面地址,使用Java的下載類庫下載後用QTextEdit顯示出來。 &n
 使用Fragment來處理Andoird app的UI布局的實例分享
Fragment 的出現一方面是為了緩解 Activity 任務過重的問題,另一方面是為了處理在不同屏幕上 UI 組件的布局問題,而且它還提供了一些新的特性(例如 Ret
 Android實現QQ搶紅包插件
又想到快要過年了,到時候還不知道群裡要發好多紅包,所以我將之前在網上宕的一份微信搶紅包的代碼修改了一下,實現了QQ搶紅包!可以支持搶QQ拼手氣紅包,普通紅包,口令紅包,現
 如果寫一個android支持的html文件
Software License .box { overflow:hidden