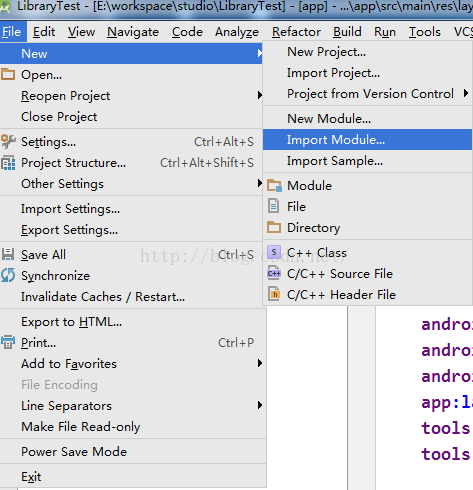
編輯:關於Android編程
android開發中通過View的getDrawingCache方法可以達到截屏的目的,只是缺少狀態欄!
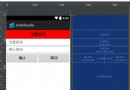
原始界面

截屏得到的圖片

代碼實現
1. 添加權限(AndroidManifest.xml文件裡)
復制代碼 代碼如下:<uses-permission android:name="android.permission.WRITE_EXTERNAL_STORAGE" />
2. 添加1個Button(activity_main.xml文件)
<RelativeLayout xmlns:android="http://schemas.android.com/apk/res/android"
  xmlns:tools="http://schemas.android.com/tools"
  android:layout_width="match_parent"
  android:layout_height="match_parent"
  tools:context=".MainActivity" >

  <TextView
    android:layout_width="wrap_content"
    android:layout_height="wrap_content"
    android:layout_centerHorizontal="true"
    android:layout_centerVertical="true"
    android:text="@string/hello_world" />

  <Button
    android:id="@+id/btn_save"
    android:layout_width="wrap_content"
    android:layout_height="wrap_content"
    android:text="Screenshot"
    />

</RelativeLayout>
3. 實現截屏(MainActivity.java文件)
package com.example.androidtest;

import java.io.File;
import java.io.FileOutputStream;

import android.os.Bundle;
import android.os.Environment;
import android.app.Activity;
import android.graphics.Bitmap;
import android.view.Menu;
import android.view.View;
import android.widget.Button;

public class MainActivity extends Activity {

 @Override
 protected void onCreate(Bundle savedInstanceState) {
 super.onCreate(savedInstanceState);
 setContentView(R.layout.activity_main);

 Button btn = (Button) this.findViewById(R.id.btn_save);
 btn.setOnClickListener(new View.OnClickListener() {

  @Override
  public void onClick(View v) {
  screenshot();
  }
 });
 }

 private void screenshot()
 {
 // 獲取屏幕
 View dView = getWindow().getDecorView();
 dView.setDrawingCacheEnabled(true);
 dView.buildDrawingCache();
    Bitmap bmp = dView.getDrawingCache();
    if (bmp != null)
    {
     try {
     // 獲取內置SD卡路徑
     String sdCardPath = Environment.getExternalStorageDirectory().getPath();
     // 圖片文件路徑
     String filePath = sdCardPath + File.separator + "screenshot.png";

     File file = new File(filePath);
     FileOutputStream os = new FileOutputStream(file);
     bmp.compress(Bitmap.CompressFormat.PNG, 100, os);
     os.flush();
     os.close();
  } catch (Exception e) {
  }
    }
 }

 @Override
 public boolean onCreateOptionsMenu(Menu menu) {
 // Inflate the menu; this adds items to the action bar if it is present.
 getMenuInflater().inflate(R.menu.activity_main, menu);
 return true;
 }

}
以上就是本文的全部內容,希望對大家的學習有所幫助,也希望大家多多支持本站。
 android自定義View之(四)------一鍵清除動畫
1.前言: 自己也是參考別人的一些自定義view例子,學習了一些基本的自定義view的方法。今天,我參考了一些資料,再結合自已的一些理解,做了一個一鍵清除的動畫。當年,我
 Android 驅動(二) IIC簡介
一、 I2C簡介 I2C(Inter-Integrated Circuit)總線是一種由 Philips 公司開發的兩線式串行總線,用於連接微控制器及其外圍設備。I2
 Android編程實現ViewPager多頁面滑動切換及動畫效果的方法
本文實例講述了Android編程實現ViewPager多頁面滑動切換及動畫效果的方法。分享給大家供大家參考,具體如下:一、首先,我們來看一下效果圖,這是新浪微博的Tab滑
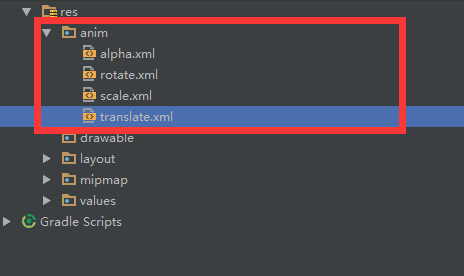 Android動畫----Translate
引言關於動畫的學習,這是第四篇啦,都是最基礎的幾種動畫,梳理一番,對知識的了解就更加清晰啦,轉入正題,介紹今天的主角Translate。Translate動畫顧名思義,T