編輯:關於Android編程
本文為大家分享了Android使用線程獲取網絡圖片的具體代碼,供大家參考,具體內容如下
AndroidManifest.xml
<?xml version="1.0" encoding="utf-8"?>
<manifest xmlns:android="http://schemas.android.com/apk/res/android"
  package="com.zdcrobot.handlermessage">
  <uses-permission android:name="android.permission.INTERNET"></uses-permission>
  <application
    android:allowBackup="true"
    android:icon="@mipmap/ic_launcher"
    android:label="@string/app_name"
    android:supportsRtl="true"
    android:theme="@style/AppTheme">
    <activity
      android:name=".MainActivity"
      android:label="@string/app_name"
      android:theme="@style/AppTheme.NoActionBar">
      <intent-filter>
        <action android:name="android.intent.action.MAIN" />

        <category android:name="android.intent.category.LAUNCHER" />
      </intent-filter>
    </activity>
  </application>

</manifest>
activity_main.xml
<?xml version="1.0" encoding="utf-8"?>
<android.support.design.widget.CoordinatorLayout xmlns:android="http://schemas.android.com/apk/res/android"
  xmlns:app="http://schemas.android.com/apk/res-auto"
  xmlns:tools="http://schemas.android.com/tools"
  android:layout_width="match_parent"
  android:layout_height="match_parent"
  android:fitsSystemWindows="true"
  tools:context="com.zdcrobot.handlermessage.MainActivity">

  <LinearLayout
    android:orientation="vertical"
    android:layout_width="match_parent"
    android:layout_height="match_parent">
    <Button
      android:id="@+id/button1"
      android:layout_width="wrap_content"
      android:layout_height="wrap_content"
      android:text="加載圖片"/>
    <ImageView
      android:id="@+id/image1"
      android:layout_width="match_parent"
      android:layout_height="500dp" />
  </LinearLayout>

</android.support.design.widget.CoordinatorLayout>
MainActivity.class
package com.zdcrobot.handlermessage;

import android.graphics.Bitmap;
import android.graphics.BitmapFactory;
import android.os.Bundle;
import android.os.Handler;
import android.os.Message;
import android.support.v7.app.AppCompatActivity;
import android.view.View;
import android.widget.Button;
import android.widget.ImageView;

import java.io.IOException;
import java.io.InputStream;
import java.net.HttpURLConnection;
import java.net.MalformedURLException;
import java.net.URL;

public class MainActivity extends AppCompatActivity {
  private Button button;
  private ImageView imageView;
  private String imagPath = "http://pica.nipic.com/2007-11-09/200711912453162_2.jpg";
  private final int IS_FINISH = 1;
  private Handler handler = new Handler(){
    @Override
    public void handleMessage(Message msg) {
      Bitmap bitmap = (Bitmap)msg.obj;
      imageView.setImageBitmap(bitmap);
    }
  };
  @Override
  protected void onCreate(Bundle savedInstanceState) {
    super.onCreate(savedInstanceState);
    setContentView(R.layout.activity_main);
    button = (Button)findViewById(R.id.button1);
    imageView = (ImageView)findViewById(R.id.image1);
    button.setOnClickListener(new View.OnClickListener() {
      @Override
      public void onClick(View v) {
        new Thread(new MyClass()).start();
      }
    });
  }

  public class MyClass implements Runnable{

    @Override
    public void run() {
      Bitmap bitmap = null;
      try {
        URL url = new URL(imagPath);
        HttpURLConnection httpURLConnection = (HttpURLConnection)url.openConnection();
        httpURLConnection.setDoInput(true);
        httpURLConnection.connect();
        InputStream inputStream = httpURLConnection.getInputStream();
        bitmap = BitmapFactory.decodeStream(inputStream);
      } catch (MalformedURLException e) {
        e.printStackTrace();
      } catch (IOException e) {
        e.printStackTrace();
      }
      Message message = Message.obtain();
      message.obj = bitmap;
      message.what = IS_FINISH;
      handler.sendMessage(message);
    }
  }
}
以上就是本文的全部內容,希望對大家學習Android軟件編程有所幫助。
 Android數據加密之Base64編碼算法的簡單實現
前面學習總結了平時開發中遇見的各種數據加密方式,最終都會對加密後的二進制數據進行Base64編碼,起到一種二次加密的效果,其實呢Base64從嚴格意義上來說的話不是一種加
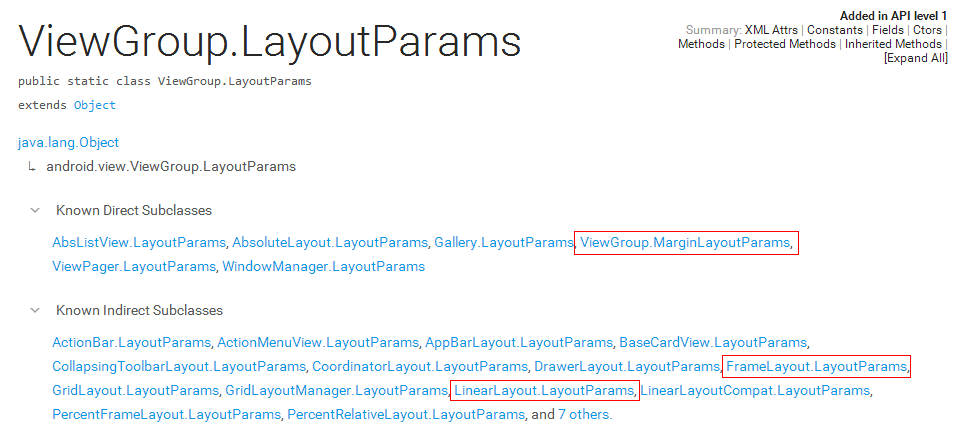 自定義控件知識儲備-LayoutParams的那些事
在上一篇文章裡,我總結了一下自定義控件需要了解的基礎知識:View的繪制流程——《自定義控件知識儲備-View的繪制流程》。其中,在View的測量
 分頁加載
分頁加載
現在分頁加載在apk中應用廣泛 那麼是怎麼實現的呢 下面讓我們舉一個小例子來看一下 首先是我們的自定義的listview 在布局中引用 那麼就看一下我們的布局文
 android 軟鍵盤的顯示與隱藏問題的研究
在android中,經常會和輸入法的軟件鍵盤交互。在Manifest文件裡,系統給activity的一個屬性-windowSoftInputMode來控制輸入法的顯示方式