編輯:關於Android編程
本文實例講述了Android利用Intent實現數據傳遞的方法。分享給大家供大家參考,具體如下:
在Android開發過程中,很多人都熟悉Intent,這是個用於在多個View之間共享數據的類。本節主要講述通過點選ListView中的文本,把文本中的URL加載到一個新的頁面上,並且打印出來。為了方便,我先把前面一篇《Android開發之利用jsoup解析HTML頁面的方法》的代碼重新貼一下,因為在上一節後,代碼做了少許修改:
try {
    doc = Jsoup.parse(new URL("http://www.51yam.com"), 5000);
    } catch (MalformedURLException e1) {
      e1.printStackTrace();
    } catch (IOException e1) {
      e1.printStackTrace();
    }
    final List<Map<String, String>> list = new ArrayList<Map<String, String>>();
    Elements es = doc.getElementsByClass("subnav");
    for (int i=0;i<es.size();i++) {
      Element e = es.get(i);
      int count = e.getElementsByTag("a").size();
      for(int j=0;j<count;j++)
      {
        Map<String, String> map = new HashMap<String, String>();
        Element ex = e.getElementsByTag("a").get(j);
        map.put("title", ex.text());
        map.put("href", "http://www.51yam.com/"+ex.attr("href"));
        list.add(map);
      }
    }
    ListView listView = (ListView) findViewById(R.id.listView1);
    listView.setAdapter(new SimpleAdapter(this, list, android.R.layout.simple_list_item_2,
        new String[] { "title","href" }, new int[] {
        android.R.id.text1,android.R.id.text2
}));
實現的效果如下:

然後我們需要做的就是當點擊ListView中的項目的時候,程序會將每個話題下面的URL鏈接發送到新的頁面顯示:
下面是當點擊ListView項目的時候,利用Intent傳遞數據的方法:
listView.setOnItemClickListener(new OnItemClickListener(){
  @Override
  public void onItemClick(AdapterView<?> parent, View v, int position,long id) {
    //Toast.makeText(getApplicationContext(), (TextView), duration)
    System.out.println("position:"+position);
    System.out.println("id:"+id);
    //Toast.makeText(_GetWebResoureActivity.this, list.get(position).get("href"), Toast.LENGTH_SHORT).show();
    Intent intent = new Intent(v.getContext(),topicdetails.class);
    intent.putExtra("src", list.get(position).get("href"));
    startActivityForResult(intent,0);
  }
});
在子頁面“topicdetails.java”中,我們可以通過如下的方式來接收傳遞過來的值:
package com.android.web;
import android.app.Activity;
import android.content.Intent;
import android.os.Bundle;
import android.widget.EditText;
import java.lang.Object;
public class topicdetails extends Activity {
  private EditText editText;
  @Override
  protected void onCreate(Bundle savedInstanceState)
  {
    super.onCreate(savedInstanceState);
    setContentView(R.layout.topiccontent);
    editText = (EditText)this.findViewById(R.id.editText);
    String srcUrl = getIntent().getStringExtra("src");
    editText.setText(srcUrl);
  }
}
當然,一定不要忘記了在AndroidManifest.xml文件中添加Activity映射(黃色背景部分):
<?xml version="1.0" encoding="utf-8"?>
<manifest xmlns:android="http://schemas.android.com/apk/res/android"
  package="com.android.web"
  android:versionCode="1"
  android:versionName="1.0" >
  <uses-sdk android:minSdkVersion="7" />
  <!-- 加入訪問網絡的權限 -->
  <uses-permission android:name="android.permission.INTERNET" />
  <application
    android:icon="@drawable/ic_launcher"
    android:label="@string/app_name" >
    <activity
      android:label="@string/app_name"
      android:name="._GetWebResoureActivity" >
      <intent-filter >
        <action android:name="android.intent.action.MAIN" />
        <category android:name="android.intent.category.LAUNCHER" />
      </intent-filter>
    </activity>
    <activity android:name=".topicdetails"></activity>
  </application>
</manifest>
這樣當一切工作准備完畢後,運行程序,點擊ListView 的Item,我們成功地跳轉到了子頁面:

以下是所有的源碼:
主頁面源碼:
package com.android.web;
import java.io.BufferedInputStream;
import java.io.IOException;
import java.io.InputStream;
import java.net.MalformedURLException;
import java.net.URL;
import java.net.URLConnection;
import java.util.ArrayList;
import java.util.HashMap;
import java.util.List;
import java.util.Map;
import java.lang.Object;
import org.apache.http.util.ByteArrayBuffer;
import org.apache.http.util.EncodingUtils;
import org.jsoup.Jsoup;
import org.jsoup.nodes.Document;
import org.jsoup.nodes.Element;
import org.jsoup.select.Elements;
import android.app.Activity;
import android.content.Intent;
import android.os.Bundle;
import android.view.View;
import android.view.View.OnClickListener;
import android.widget.AdapterView;
import android.widget.AdapterView.OnItemClickListener;
import android.widget.ListView;
import android.widget.SimpleAdapter;
import android.widget.Toast;
public class _GetWebResoureActivity extends Activity {
  Document doc;
  @Override
  public void onCreate(Bundle savedInstanceState) {
    super.onCreate(savedInstanceState);
    setContentView(R.layout.main);
    findViewById(R.id.button1).setOnClickListener(new OnClickListener() {
      @Override
      public void onClick(View v) {
        load();
      }
    });
  }
  protected void load() {
    try {
      doc = Jsoup.parse(new URL("http://www.51yam.com"), 5000);
    } catch (MalformedURLException e1) {
      e1.printStackTrace();
    } catch (IOException e1) {
      e1.printStackTrace();
    }
    final List<Map<String, String>> list = new ArrayList<Map<String, String>>();
    Elements es = doc.getElementsByClass("subnav");
    for (int i=0;i<es.size();i++) {
      Element e = es.get(i);
      int count = e.getElementsByTag("a").size();
      for(int j=0;j<count;j++)
      {
        Map<String, String> map = new HashMap<String, String>();
        Element ex = e.getElementsByTag("a").get(j);
        map.put("title", ex.text());
        map.put("href", "http://www.51yam.com/"+ex.attr("href"));
        list.add(map);
      }
    }
    ListView listView = (ListView) findViewById(R.id.listView1);
    listView.setAdapter(new SimpleAdapter(this, list, android.R.layout.simple_list_item_2,
        new String[] { "title","href" }, new int[] {
        android.R.id.text1,android.R.id.text2
    }));
    listView.setOnItemClickListener(new OnItemClickListener(){
      @Override
      public void onItemClick(AdapterView<?> parent, View v, int position,long id) {
        //Toast.makeText(getApplicationContext(), (TextView), duration)
        System.out.println("position:"+position);
        System.out.println("id:"+id);
        //Toast.makeText(_GetWebResoureActivity.this, list.get(position).get("href"), Toast.LENGTH_SHORT).show();
        Intent intent = new Intent(v.getContext(),topicdetails.class);
        intent.putExtra("src", list.get(position).get("href"));
        startActivityForResult(intent,0);
      }
    });
  }
  /**
   * @param urlString
   * @return
   */
  public String getHtmlString(String urlString) {
    try {
      URL url = null;
      url = new URL(urlString);
      URLConnection ucon = null;
      ucon = url.openConnection();
      InputStream instr = null;
      instr = ucon.getInputStream();
      BufferedInputStream bis = new BufferedInputStream(instr);
      ByteArrayBuffer baf = new ByteArrayBuffer(500);
      int current = 0;
      while ((current = bis.read()) != -1) {
        baf.append((byte) current);
      }
      return EncodingUtils.getString(baf.toByteArray(), "gbk");
    } catch (Exception e) {
      return "";
    }
  }
}
子頁面源碼:
package com.android.web;
import android.app.Activity;
import android.content.Intent;
import android.os.Bundle;
import android.widget.EditText;
import java.lang.Object;
public class topicdetails extends Activity {
  private EditText editText;
  @Override
  protected void onCreate(Bundle savedInstanceState)
  {
    super.onCreate(savedInstanceState);
    setContentView(R.layout.topiccontent);
    editText = (EditText)this.findViewById(R.id.editText);
    String srcUrl = getIntent().getStringExtra("src");
    editText.setText(srcUrl);
  }
}
更多關於Android相關內容感興趣的讀者可查看本站專題:《Android調試技巧與常見問題解決方法匯總》、《Android開發入門與進階教程》、《Android多媒體操作技巧匯總(音頻,視頻,錄音等)》、《Android基本組件用法總結》、《Android視圖View技巧總結》、《Android布局layout技巧總結》及《Android控件用法總結》
希望本文所述對大家Android程序設計有所幫助。
 Android內置顏色及其它顏色RGB對照表
我們在平時開發時經常要用到各種顏色,有了下面這兩張表,媽媽再也不用擔心你的配色問題了。 一:內置顏色: public stati
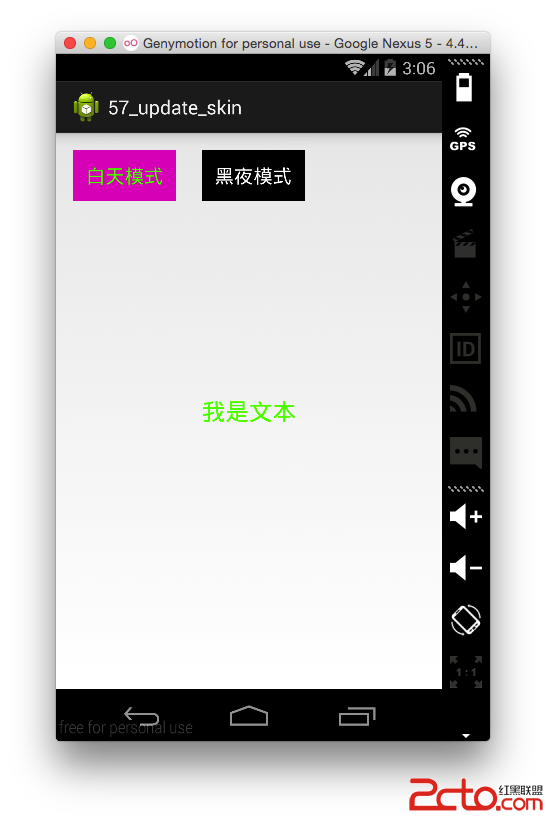 Android更換皮膚解決方案
Android更換皮膚解決方案 轉載請注明出處:IT_xiao小巫本篇博客要給大家分享的一個關於Android應用換膚的Demo,大家可以到我的github去下載demo
 用Eclipse搭建Android開發環境並創建第一個Android項目(eclipse+android sdk)
一、搭建Android開發環境准備工作:下載Eclipse、JDK、Android SDK、ADT插件1、安裝和配置JAVA開發環境: ①把准備好的
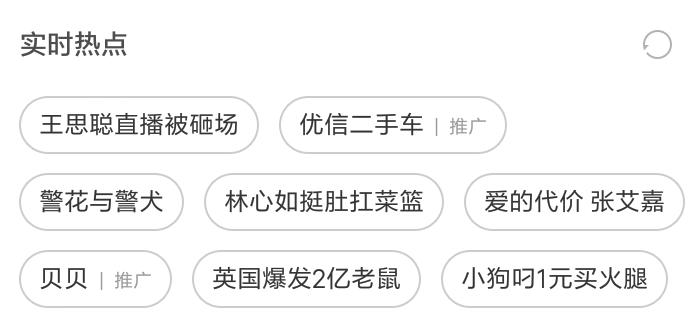 Android中標簽容器控件的實例詳解
前言在一些APP中我們可以看到一些存放標簽的容器控件,和我們平時使用的一些布局方式有些不同,它們一般都可以自動適應屏幕的寬度進行布局,根據對自定義控件的一些理解,今天寫一