編輯:關於Android編程
本文實例講述了Android編程實現網絡圖片查看器和網頁源碼查看器。分享給大家供大家參考,具體如下:
網絡圖片查看器
清單文加入網絡訪問權限:
<!-- 訪問internet權限 -->
<uses-permission android:name="android.permission.INTERNET"/>
界面如下:

示例:
public class MainActivity extends Activity {
  private EditText imagepath;
  private ImageView imageView;
  @Override
  public void onCreate(Bundle savedInstanceState) {
    super.onCreate(savedInstanceState);
    setContentView(R.layout.main);
    imagepath = (EditText) this.findViewById(R.id.imagepath);
    imageView = (ImageView) this.findViewById(R.id.imageView);
    Button button = (Button) this.findViewById(R.id.button);
    button.setOnClickListener(new View.OnClickListener() {
      public void onClick(View v) {
        String path = imagepath.getText().toString();
        try{
          byte[] data = ImageService.getImage(path);//獲取圖片數據
          if(data!=null){
            //構建位圖對象
            Bitmap bitmap = BitmapFactory.decodeByteArray(data, 0, data.length);
            imageView.setImageBitmap(bitmap);//顯示圖片
          }else{
            Toast.makeText(getApplicationContext(), R.string.error, 1).show();
          }
        }catch (Exception e) {
          Toast.makeText(getApplicationContext(), R.string.error, 1).show();
        }
      }
    });
  }
}
public class ImageService {
  /**
   * 獲取圖片
   * @param path 網絡圖片路徑
   * @return 圖片的字節數據
   */
  public static byte[] getImage(String path) throws Exception{
    URL url = new URL(path);
    HttpURLConnection conn = (HttpURLConnection) url.openConnection();
    //設置超時時間
    conn.setConnectTimeout(5000);
    conn.setRequestMethod("GET");
    if(conn.getResponseCode()==200){
      InputStream inStream = conn.getInputStream();
      byte[] data = StreamTool.read(inStream);
      return data;
    }
    return null;
  }
}
public class StreamTool {
  /**
   * 讀取輸入流數據
   * @param inStream
   * @return
   */
  public static byte[] read(InputStream inStream) throws Exception{
    ByteArrayOutputStream outStream = new ByteArrayOutputStream();
    byte[] buffer = new byte[1024];
    int len = 0;
    while( (len = inStream.read(buffer)) != -1 ){
      outStream.write(buffer, 0, len);
    }
    inStream.close();
    return outStream.toByteArray();
  }
}
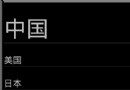
網頁源碼查看器
如果網頁的源碼超過屏幕的顯示位置的話,要求出現滾動條.
<ScrollView
 android:layout_width="wrap_content"
 android:layout_height="wrap_content"
>
<TextView
 android:layout_width="fill_parent"
 android:layout_height="wrap_content"
 android:id="@+id/htmlsource"
 />
</ScrollView>
界面如下:

示例
@Override
public void onCreate(Bundle savedInstanceState) {
   super.onCreate(savedInstanceState);
   setContentView(R.layout.main);
   pathText = (EditText) this.findViewById(R.id.path);
   htmlsource = (TextView) this.findViewById(R.id.htmlsource);
   Button button = (Button) this.findViewById(R.id.button);
   button.setOnClickListener(new View.OnClickListener() {
  public void onClick(View v) {
    String path = pathText.getText().toString();
    try{
      //獲取源碼
      String html = PageService.getHtml(path);
      htmlsource.setText(html);
    }catch (Exception e) {
      Toast.makeText(getApplicationContext(), R.string.error, 1).show();
    }
  }
});
}
public class PageService {
  /**
   * 獲取網頁源代碼
   * @param path 網頁路徑
   * @return
   */
  public static String getHtml(String path) throws Exception{
    URL url = new URL(path);
    HttpURLConnection conn = (HttpURLConnection) url.openConnection();
    conn.setConnectTimeout(5000);
    conn.setRequestMethod("GET");
    if(conn.getResponseCode() == 200){
      byte[] data = StreamTool.read(conn.getInputStream());
      return new String(data, "UTF-8");
    }
    return null;
  }
}
希望本文所述對大家Android程序設計有所幫助。
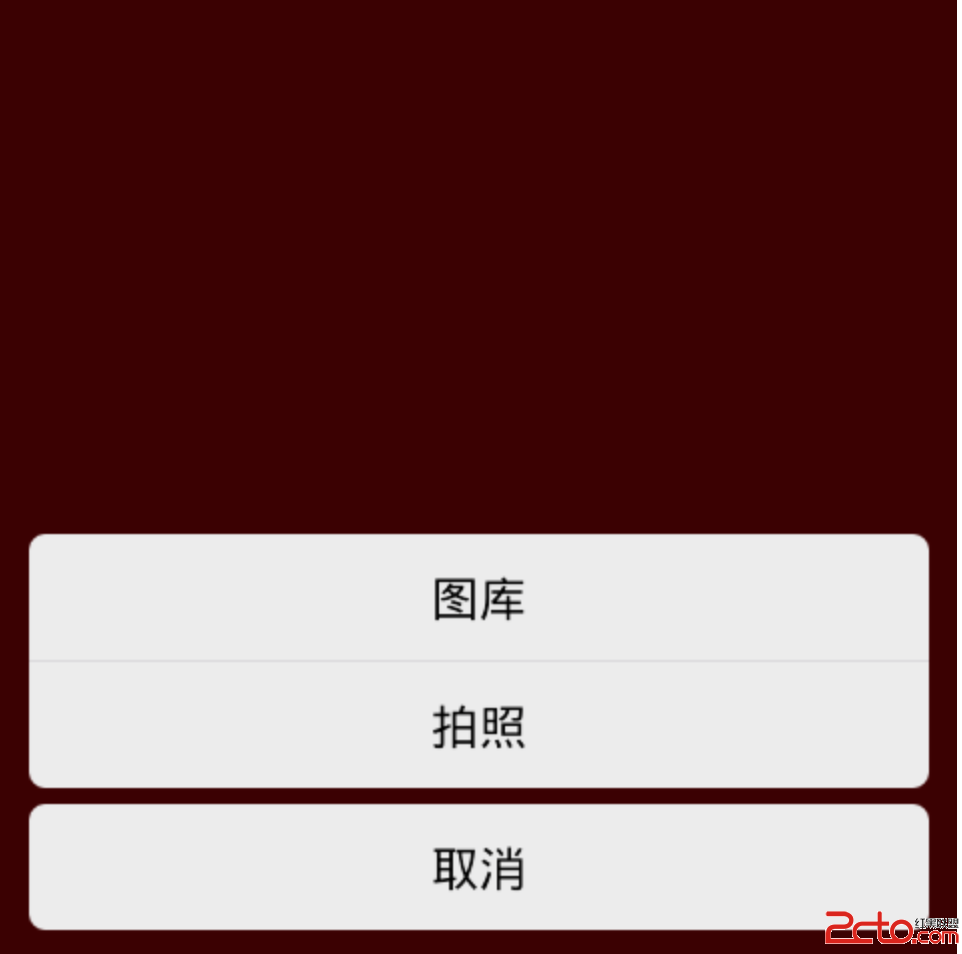
 Android 全仿To圈兒錄音界面實現
我們先來看看To圈(QQ,微信等其他大部分軟件也是大同小異)的注冊錄音界面運行截圖:(⊙o⊙)…為了實現這個效果還是花了一番功夫的,主要難點有以下方面:1、
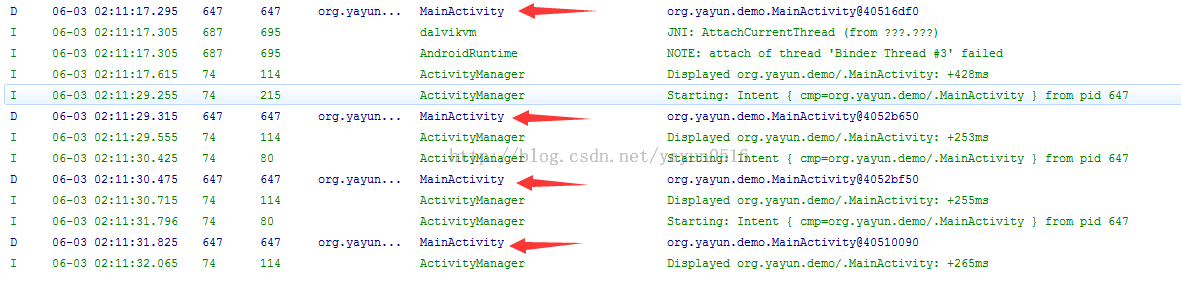
 activity launchMode
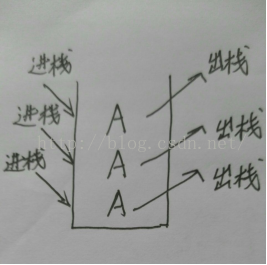
一.Activity的四種啟動模式:當應用運行起來後就會開啟一條線程,線程中會運行一個任務棧,當Activity實例創建後就會放入任務棧中。可以根據實際的需求為Activ
 Android:AppWidget之桌面小電筒
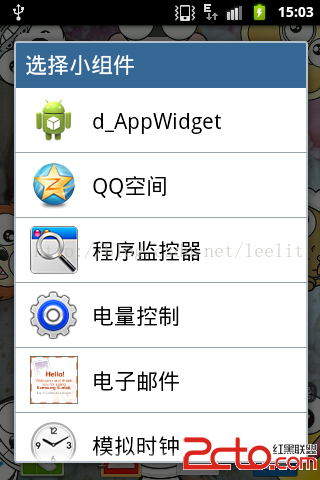
安卓開發中很多控件都是Widget類的,但是我們常說的Widget指的是AppWidget,即一些可以放置在桌面的小部件。 下面用兩個實例來說一下這個AppWid
 自定義控件三部曲之繪圖篇(十六)——給控件添加陰影效果與發光效果
這節我們將學到如下內容:傳統地給按鈕添加陰影的方法如何給已有控件添加陰影如何給圖片添加陰影一、layerlist給按鈕添加陰影效果給控件添加陰影有很多方法,但平常我們給按