編輯:關於Android編程
在用到支付類app時,都有一個簡密的輸入框。。開始實現的時候思路有點問題,後來到github上搜了下,找到了一個開源的庫看起來相當的牛逼,,來個地址先:
https://github.com/Jungerr/GridPasswordView
效果圖:

這個開源庫我研究了之後,又有了自己的一個思路:來個假的簡密框---底部放一個EditTextView,頂部放置6個ImageView的原點,控制他們的顯隱來實現這個簡密寬
開發步驟:
1 布局
<?xml version="1.0" encoding="utf-8"?>
<FrameLayout xmlns:android="http://schemas.android.com/apk/res/android"

 android:layout_height="50dp" >
 <LinearLayout
  android:baselineAligned="false"
  android:layout_width="match_parent"
  android:layout_height="50dp"
android:background="@drawable/sdk2_simple_pwd_bg_"
  android:orientation="horizontal" >
  <RelativeLayout

   android:layout_weight="1"
   android:orientation="horizontal" >
   <ImageView
    android:id="@+id/sdk2_pwd_one_img"

android:layout_centerInParent="true"
android:src="@drawable/sdk_circle_icon"
    android:visibility="invisible" />
   <View
    android:layout_width="1dp"
    android:layout_height="fill_parent"
android:layout_alignParentRight="true"  android:background="@color/sdk_color_pwd_line" />
  </RelativeLayout>
  <RelativeLayout

   android:layout_weight="1"
   android:orientation="horizontal" >
   <ImageView
    android:id="@+id/sdk2_pwd_two_img"

android:layout_centerInParent="true"
android:src="@drawable/sdk_circle_icon"
    android:visibility="invisible" />
   <View
    android:layout_width="1dp"
    android:layout_height="fill_parent"
 android:layout_alignParentRight="true"  android:background="@color/sdk_color_pwd_line" />
  </RelativeLayout>
  <RelativeLayout

   android:layout_weight="1"
   android:orientation="horizontal" >
   <ImageView
 android:id="@+id/sdk2_pwd_three_img"

   android:layout_centerInParent="true"
  android:src="@drawable/sdk_circle_icon"
    android:visibility="invisible" />
   <View
    android:layout_width="1dp"
    android:layout_height="fill_parent"
  android:layout_alignParentRight="true"
 android:background="@color/sdk_color_pwd_line" />
  </RelativeLayout>
  <RelativeLayout

   android:layout_weight="1"
   android:orientation="horizontal" >
   <ImageView
    android:id="@+id/sdk2_pwd_four_img"

android:layout_centerInParent="true"
 android:src="@drawable/sdk_circle_icon"
    android:visibility="invisible" />
   <View
    android:layout_width="1dp"
    android:layout_height="fill_parent"
 android:layout_alignParentRight="true"  android:background="@color/sdk_color_pwd_line" />
  </RelativeLayout>
  <RelativeLayout

   android:layout_weight="1"
   android:orientation="horizontal" >
   <ImageView
    android:id="@+id/sdk2_pwd_five_img"

  android:layout_centerInParent="true"
android:src="@drawable/sdk_circle_icon"
    android:visibility="invisible" />
   <View
    android:layout_width="1dp"
    android:layout_height="fill_parent"
  android:layout_alignParentRight="true"
    android:background="@color/sdk_color_pwd_line" />
  </RelativeLayout>
  <RelativeLayout

   android:layout_weight="1"
   android:orientation="horizontal" >
   <ImageView    android:id="@+id/sdk2_pwd_six_img"          android:layout_centerInParent="true"     android:src="@drawable/sdk_circle_icon"
    android:visibility="invisible" />
   <View
android:layout_width="1dp"    android:layout_height="fill_parent"     android:layout_alignParentRight="true"    android:background="@color/sdk_color_pwd_line" />
  </RelativeLayout>
 </LinearLayout>
 <EditText
  android:id="@+id/sdk2_pwd_edit_simple"

  android:background="@null"
  android:cursorVisible="false"
  android:inputType="numberPassword"
  android:maxLength="6"
 android:textColor="@color/sdk2_color_black" />
</FrameLayout>
2:自定義一個控件來處理輸入、刪除、顯隱等事件
package com.suning.mobile.paysdk.view;
import android.content.Context;
import android.text.Editable;
import android.text.TextWatcher;
import android.util.AttributeSet;
import android.view.KeyEvent;
import android.view.LayoutInflater;
import android.view.View;
import android.widget.EditText;
import android.widget.ImageView;
import android.widget.LinearLayout;
import com.suning.mobile.paysdk.R;
import com.suning.mobile.paysdk.utils.FunctionUtils;
import com.suning.mobile.paysdk.utils.log.LogUtils;
/**
 *
 * 〈一句話功能簡述〉<br>
 * 〈功能詳細描述〉 簡密輸入框
 */
public class SecurityPasswordEditText extends LinearLayout {
 private EditText mEditText;
 private ImageView oneTextView;
 private ImageView twoTextView;
 private ImageView threeTextView;
 private ImageView fourTextView;
 private ImageView fiveTextView;
 private ImageView sixTextView;
 LayoutInflater inflater;
 ImageView[] imageViews;
 View contentView;
 public SecurityPasswordEditText(Context context, AttributeSet attrs) {
  super(context, attrs);
  inflater = LayoutInflater.from(context);
  builder = new StringBuilder();
  initWidget();
 }
 private void initWidget() {
  contentView = inflater.inflate(R.layout.sdk_simple_pwd_widget, null);
  mEditText = (EditText) contentView
    .findViewById(R.id.sdk_pwd_edit_simple);
  oneTextView = (ImageView) contentView
    .findViewById(R.id.sdk_pwd_one_img);
  twoTextView = (ImageView) contentView
    .findViewById(R.id.sdk_pwd_two_img);
  fourTextView = (ImageView) contentView
    .findViewById(R.id.sdk_pwd_four_img);
  fiveTextView = (ImageView) contentView
    .findViewById(R.id.sdk_pwd_five_img);
  sixTextView = (ImageView) contentView
    .findViewById(R.id.sdk_pwd_six_img);
  threeTextView = (ImageView) contentView
    .findViewById(R.id.sdk_pwd_three_img);
  LinearLayout.LayoutParams lParams = new LayoutParams(
    LinearLayout.LayoutParams.MATCH_PARENT,
    LinearLayout.LayoutParams.WRAP_CONTENT);
  mEditText.addTextChangedListener(mTextWatcher);
  mEditText.setOnKeyListener(keyListener);
  imageViews = new ImageView[] { oneTextView, twoTextView, threeTextView,
    fourTextView, fiveTextView, sixTextView };
  this.addView(contentView, lParams);
 }
 TextWatcher mTextWatcher = new TextWatcher() {
  @Override
  public void onTextChanged(CharSequence s, int start, int before,
    int count) {
  }
  @Override
  public void beforeTextChanged(CharSequence s, int start, int count,
    int after) {
  }
  @Override
  public void afterTextChanged(Editable s) {
   if (s.toString().length() == ) {
    return;
   }
   if (builder.length() < ) {
    builder.append(s.toString());
    setTextValue();
   }
   s.delete(, s.length());
  }
 };
 OnKeyListener keyListener = new OnKeyListener() {
  @Override
  public boolean onKey(View v, int keyCode, KeyEvent event) {
   if (keyCode == KeyEvent.KEYCODE_DEL
     && event.getAction() == KeyEvent.ACTION_UP) {
    delTextValue();
    return true;
   }
   return false;
  }
 };
 private void setTextValue() {
  String str = builder.toString();
  int len = str.length();
  if (len <= ) {
   imageViews[len - ].setVisibility(View.VISIBLE);
  }
  if (len == ) {
   LogUtils.i("回調");
   LogUtils.i("支付密碼" + str);
   if (mListener != null) {
    mListener.onNumCompleted(str);
   }
   LogUtils.i("jone", builder.toString());
   FunctionUtils.hideSoftInputByView(getContext(), mEditText);
  }
 }
 private void delTextValue() {
  String str = builder.toString();
  int len = str.length();
  if (len == ) {
   return;
  }
  if (len > && len <= ) {
   builder.delete(len - , len);
  }
  imageViews[len - ].setVisibility(View.INVISIBLE);
  ;
 }
 StringBuilder builder;
 public interface SecurityEditCompleListener {
  public void onNumCompleted(String num);
 }
 public SecurityEditCompleListener mListener;
 public void setSecurityEditCompleListener(
   SecurityEditCompleListener mListener) {
  this.mListener = mListener;
 }
 public void clearSecurityEdit() {
  if (builder != null) {
   if (builder.length() == ) {
    builder.delete(, );
   }
  }
  for (ImageView tv : imageViews) {
   tv.setVisibility(View.INVISIBLE);
  }
 }
 public EditText getSecurityEdit() {
  return this.mEditText;
 }
}
這樣子其實也實現了簡密功能,但是這個比前面那個開源庫簡單了許多,當然功能也沒有前面的那個強大。
以上內容給大家介紹了Android仿微信/支付寶密碼輸入框的全部敘述,希望大家喜歡。
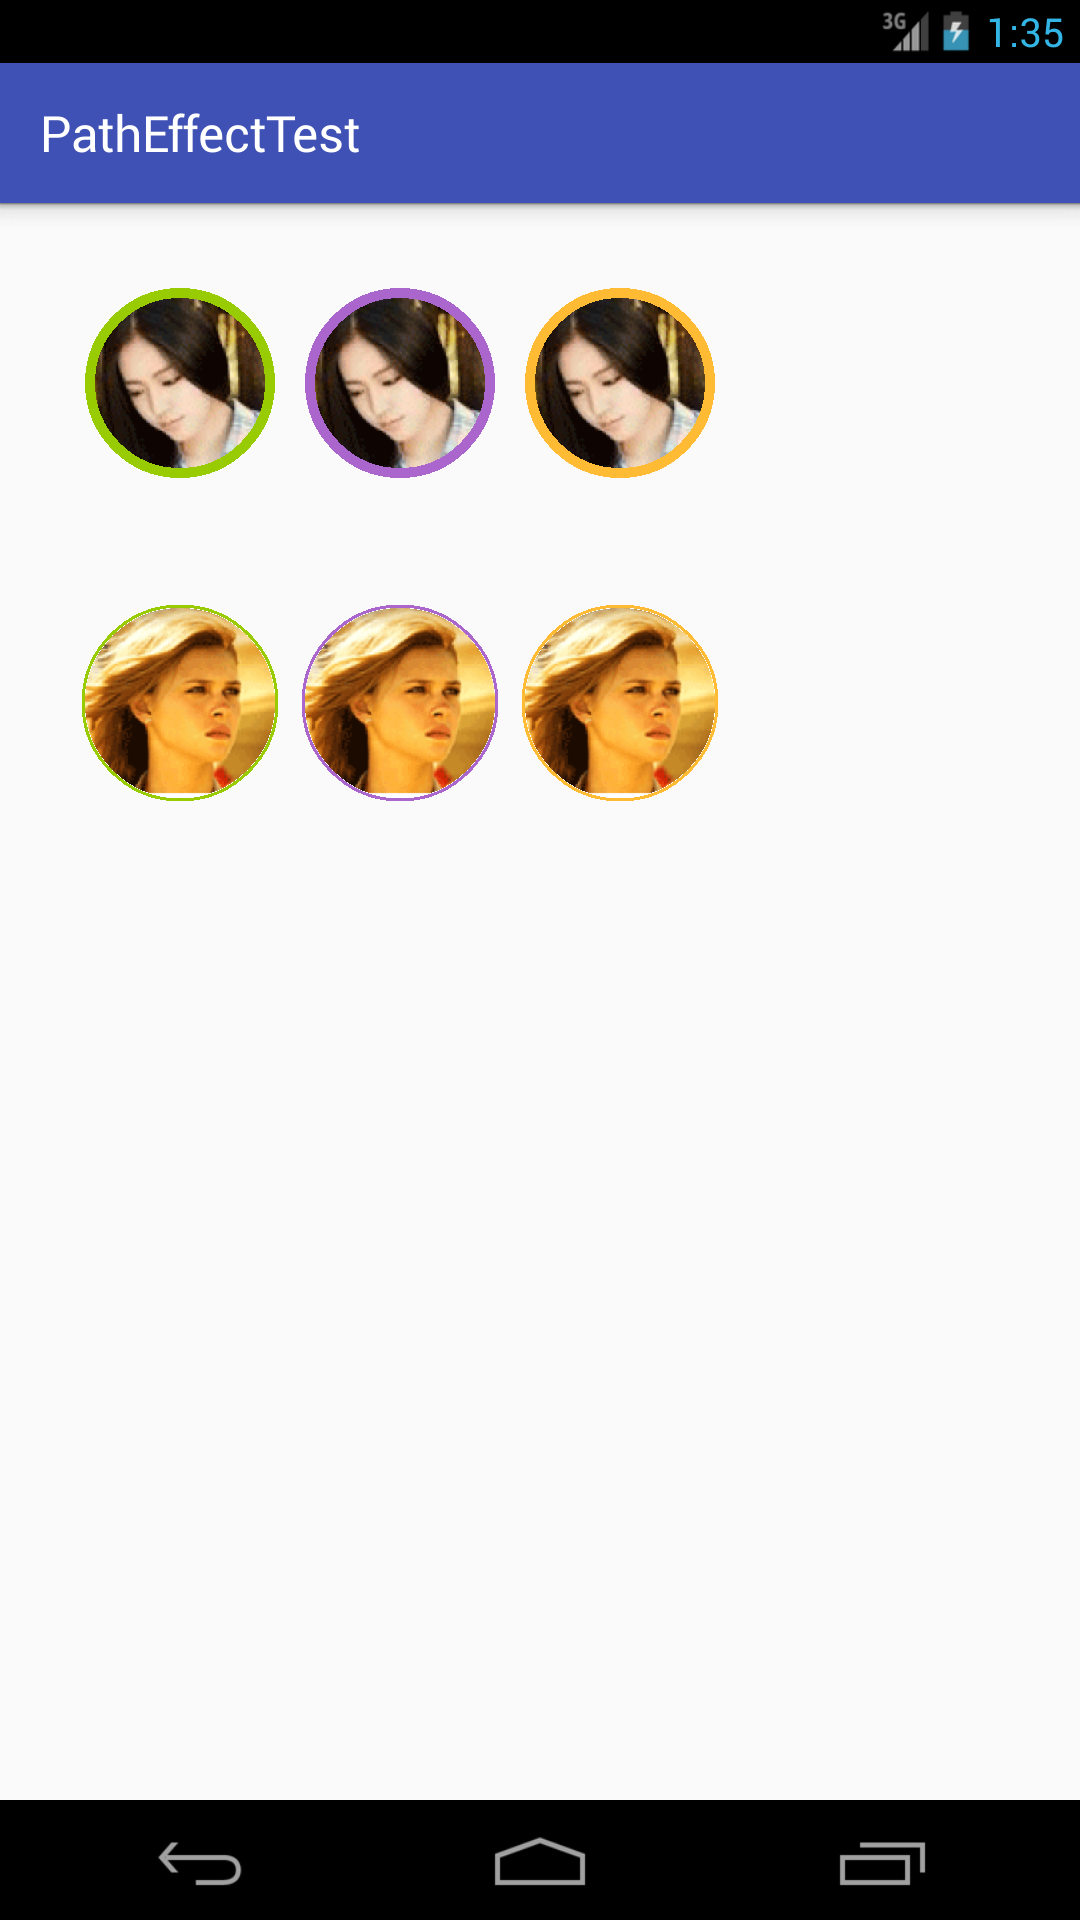 利用Android中BitmapShader制作自帶邊框的圓形頭像
效果如下:BitmapShader 的簡單介紹關於 Shader是什麼,Shader的種類有哪幾種以及如何使用不屬於本文范疇,對這方面不是很了解的同學,建議先去學習一下
 android 自定義組件隨著手指自動畫圓
首先自定義一個View子類: package com.example.androidtest0.myView; import android.content.Conte
 Activity與Service之間交互並播放歌曲的實現代碼
Activity與Service之間交互並播放歌曲,為了方便,我把要播放的歌曲定死了,大家可以靈活改進 MService:復制代碼 代碼如下:package c
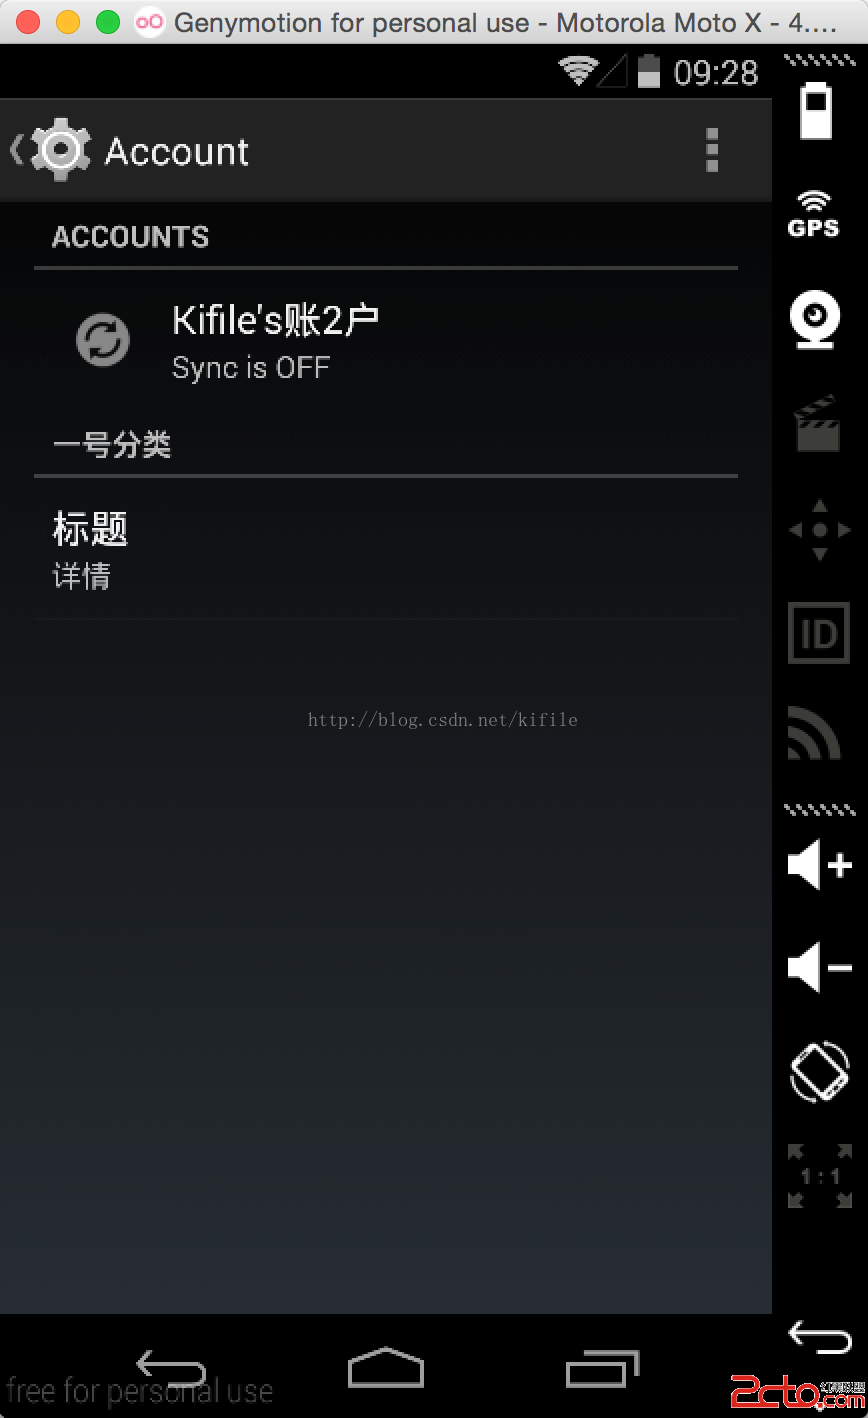 一步一步教你在 Android 裡創建自己的賬號系統(二)--同步數據以及設計賬號頁面
在前一篇文章中(一步一步教你在 Android 裡創建自己的賬號系統(一)),我向大家介紹了如何在 Android 系統中創建自己的賬戶系統,