編輯:關於Android編程
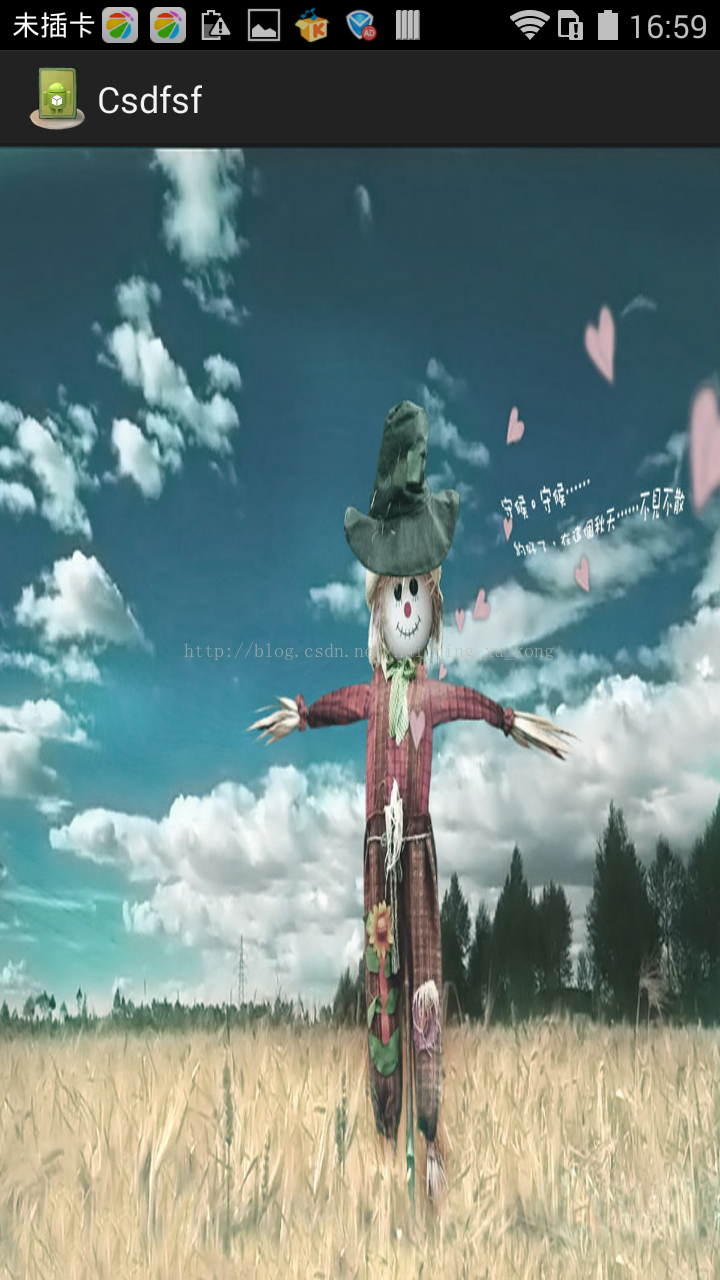
本文實例講述了Android編程實現圖標拖動效果的方法。分享給大家供大家參考,具體如下:
最近優化圖標拖動時的速率,稍微有一點點效果,直接把代碼貼出來,有興趣一起討論的朋友可以給我留言。
代碼如下:
DragView.java
package com.android.dragtest;
import android.content.Context;
import android.util.AttributeSet;
import android.util.Log;
import android.view.MotionEvent;
import android.view.View;
import android.widget.FrameLayout;
public class DragView extends FrameLayout {
 private static final String TAG = "DragView";
 private float X;
 private float Y;
 private View mDragView;
 public DragView(Context context) {
  this(context, null);
 }
 public DragView(Context context, AttributeSet attrs) {
  this(context, attrs, 0);
 }
 public DragView(Context context, AttributeSet attrs, int defStyle) {
  super(context, attrs, defStyle);
  mDragView = new View(context);
  mDragView.setLayoutParams(new LayoutParams(60, 60));
  mDragView.setBackgroundDrawable(getResources().getDrawable(R.drawable.gamecenter));
  mDragView.setVisibility(View.INVISIBLE);
  addView(mDragView);
 }
 public boolean onInterceptTouchEvent(MotionEvent ev) {
  final int action = ev.getAction();
  switch (action) {
  case MotionEvent.ACTION_DOWN:
   Log.d(TAG, "===============>onInterceptTouchEvent ACTION_DOWN");
   break;
  case MotionEvent.ACTION_MOVE:
   Log.d(TAG, "===============>onInterceptTouchEvent ACTION_MOVE");
   break;
  case MotionEvent.ACTION_UP:
   Log.d(TAG, "===============>onInterceptTouchEvent ACTION_UP");
   break;
  }
  return true;
 }
 public boolean onTouchEvent(MotionEvent ev) {
  final int action = ev.getAction();
  X = ev.getX();
  Y = ev.getY();
  switch (action) {
  case MotionEvent.ACTION_DOWN:
   Log.d(TAG, "onTouchEvent ACTION_DOWN");
   mDragView.layout((int)X - 30, (int)Y - 30, (int)X + 30, (int)Y + 30);
   mDragView.setVisibility(View.VISIBLE);
   break;
  case MotionEvent.ACTION_MOVE:
   Log.d(TAG, "onTouchEvent ACTION_MOVE x:" + X + " Y:" + Y);
   mDragView.layout((int)X - 30, (int)Y - 30, (int)X + 30, (int)Y + 30);
   break;
  case MotionEvent.ACTION_UP:
   Log.d(TAG, "onTouchEvent ACTION_UP");
   mDragView.setVisibility(View.INVISIBLE);
   break;
  }
  return true;
 }
}
DragTestActivity.java
package com.android.dragtest;
import android.app.Activity;
import android.os.Bundle;
public class DragTestActivity extends Activity {
 /** Called when the activity is first created. */
 @Override
 public void onCreate(Bundle savedInstanceState) {
  super.onCreate(savedInstanceState);
  setContentView(R.layout.main);
 }
}
main.xml
<?xml version="1.0" encoding="utf-8"?>
<LinearLayout xmlns:android="http://schemas.android.com/apk/res/android"
 android:layout_width="fill_parent"
 android:layout_height="fill_parent"
 android:orientation="vertical" >
 <com.android.dragtest.DragView
  android:layout_width="match_parent"
  android:layout_height="match_parent">
 </com.android.dragtest.DragView>
</LinearLayout>
希望本文所述對大家Android程序設計有所幫助。
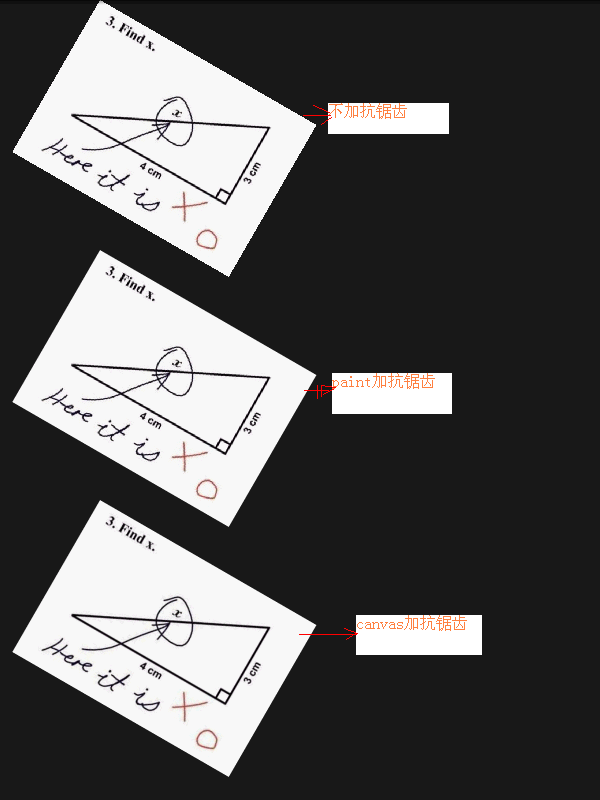 Android編程畫圖之抗鋸齒解決方法
本文實例分析了Android編程畫圖之抗鋸齒解決方法。分享給大家供大家參考,具體如下:在畫圖的時候,圖片如果旋轉或縮放之後,總是會出現那些華麗的鋸齒。其實Android自
 android之實現上下左右翻頁效果
如果實現上下或者左右翻頁效果,我們借助下這個開源項目:https://github.com/openaphid/android-flip Aphid FlipView是一
 Android實現仿通訊錄側邊欄滑動SiderBar效果代碼
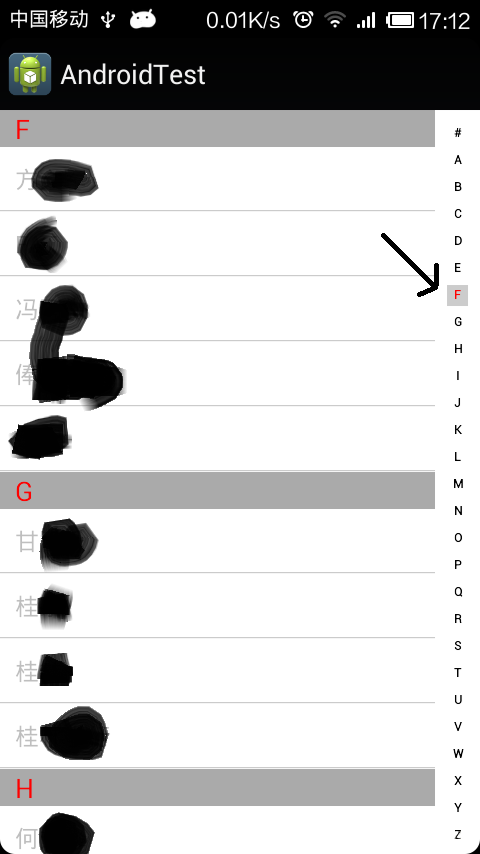
本文實例講述了Android實現仿通訊錄側邊欄滑動SiderBar效果代碼。分享給大家供大家參考,具體如下:之前看到某些應用的側邊欄做得不錯,想想自己也弄一個出來,現在分
 Android提高之SurfaceView的基本用法實例分析
前文介紹了Android中MediaPlayer用法的時候稍微介紹了SurfaceView,SurfaceView由於可以直接從內存或者DMA等硬件接口取得圖像數據,因此