編輯:關於Android編程
本文實例講述了Android短信發送器實現方法。分享給大家供大家參考。具體如下:
這裡模擬android短信發送器的實現
AndroidManifest.xml清單文件:
<?xml version="1.0" encoding="utf-8"?>
<manifest xmlns:android="http://schemas.android.com/apk/res/android"
 package="com.ljq.sms"
 android:versionCode="1"
 android:versionName="1.0">
 <application android:icon="@drawable/icon" android:label="@string/app_name">
 <activity android:name=".MainActivity"
   android:label="@string/app_name">
  <intent-filter>
  <action android:name="android.intent.action.MAIN" />
  <category android:name="android.intent.category.LAUNCHER" />
  </intent-filter>
 </activity>
 </application>
 <uses-sdk android:minSdkVersion="7" />
 <uses-permission android:name="android.permission.SEND_SMS"/>
</manifest>
main.xml布局文件:
<?xml version="1.0" encoding="utf-8"?>
<LinearLayout xmlns:android="http://schemas.android.com/apk/res/android"
 android:orientation="vertical"
 android:layout_width="fill_parent"
 android:layout_height="fill_parent">
 <RelativeLayout android:layout_width="fill_parent"
 android:layout_height="wrap_content">
 <TextView android:layout_width="115dip"
  android:layout_height="wrap_content"
  android:text="請輸入手機號"
  android:id="@+id/mobilelabel" />
 <EditText android:layout_width="fill_parent"
  android:layout_height="wrap_content"
  android:layout_toRightOf="@id/mobilelabel"
  android:text="5556"
  android:id="@+id/mobile" />
 </RelativeLayout>
 <TextView android:layout_width="fill_parent"
 android:layout_height="wrap_content"
 android:text="請輸入短信內容" />
 <EditText android:layout_width="fill_parent"
 android:layout_height="wrap_content"
 android:minLines="3"
 android:text="I am a teacher!"
 android:id="@+id/content" />
 <Button android:layout_width="wrap_content"
 android:layout_height="wrap_content"
 android:text="發送"
 android:id="@+id/button" />
</LinearLayout>
MainActivity類:
package com.ljq.sms;
import java.util.ArrayList;
import android.app.Activity;
import android.os.Bundle;
import android.telephony.SmsManager;
import android.view.View;
import android.widget.Button;
import android.widget.EditText;
import android.widget.Toast;
public class MainActivity extends Activity {
 private EditText mobileText=null;
 private EditText contentText=null;
 @Override
 public void onCreate(Bundle savedInstanceState) {
 super.onCreate(savedInstanceState);
 setContentView(R.layout.main);
 mobileText=(EditText)findViewById(R.id.mobile);
 contentText=(EditText)findViewById(R.id.content);
 Button button=(Button)findViewById(R.id.button);
 button.setOnClickListener(new View.OnClickListener(){
  public void onClick(View v) {
  String mobile=mobileText.getText().toString();
  String content=contentText.getText().toString();
  //取得android系統中默認的短信管理器
  SmsManager manager=SmsManager.getDefault();
  //如果短信內容過長時,則對短信內容進行拆分
  ArrayList<String> texts=manager.divideMessage(content);
  for(String text:texts){
   //第一個參數:對方手機號碼
   //第二個參數:短信中心號碼,一般設置為空
   //第三個參數:短信內容
   //第四個參數:sentIntent判斷短信是否發送成功,如果你沒有SIM卡,或者網絡中斷,則可以通過這個intent來判斷。
   //注意強調的是“發送”的動作是否成功。那麼至於對於對方是否收到,另當別論
   //第五個參數:當短信發送到收件人時,會收到這個deliveryIntent。即強調了“發送”後的結果
   //就是說是在"短信發送成功"和"對方收到此短信"才會激活sentIntent和deliveryIntent這兩個Intent。這也相當於是延遲執行了Intent
   manager.sendTextMessage(mobile, null, text, null, null);
  }
  //Toast.makeText(getApplicationContext(), "發送成功", Toast.LENGTH_LONG).show();
  Toast.makeText(MainActivity.this, "發送成功", Toast.LENGTH_LONG).show();
  }
 });
 }
}
運行結果:

希望本文所述對大家的Android程序設計有所幫助。
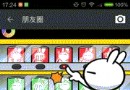 Android自定義SwipeRefreshLayout高仿微信朋友圈下拉刷新
上一篇文章裡把SwipeRefreshLayout的原理簡單過了一下,大致了解了其工作原理,不熟悉的可以去看一下:http://www.jb51.net/article/
 Android - ToDoList(定制ArrayAdapter)
ToDoList(定制ArrayAdapter) 本文地址: http://blog.csdn.net/caroline_wendy/article/details/
 Android界面坐標圖示和Rect(矩形)簡介
Android界面的坐標是以左上角為起始點,平行的為X軸,垂直的為Y軸,數值都是遞增的。如下圖所示: Android的Rect類是形成一個矩形的區域,區域
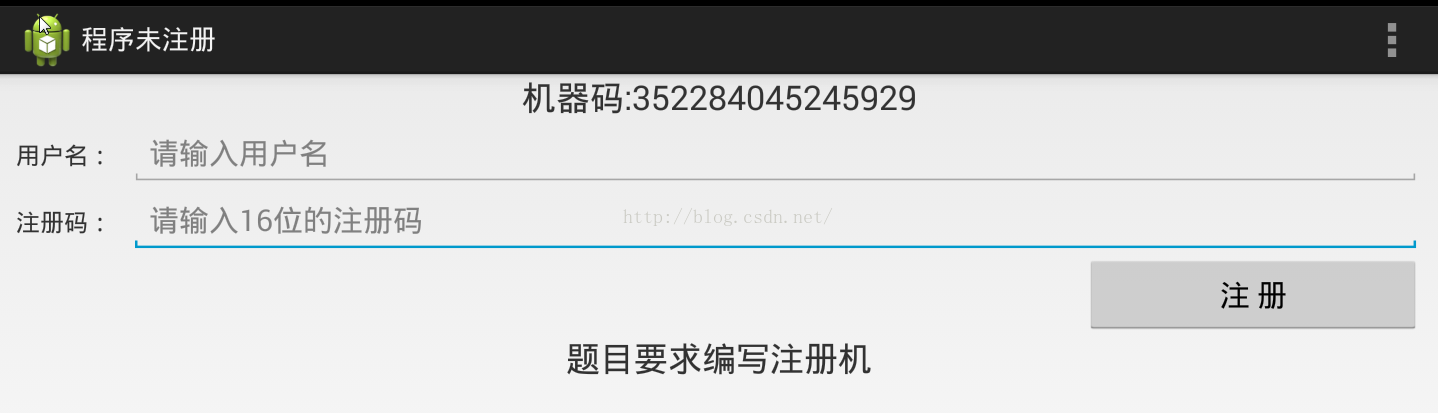 UC-Android逆向工程師面試第2題分析
一、簡介這個題目是別人面試UC優視集團Android逆向工程師一職位的面試題,相比較前面的面試題1,增加了一些難度。 二、題目分析1.使