編輯:關於Android編程
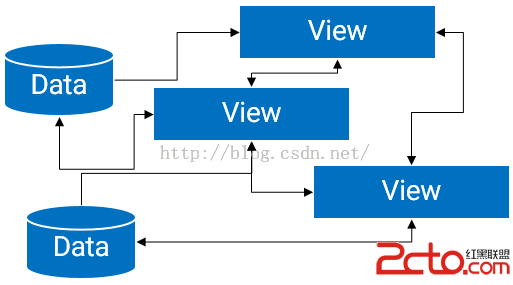
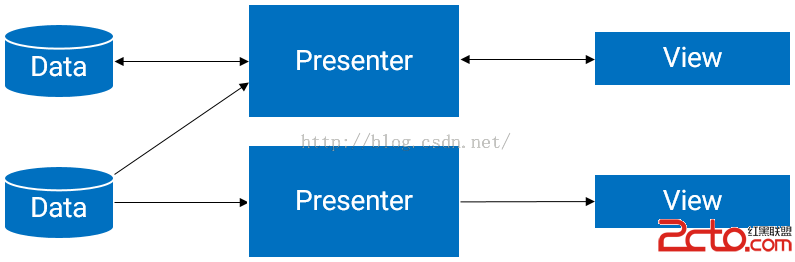
而MVP與MVC最不同的一點是M與V是不直接關聯的也是就Model與View不存在直接關系,這兩者之間間隔著的是Presenter層,其負責調控View與Model之間的間接交互,MVP的結構圖如下所示,對於這個圖理解即可而不必限於其中的條條框框,畢竟在不同的場景下多少會有些出入的。在Android中很重要的一點就是對UI的操作基本上需要異步進行也就是在MainThread中才能操作UI,所以對View與Model的切斷分離是合理的。此外Presenter與View、Model的交互使用接口定義交互操作可以進一步達到松耦合也可以通過接口更加方便地進行單元測試。
package com.example.luhuanju.myapplication;
/**
* Created by luhuanju on 15/10/23.
*/
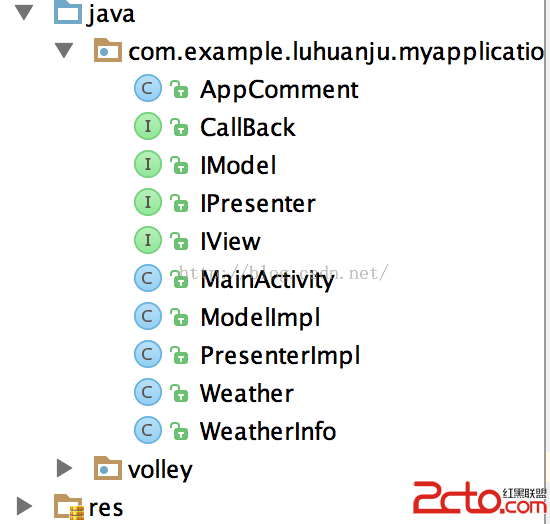
public interface IView {
void showProgress();
void hideProgress();
void showError();
void setWetherInfo(Weather weather);
}
/**
 * Created by luhuanju on 15/10/23.
 */
public interface IModel {

    void getInfo(String id,CallBack callBack);

}
/**
 * Created by luhuanju on 15/10/23.
 */
public class PresenterImpl implements IPresenter,CallBack {
    IView mIView;
    IModel mIModel;
    public PresenterImpl(IView view){
        mIView=view;
        mIModel=new ModelImpl();
    }
    @Override
    public void getInfo(String id) {
        mIModel.getInfo(id,this);
    }
    @Override
    public void onSuccess(Weather info) {
        mIView.setWetherInfo(info);
    }
    @Override
    public void Error() {
    }
}
/**
 * Created by luhuanju on 15/10/23.
 */
public class ModelImpl implements  IModel{


    @Override
    public void getInfo(String cityNO, final CallBack callBack) {

        //直接模擬了一些假數據~!
        //正常邏輯下,該處一般是負責請求網絡得到數據的
        WeatherInfo info=new WeatherInfo();
        info.setCity(bei jing);
        info.setCityid(101);
        Weather weather=new Weather();
        weather.setWeatherinfo(info);
        //此處回調,作用就是把該數據負責回調給Presenter~!
        callBack.onSuccess(weather);
    }
}
//需要實現IView接口
public class MainActivity extends Activity implements IView,View.OnClickListener {
    EditText editText;
    Button button;
    TextView textView2;
    TextView textView;
    TextView textView3;
    IPresenter presenter;
    @Override
    protected void onCreate(Bundle savedInstanceState) {
        super.onCreate(savedInstanceState);
        setContentView(R.layout.activity_main);
        init();
    }
     void init(){
          editText=( EditText)findViewById(R.id.editText);
          button=(Button)findViewById(R.id.button1);
          textView=(TextView)findViewById(R.id.textView);
          textView2=(TextView)findViewById(R.id.textView2);
          textView3=(TextView)findViewById(R.id.textView3);
          button.setOnClickListener(this);
         //實例化Presenter
          presenter=new PresenterImpl(this);
     };
    @Override
    public void showProgress() {

    }
    @Override
    public void hideProgress() {
    }

    @Override
    public void showError() {
    }
    //接收到Presenter傳過來的數據
    @Override
    public void setWetherInfo(Weather weather) {
        WeatherInfo info=weather.getWeatherinfo();
        textView.setText(info.getCity());
        textView2.setText(info.getCity());
        textView3.setText(info.getCityid());
    }
    @Override
    public void onClick(View view) {
        int id=view.getId();
        switch (id) {
           case R.id.button1:
           presenter.getInfo(editText.getText().toString().trim());
            break;
        }
    }
}
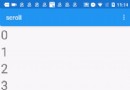 5CoordinatorLayout與AppBarLayout--嵌套滑動
上文我們說了AppBarLayout的簡單滑動,本篇主要介紹CoordinatorLayout下的嵌套滑動相關知識,本文對此做介紹例子按照慣例,先看效果,再談原理。可以看
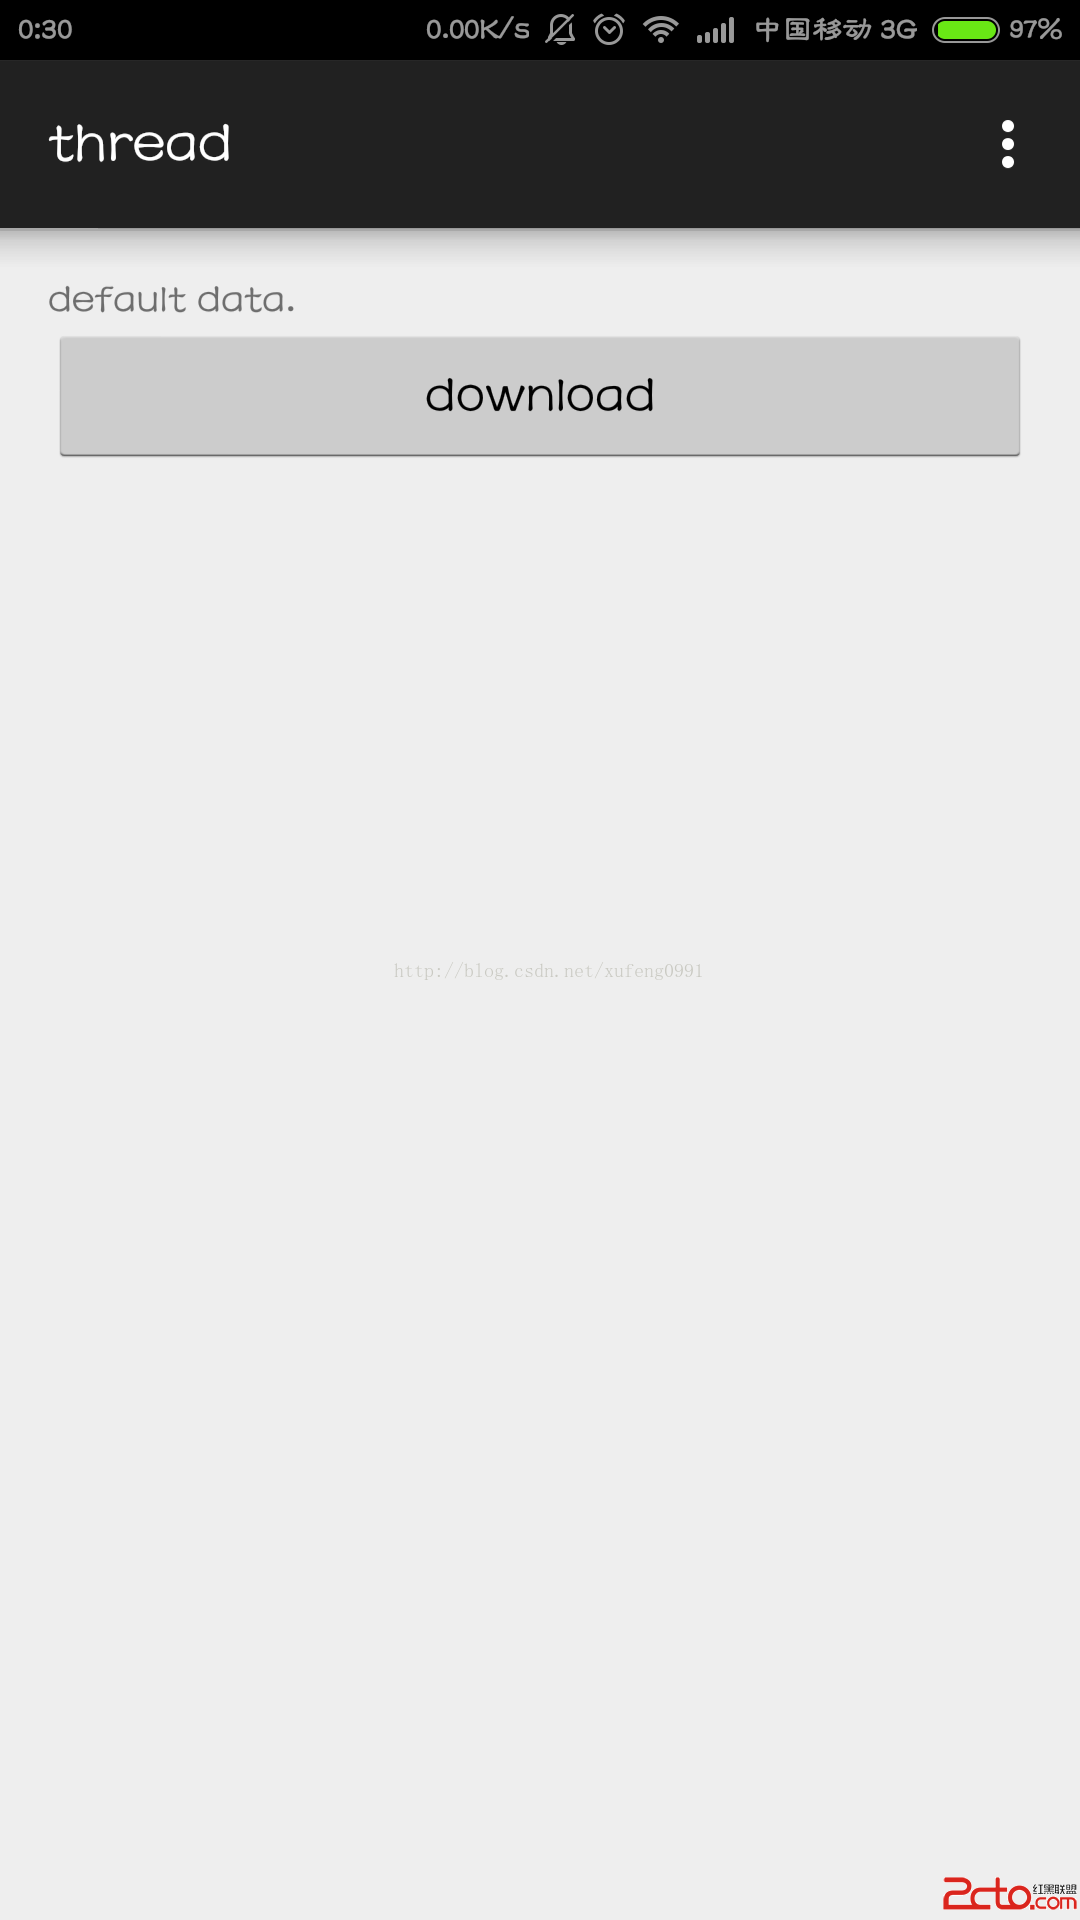 Android開發基礎之Worker線程向Main線程發送消息
由於Worker線程不能修改UI,所以當在Worker線程中接收到消息之後,需要通知主線程來更新UI。下面是一個下例子: 一 布局 二 代碼&
 Android的生命周期
Activity的生命周期圖2 Android生命周期中涉及到的幾個過程 1.啟動Activity:系統會先調用onCreate方法,然後調用onStart方法,最後
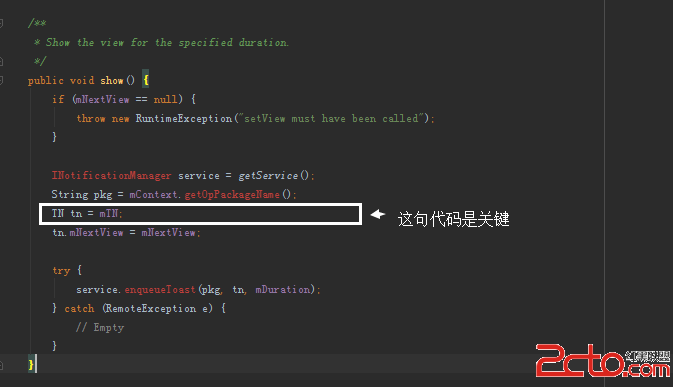 Android藍牙開發,報BluetoothAdapter﹕ Can't create handler inside thread that has not called Looper.prepare
這個錯誤翻譯的意思是:不能在沒有Looper.prepare的線程裡面創建handler。起初我很疑惑,我根本沒有用到工作線程,也沒有創建handler。報錯的代碼如下: