編輯:關於android開發
1. 效果圖
2. xml中
<com.etoury.etoury.ui.view.CircleImg
            android:id="@+id/user_info_head_img"
            android:layout_width="120dp"
            android:layout_height="120dp"
            android:layout_centerInParent="true"
            android:src="@drawable/ic_user" >
</com.etoury.etoury.ui.view.CircleImg>
3. 自定義view
CircleImg.java
package com.etoury.etoury.ui.view;

import android.content.Context;
import android.graphics.Bitmap;
import android.graphics.Canvas;
import android.graphics.Color;
import android.graphics.Paint;
import android.graphics.PixelFormat;
import android.graphics.PorterDuffXfermode;
import android.graphics.Rect;
import android.graphics.Bitmap.Config;
import android.graphics.PorterDuff.Mode;
import android.graphics.drawable.Drawable;
import android.util.AttributeSet;
import android.widget.ImageView;

public class CircleImg extends ImageView{


    public CircleImg(Context context) {
        super(context);
        // TODO Auto-generated constructor stub
    }

    public CircleImg(Context context, AttributeSet attrs) {
        super(context, attrs);
    }

    public CircleImg(Context context, AttributeSet attrs, int defStyle) {
        super(context, attrs, defStyle);
    }

    @Override
    protected void onDraw(Canvas canvas) {

        Drawable drawable = getDrawable();

        if (drawable == null) {
            return;
        }

        if (getWidth() == 0 || getHeight() == 0) {
            return;
        }
        int width = drawable.getIntrinsicWidth();
        int height = drawable.getIntrinsicHeight();
        Bitmap.Config config = drawable.getOpacity() != PixelFormat.OPAQUE ? Bitmap.Config.ARGB_8888
                : Bitmap.Config.RGB_565;
        Bitmap b = Bitmap.createBitmap(width, height, config);
        // Bitmap b = ((BitmapDrawable) drawable).getBitmap();
        // 注意,下面三行代碼要用到,否在在View或者surfaceview裡的canvas.drawBitmap會看不到圖
        Canvas can = new Canvas(b);
        drawable.setBounds(0, 0, width, height);
        drawable.draw(can);

        if (null == b) {
            return;
        }

        Bitmap bitmap = b.copy(Bitmap.Config.ARGB_8888, true);

        int w = getWidth(), h = getHeight();

        Bitmap roundBitmap = getCroppedBitmap(bitmap, w);
        canvas.drawBitmap(roundBitmap, 0, 0, null);
    }

    public static Bitmap getCroppedBitmap(Bitmap bmp, int radius) {
        Bitmap sbmp;
        if (bmp.getWidth() != radius || bmp.getHeight() != radius)
            sbmp = Bitmap.createScaledBitmap(bmp, radius, radius, false);
        else
            sbmp = bmp;
        Bitmap output = Bitmap.createBitmap(sbmp.getWidth(), sbmp.getHeight(),
                Config.ARGB_8888);
        Canvas canvas = new Canvas(output);

        final int color = 0xffa19774;
        final Paint paint = new Paint();
        final Rect rect = new Rect(0, 0, sbmp.getWidth(), sbmp.getHeight());

        paint.setAntiAlias(true);
        paint.setFilterBitmap(true);
        paint.setDither(true);
        canvas.drawARGB(0, 0, 0, 0);
        paint.setColor(Color.parseColor("#BAB399"));
        canvas.drawCircle(sbmp.getWidth() / 2 + 0.7f,
                sbmp.getHeight() / 2 + 0.7f, sbmp.getWidth() / 2 + 0.1f, paint);
        paint.setXfermode(new PorterDuffXfermode(Mode.SRC_IN));
        canvas.drawBitmap(sbmp, rect, rect, paint);

        return output;
    }


}
 使用SharePreferences存取數據(慕課筆記 ),sharepreferences
使用SharePreferences存取數據(慕課筆記 ),sharepreferences0.視頻地址:http://www.imooc.com/video/3265
 Android 關於“NetworkOnMainThreadException”,networkonmainthread
Android 關於“NetworkOnMainThreadException”,networkonmainthread網絡收集的原因如下,以及解決辦法: 我補充總結一
 android實現倒計時,android倒計時
android實現倒計時,android倒計時前言 在打開愛奇藝等app的歡迎界面的時候,右上角有一個倒計時的控件。倒計時完了以後進入主界面。現在我們來實現這
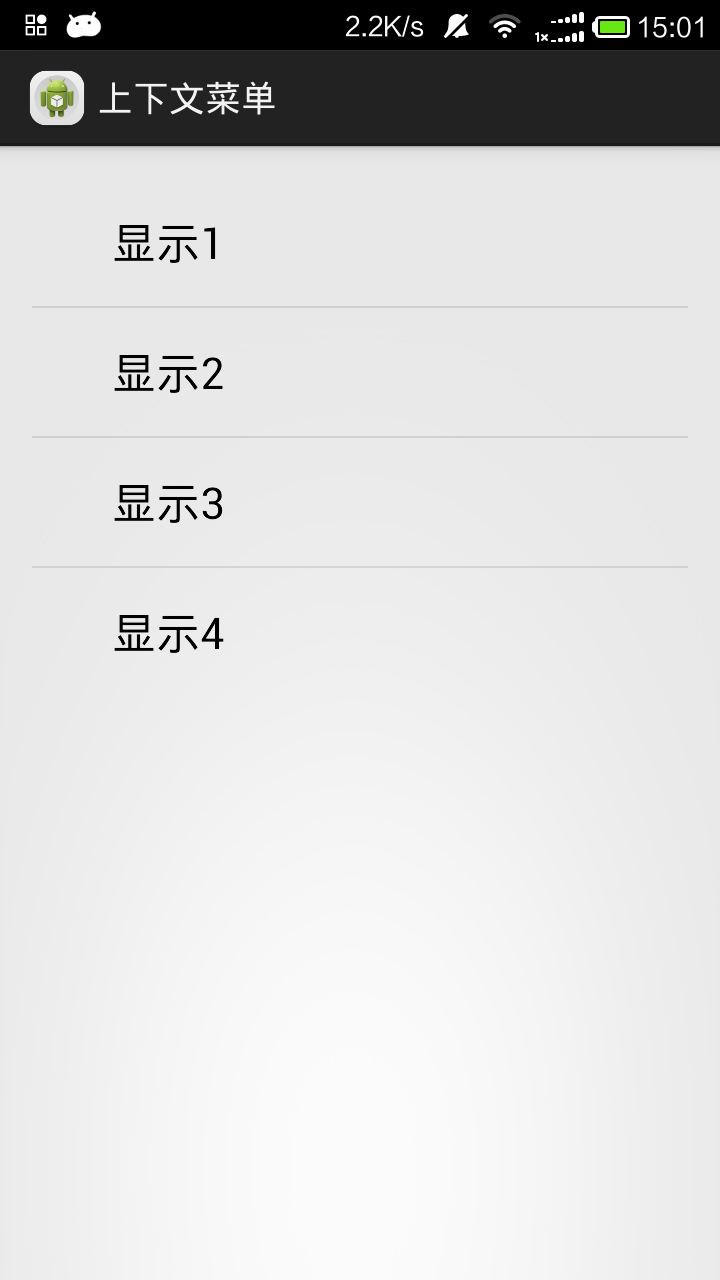
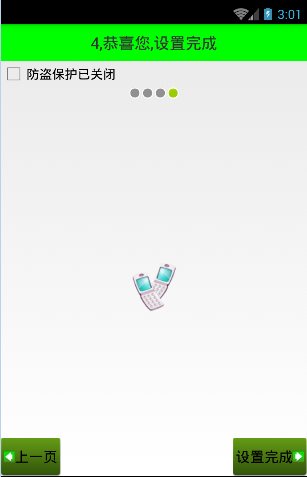 Android 手機衛士--導航界面4的業務邏輯,android衛士
Android 手機衛士--導航界面4的業務邏輯,android衛士本文實現導航界面4的業務邏輯,導航界面4的界面如下: 本文地址:http://www.cnblogs