編輯:關於android開發
/**
     * 往服務器上上傳文本  比如log日志
     * @param urlstr        請求的url
     * @param uploadFile    log日志的路徑
     *                                    /mnt/shell/emulated/0/LOG/LOG.log
     * @param newName        log日志的名字 LOG.log
     * @return
     */
    public static void httpPost(Activity activity,String urlstr,String uploadFile,String newName) {
        LogUtil.info("getEhttpPostt", "urlstr="+urlstr+";uploadFile="+uploadFile+";newName="+newName,"i");
        String end = "\r\n";
        String twoHyphens = "--";
        String boundary = "*****";//邊界標識
        int TIME_OUT = 10*1000;   //超時時間
        HttpURLConnection con = null;
        DataOutputStream ds = null;
        InputStream is = null;
        try {
            URL url = new URL(urlstr);
            con = (HttpURLConnection) url.openConnection();
            con.setReadTimeout(TIME_OUT);
            con.setConnectTimeout(TIME_OUT);
            /* 允許Input、Output,不使用Cache */
            con.setDoInput(true);
            con.setDoOutput(true);
            con.setUseCaches(false);

            // 設置http連接屬性
            con.setRequestMethod("POST");//請求方式
            con.setRequestProperty("Connection", "Keep-Alive");//在一次TCP連接中可以持續發送多份數據而不會斷開連接
            con.setRequestProperty("Charset", "UTF-8");//設置編碼
            con.setRequestProperty("Content-Type",//multipart/form-data能上傳文件的編碼格式
                    "multipart/form-data;boundary=" + boundary);

            ds = new DataOutputStream(con.getOutputStream());
            ds.writeBytes(twoHyphens + boundary + end);
            ds.writeBytes("Content-Disposition: form-data; "
                    + "name=\"stblog\";filename=\"" + newName + "\"" + end);
            ds.writeBytes(end);

            // 取得文件的FileInputStream
            FileInputStream fStream = new FileInputStream(uploadFile);
            /* 設置每次寫入1024bytes */
            int bufferSize = 1024;
            byte[] buffer = new byte[bufferSize];
            int length = -1;
            /* 從文件讀取數據至緩沖區 */
            while ((length = fStream.read(buffer)) != -1) {
                /* 將資料寫入DataOutputStream中 */
                ds.write(buffer, 0, length);
            }
            ds.writeBytes(end);
            ds.writeBytes(twoHyphens + boundary + twoHyphens + end);//結束

            fStream.close();
            ds.flush();
            /* 取得Response內容 */
            is = con.getInputStream();
            int ch;
            StringBuffer b = new StringBuffer();
            while ((ch = is.read()) != -1) {
                b.append((char) ch);
            }
            /* 將Response顯示於Dialog */
            showDialog(activity,true,uploadFile,"上傳成功" + b.toString().trim());
        } catch (Exception e) {
            showDialog(activity,false,uploadFile,"上傳失敗" + e);
        }finally {
             /* 關閉DataOutputStream */
            if(ds!=null){
                try {
                 ds.close();
                } catch (IOException e) {
                    e.printStackTrace();
                }
            }
            if (is != null) {
                try {
                    is.close();
                } catch (IOException e) {
                    e.printStackTrace();
                }
            }
            if (con != null) {
                con.disconnect();
            }
        }
    }
    /* 顯示Dialog的method */
    private static void showDialog(final Activity activity,final Boolean isSuccess,final String uploadFile,final String mess) {
        activity.runOnUiThread(new Runnable() {
            @Override
            public void run() {
                new AlertDialog.Builder(activity).setTitle("Message")
                .setMessage(mess)
                .setNegativeButton("確定", new DialogInterface.OnClickListener() {
                    public void onClick(DialogInterface dialog, int which) {
                        File file = new File(uploadFile);
                        if(file.exists()&&isSuccess){//日志文件存在且上傳日志成功
                            file.delete();
                            Toast.makeText(activity, "log日志已刪除", Toast.LENGTH_SHORT).show();
                        }
                    }
                }).show();
            }
        });

    }
 Android開發之基於AndroidStudio環境搭建和工程創建,androidstudio搭建
Android開發之基於AndroidStudio環境搭建和工程創建,androidstudio搭建斷斷續續的學習安卓也有一段時間了。因為之前是搞iOS開發的, 之前有關
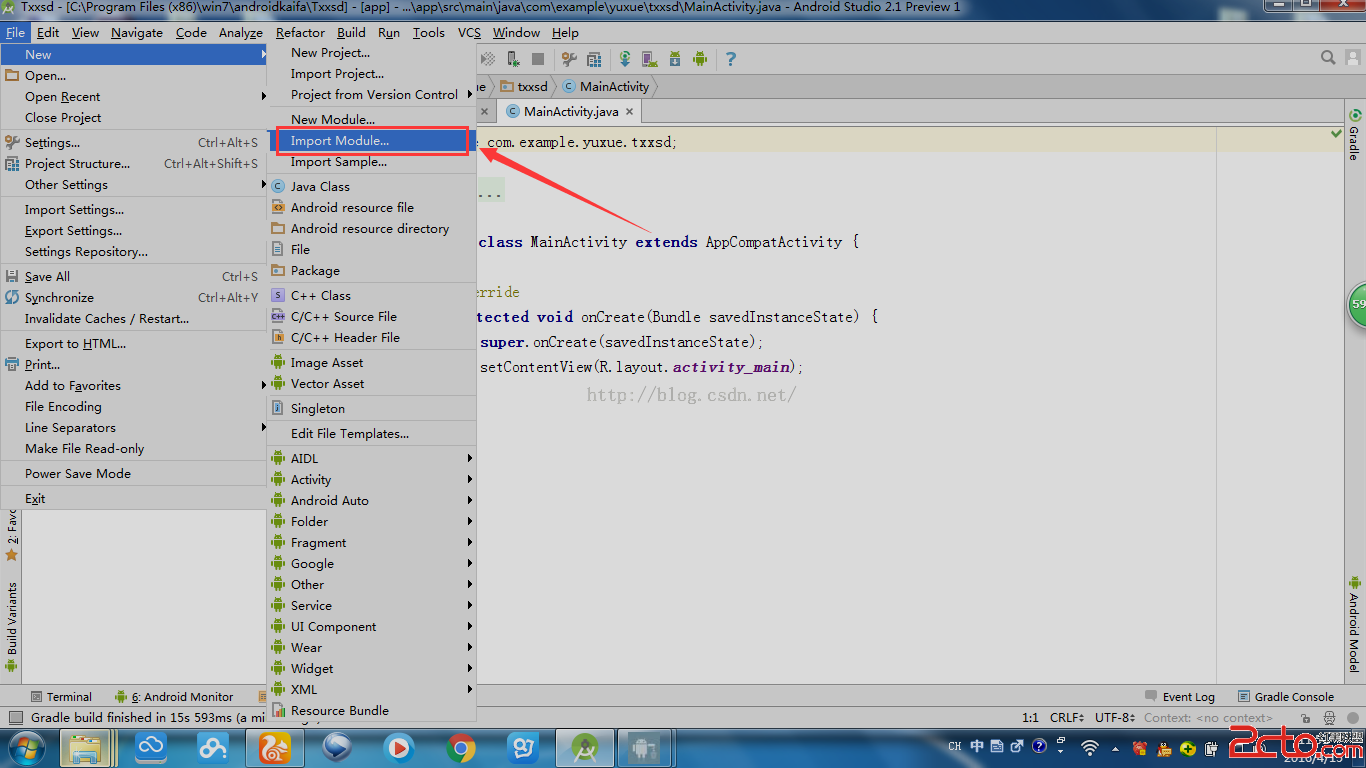 android studio導入PullToRefresh教程
android studio導入PullToRefresh教程 1.新建一個Android項目,下載好Android-PullToRefresh-master,並解壓
 我的android學習經歷8,android學習經歷8
我的android學習經歷8,android學習經歷8android簽名打包apk文件 1.在要打包的項目上右擊打開Android Tools,然後打開Export An
 MaterialRefreshLayout,swiperefreshlayout
MaterialRefreshLayout,swiperefreshlayout 以上就介紹了比SwipeRefreshLayout更漂亮和強大的下拉刷新控