編輯:關於android開發
詳細的圖文可以到我的百度經驗去查看:http://jingyan.baidu.com/article/cd4c2979eda109756e6e60de.html
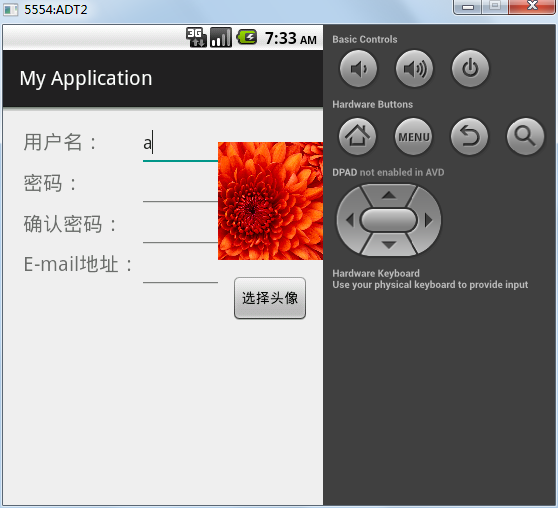
首先是注冊頁面的布局:
? 1 2 3 4 5 6 7 8 9 10 11 12 13 14 15 16 17 18 19 20 21 22 23 24 25 26 27 28 29 30 31 32 33 34 35 36 37 38 39 40 41 42 43 44 45 46 47 48 49 50 51 52 53 54 55 56 57 58 59 60 61 62 63 64 65 66 67 68 69 70 71 72 73 74 75 76 77 78 79 80 81 82 83 84 85 86 87 88 89 90 91 92 93 94 95 96 97 98 99 100 101 102 103 104 105 106 107 108 109 110 111 112 113 114 115 116 117<?xml version="1.0" encoding="utf-8"?>
<LinearLayout xmlns:android="http://schemas.android.com/apk/res/android"
android:layout_width="fill_parent"
android:layout_height="fill_parent"
android:paddingTop="20px"
android:orientation="horizontal" >
<LinearLayout
android:id="@+id/linearLayout1"
android:orientation="vertical"
android:layout_weight="2"
android:paddingLeft="20px"
android:layout_width="wrap_content"
android:layout_height="wrap_content" >
<TableLayout
android:id="@+id/tableLayout1"
android:layout_width="match_parent"
android:layout_height="wrap_content" >
<TableRow
android:id="@+id/tableRow1"
android:layout_width="wrap_content"
android:layout_height="wrap_content" >
<TextView
android:id="@+id/textView1"
android:textSize="20px"
android:layout_width="wrap_content"
android:layout_height="wrap_content"
android:text="用戶名:" />
<EditText
android:id="@+id/user"
android:minWidth="400px"
android:layout_width="wrap_content"
android:layout_height="wrap_content" />
</TableRow>
<TableRow
android:id="@+id/tableRow2"
android:layout_width="wrap_content"
android:layout_height="wrap_content" >
<TextView
android:id="@+id/textView2"
android:textSize="20px"
android:layout_width="wrap_content"
android:layout_height="wrap_content"
android:text="密碼:" />
<EditText
android:id="@+id/pwd"
android:inputType="textPassword"
android:layout_width="wrap_content"
android:layout_height="wrap_content" />
</TableRow>
<TableRow
android:id="@+id/tableRow3"
android:layout_width="wrap_content"
android:layout_height="wrap_content" >
<TextView
android:id="@+id/textView3"
android:textSize="20px"
android:layout_width="wrap_content"
android:layout_height="wrap_content"
android:text="確認密碼:" />
<EditText
android:id="@+id/repwd"
android:inputType="textPassword"
android:layout_width="wrap_content"
android:layout_height="wrap_content" />
</TableRow>
<TableRow
android:id="@+id/tableRow4"
android:layout_width="wrap_content"
android:layout_height="wrap_content" >
<TextView
android:id="@+id/textView4"
android:textSize="20px"
android:layout_width="wrap_content"
android:layout_height="wrap_content"
android:text="E-mail地址:" />
<EditText
android:id="@+id/email"
android:layout_width="wrap_content"
android:layout_height="wrap_content" />
</TableRow>
</TableLayout>
</LinearLayout>
<LinearLayout
android:id="@+id/linearLayout2"
android:orientation="vertical"
android:gravity="center_horizontal"
android:layout_width="wrap_content"
android:layout_weight="1"
android:layout_height="wrap_content" >
<ImageView
android:id="@+id/imageView1"
android:layout_width="158px"
android:layout_height="150px"
android:src="@drawable/ic_launcher" />
<Button
android:id="@+id/button1"
android:layout_width="wrap_content"
android:layout_height="wrap_content"
android:text="選擇頭像" />
</LinearLayout>
</LinearLayout>
然後是圖庫的頁面布局,由用戶去選擇圖片,這裡我就用windows系統裡面的幾張照片

<?xml version="1.0" encoding="utf-8"?>

<LinearLayout xmlns:android="http://schemas.android.com/apk/res/android"

    android:layout_width="match_parent" android:layout_height="match_parent">


    <GridView

        android:layout_width="wrap_content"

        android:layout_height="match_parent"

        android:id="@+id/gridView"

        android:numColumns="4" />

</LinearLayout>
然後我們在注冊頁面的Activity寫入以下代碼:
Button button1=(Button)findViewById(R.id.button1);
        button1.setOnClickListener(new View.OnClickListener() {
            @Override
            public void onClick(View v) {
                Intent intent = new Intent(MainActivity.this,HeadActivity.class);
                startActivityForResult(intent,0x11);
            }
        });

@Override onActivityResult方法:
    protected void onActivityResult(int requestCode,int resultCode,Intent data){
        super.onActivityResult(requestCode,resultCode,data);
        if(requestCode==0x11&&requestCode==0x11){
            Bundle bundle=data.getExtras();
            int imageId=bundle.getInt("imageId");
            ImageView imageView=(ImageView)findViewById(R.id.imageView1);
            imageView.setImageResource(imageId);
        }
    }
點擊按鈕跳轉到圖庫Activity頁面中。
在圖庫Activity裡面寫入以下代碼響應用戶點擊圖片並通過Intent傳遞給前一個Activity:
? 1 2 3 4 5 6 7 8 9 10 11 12 13 14 15 16 17 18 19 20 21 22 23 24 25 26 27 28 29 30 31 32 33 34 35 36 37 38 39 40 41 42GridView gridView=(GridView)findViewById(R.id.gridView);
BaseAdapter adapter=new BaseAdapter() {
@Override
public int getCount() {
return imageId.length;
}
@Override
public Object getItem(int position) {
return position;
}
@Override
public long getItemId(int position) {
return position;
}
@Override
public View getView(int position, View convertView, ViewGroup parent) {
ImageView imageView;
if(convertView==null){
imageView=new ImageView(HeadActivity.this);
imageView.setAdjustViewBounds(true);
imageView.setMaxHeight(58);
imageView.setMaxWidth(50);
imageView.setPadding(5,5,5,5);
}else{
imageView=(ImageView)convertView;
}
imageView.setImageResource(imageId[position]);
return imageView;
}
};
gridView.setAdapter(adapter);
gridView.setOnItemClickListener(new AdapterView.OnItemClickListener() {
@Override
public void onItemClick(AdapterView<?> parent, View view, int position, long id) {
Intent intent=getIntent();
Bundle bundle=new Bundle();
bundle.putInt("imageId",imageId[position]);
intent.putExtras(bundle);
setResult(0x11,intent);
finish();
}
});
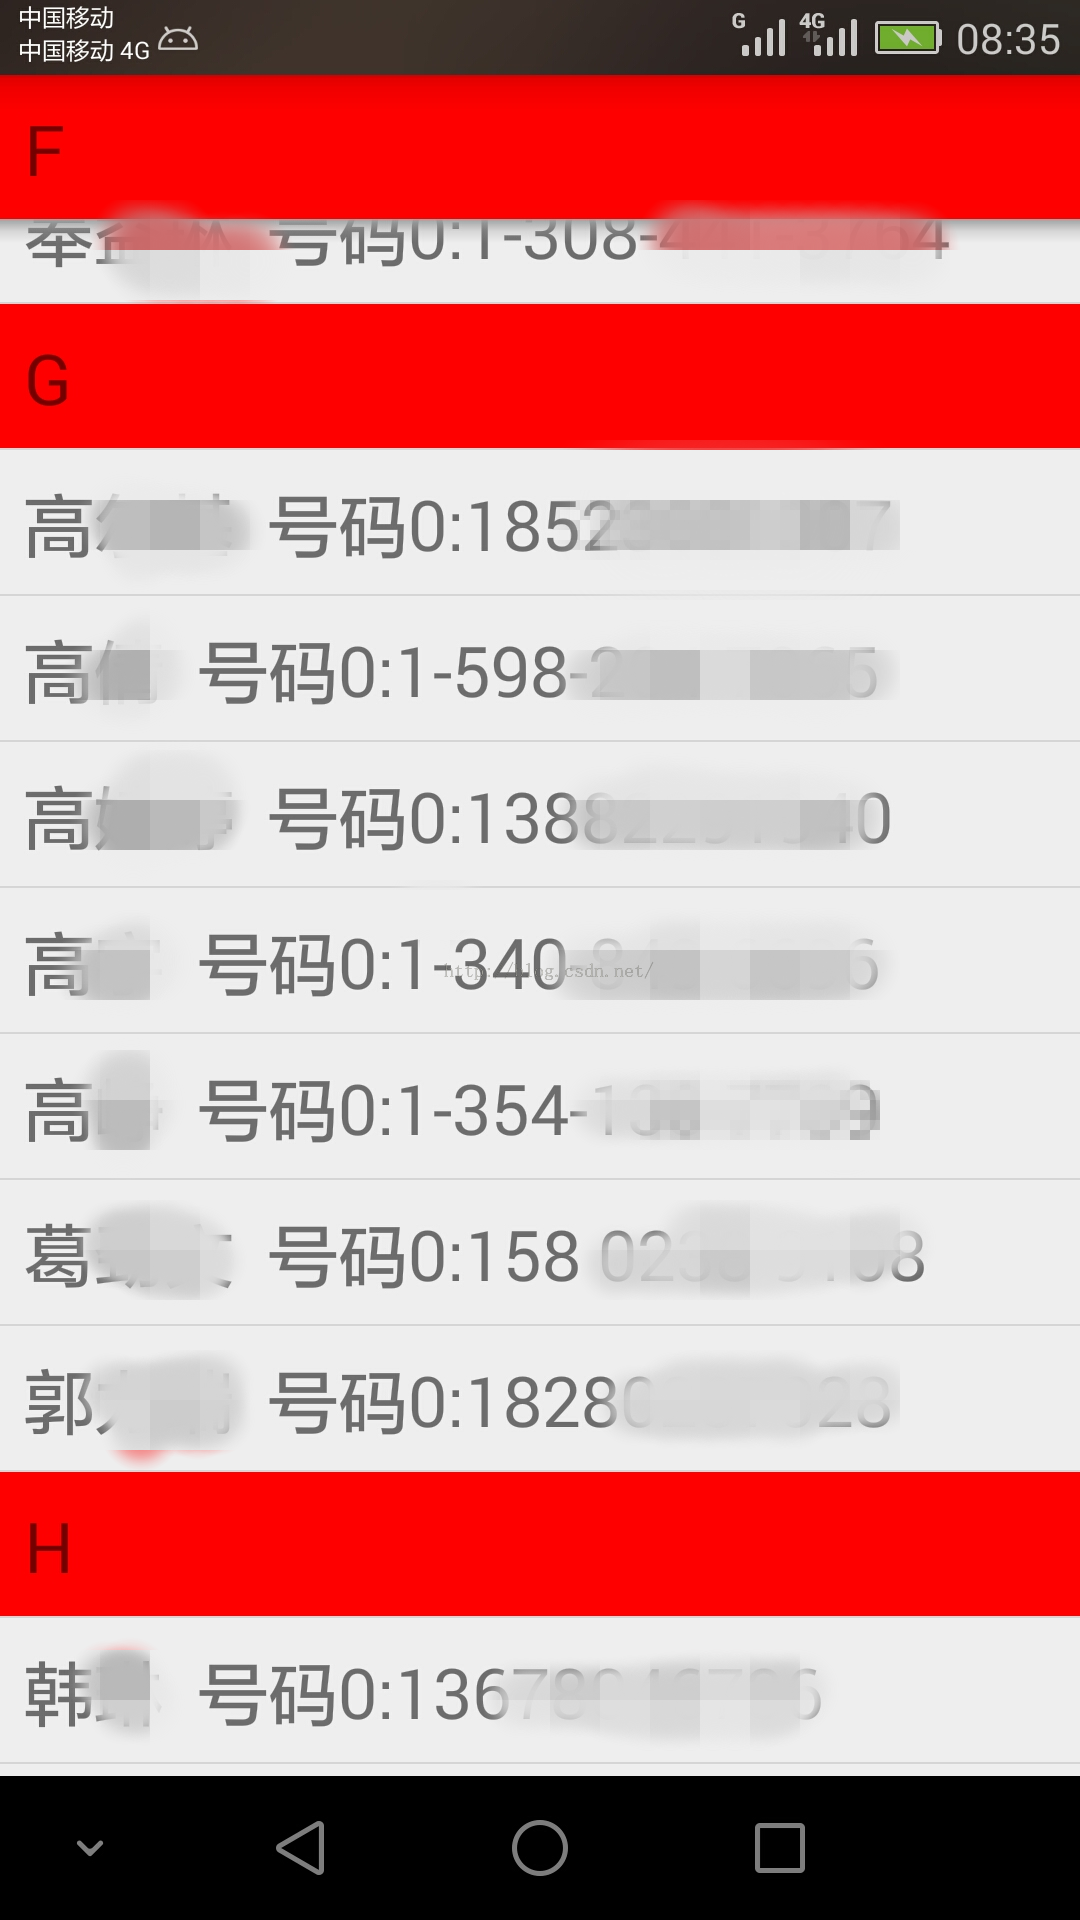
結果如下:
 單機搭建Android開發環境(三),單機搭建android開發
單機搭建Android開發環境(三),單機搭建android開發單機搭建Android開發環境,第一篇重點介紹了如何優化Windows 7系統,以提高開發主機的性能並延長
 Android應用程序的啟動流程
Android應用程序的啟動流程 Android系統中一個應用程序的主題是由ActivityThread構成的。不過涉及到很多細節如ActivityThread是由誰來創
 Android中手機錄屏並轉換GIF的兩種方式,android錄屏
Android中手機錄屏並轉換GIF的兩種方式,android錄屏之前在博文中為了更好的給大家演示APP的實現效果,本人了解學習了幾種給手機錄屏的方法,今天就給大家介紹兩
 android的布局-----LinearLayout(線性布局),linearlayout布局
android的布局-----LinearLayout(線性布局),linearlayout布局 學習導圖(圖片在網上下載) 知識點詳解(演示效果方便組件沒有設置id)