編輯:關於android開發
說到傳感器,還是有很多的,有加速度啊,光照啊,磁傳感器等等。當然android手機之所以稱為智能手機,少不了這幾款傳感器的功勞了。下面就學習下了,這裡主要學習光照,加速度和磁。
新建工程emSensorStudy,布局如下:
<!--{cke_protected}{C}%3C!%2D%2D%3Fxml%20version%3D%221.0%22%20encoding%3D%22utf-8%22%3F%2D%2D%3E-->
<linearlayout xmlns:android="http://schemas.android.com/apk/res/android" xmlns:tools="http://schemas.android.com/tools" android:layout_width="match_parent" android:layout_height="match_parent" android:orientation="vertical" android:layout_margin="5dp" tools:context="com.jared.emsensorsstudy.MainActivity">

    <textview android:text="Hello Sensors" android:layout_gravity="center" android:layout_width="wrap_content" android:layout_height="wrap_content" android:textsize="22dp"><button android:id="@+id/startLightSensor" android:layout_width="match_parent" android:layout_height="wrap_content" android:text="啟動LightSensor" android:textallcaps="false"></button><button android:id="@+id/startAccelerSensor" android:layout_width="match_parent" android:layout_height="wrap_content" android:text="啟動AccelerSensor" android:textallcaps="false"></button><button android:id="@+id/startMagneticSensor" android:layout_width="match_parent" android:layout_height="wrap_content" android:text="啟動MagneticSensor" android:textallcaps="false"></button></textview></linearlayout>
添加LightSensor,AccelerSensor,MagnetiSensor的Activity,修改MainActivity代碼如下:
package com.jared.emsensorsstudy;

import android.content.Intent;
import android.os.Bundle;
import android.support.v7.app.AppCompatActivity;
import android.view.View;
import android.widget.Button;

public class MainActivity extends AppCompatActivity {

    private Button startLightSensorBtn;
    private Button startAccelerSensorBtn;
    private Button startMagneticSensorBtn;

    @Override
    protected void onCreate(Bundle savedInstanceState) {
        super.onCreate(savedInstanceState);
        setContentView(R.layout.activity_main);

        startLightSensorBtn = (Button)findViewById(R.id.startLightSensor);
        startAccelerSensorBtn = (Button)findViewById(R.id.startAccelerSensor);
        startMagneticSensorBtn = (Button)findViewById(R.id.startMagneticSensor);

        startLightSensorBtn.setOnClickListener(new myOnClickListener());
        startAccelerSensorBtn.setOnClickListener(new myOnClickListener());
        startMagneticSensorBtn.setOnClickListener(new myOnClickListener());
    }

    private class myOnClickListener implements View.OnClickListener {
        @Override
        public void onClick(View view) {
            switch (view.getId()) {
                case R.id.startAccelerSensor:
                    Intent intent1 = new Intent(getApplicationContext(), AccelerSensor.class);
                    startActivity(intent1);
                    break;
                case R.id.startLightSensor:
                    Intent intent2 = new Intent(getApplicationContext(), LightSensor.class);
                    startActivity(intent2);
                    break;
                case R.id.startMagneticSensor:
                    Intent intent3 = new Intent(getApplicationContext(), MagneticSensor.class);
                    startActivity(intent3);
                    break;
                default:
                    break;
            }
        }
    }


}
<!--{cke_protected}{C}%3C!%2D%2D%3Fxml%20version%3D%221.0%22%20encoding%3D%22utf-8%22%3F%2D%2D%3E-->
<linearlayout xmlns:android="http://schemas.android.com/apk/res/android" xmlns:tools="http://schemas.android.com/tools" android:layout_width="match_parent" android:layout_height="match_parent" android:layout_margin="10dp" tools:context="com.jared.emsensorsstudy.LightSensor">

    <textview android:id="@+id/light_level" android:layout_gravity="center" android:layout_width="wrap_content" android:layout_height="wrap_content" android:textsize="22dp">

</textview></linearlayout>
package com.jared.emsensorsstudy;

import android.content.Context;
import android.hardware.Sensor;
import android.hardware.SensorEvent;
import android.hardware.SensorEventListener;
import android.hardware.SensorManager;
import android.os.Bundle;
import android.support.v7.app.AppCompatActivity;
import android.widget.TextView;

public class LightSensor extends AppCompatActivity {

    private SensorManager sensorManager;
    private TextView lightLevel;

    @Override
    protected void onCreate(Bundle savedInstanceState) {
        super.onCreate(savedInstanceState);
        setContentView(R.layout.activity_light_sensor);

        lightLevel = (TextView)findViewById(R.id.light_level);

        initWithLight();
    }

    @Override
    protected void onDestroy() {
        super.onDestroy();
        if(sensorManager != null) {
            sensorManager.unregisterListener(listener);
        }
    }

    public void initWithLight() {
        sensorManager = (SensorManager)getSystemService(Context.SENSOR_SERVICE);
        Sensor sensor = sensorManager.getDefaultSensor(Sensor.TYPE_LIGHT);
        sensorManager.registerListener(listener, sensor, SensorManager.SENSOR_DELAY_NORMAL);
    }

    private SensorEventListener listener = new SensorEventListener() {
        @Override
        public void onSensorChanged(SensorEvent sensorEvent) {
            float value = sensorEvent.values[0];
            lightLevel.setText("Currrent light level is "+value+"lx");
        }

        @Override
        public void onAccuracyChanged(Sensor sensor, int i) {

        }
    };
}
這裡先通過getSystemService獲取sensor,然後通過注冊一個listener來監聽傳感器的變化,當值有變化的時候會調用onSensorChanged方法,具體運行後,用手遮擋聽筒附近的傳感器,顯示如下:
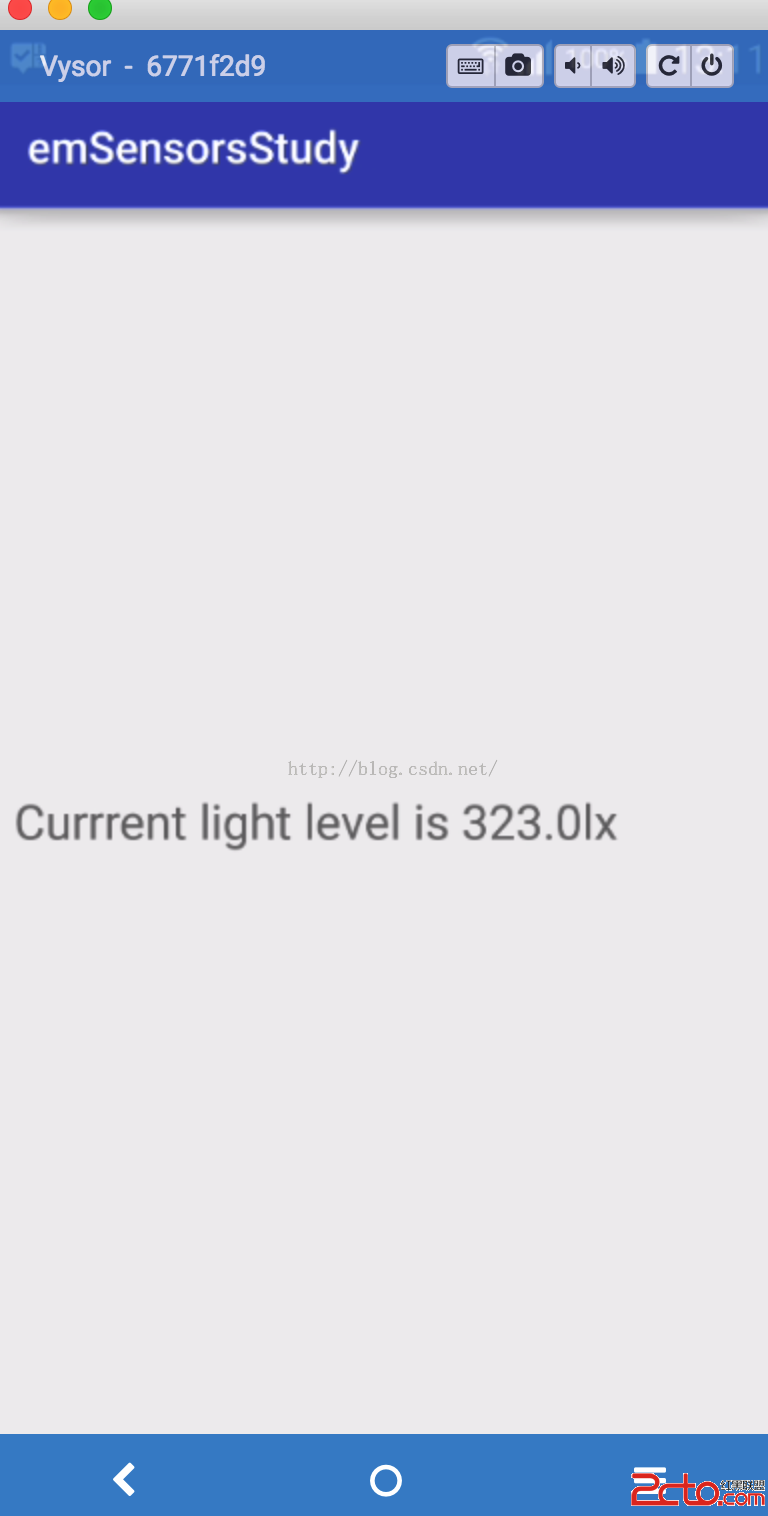
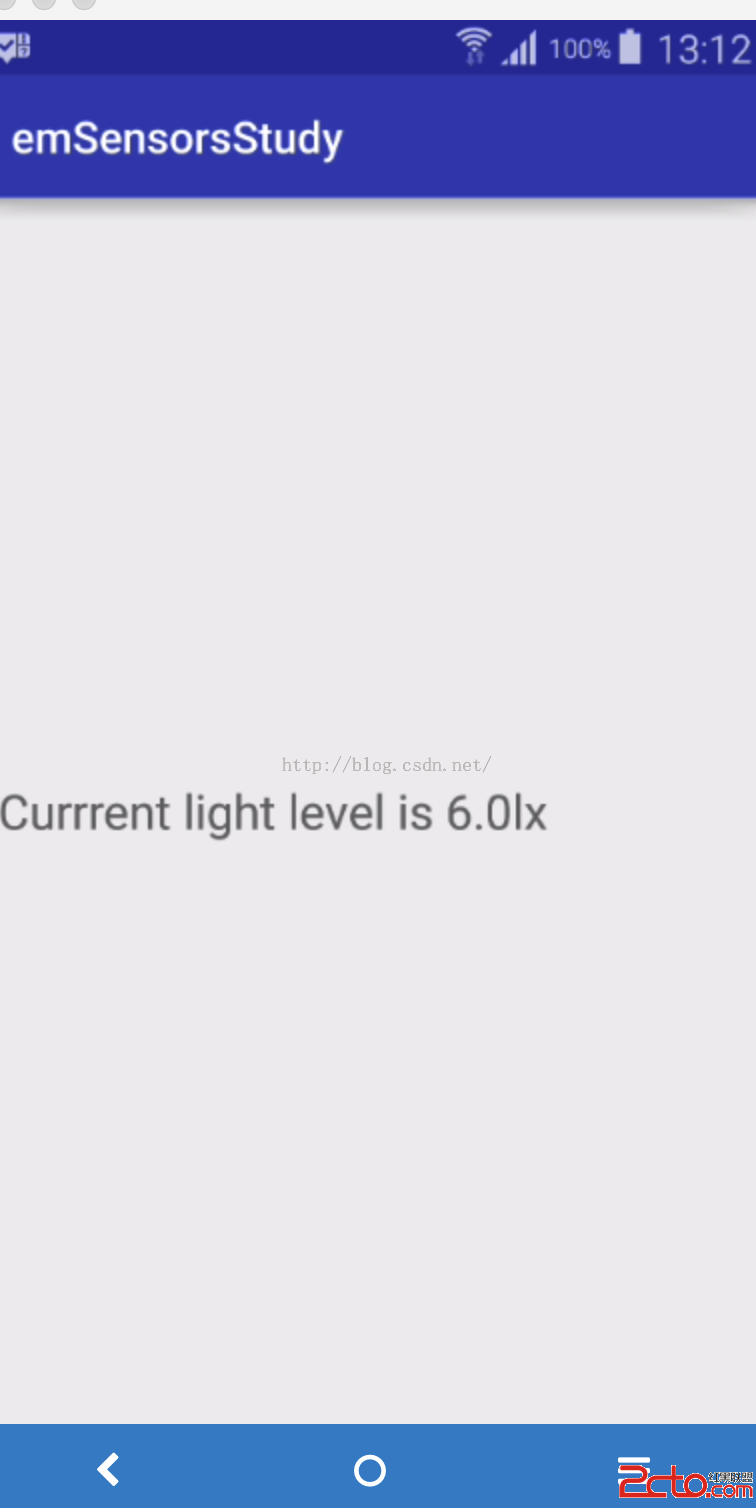
從上可見光照的效果很明顯了。接著我們來試下加速度傳感器。這裡實現微信搖一搖功能,並且成功了震動。
修改布局如下:
<!--{cke_protected}{C}%3C!%2D%2D%3Fxml%20version%3D%221.0%22%20encoding%3D%22utf-8%22%3F%2D%2D%3E-->
<linearlayout xmlns:android="http://schemas.android.com/apk/res/android" xmlns:tools="http://schemas.android.com/tools" android:layout_width="match_parent" android:layout_height="match_parent" android:orientation="vertical" android:layout_margin="10dp" tools:context="com.jared.emsensorsstudy.AccelerSensor">
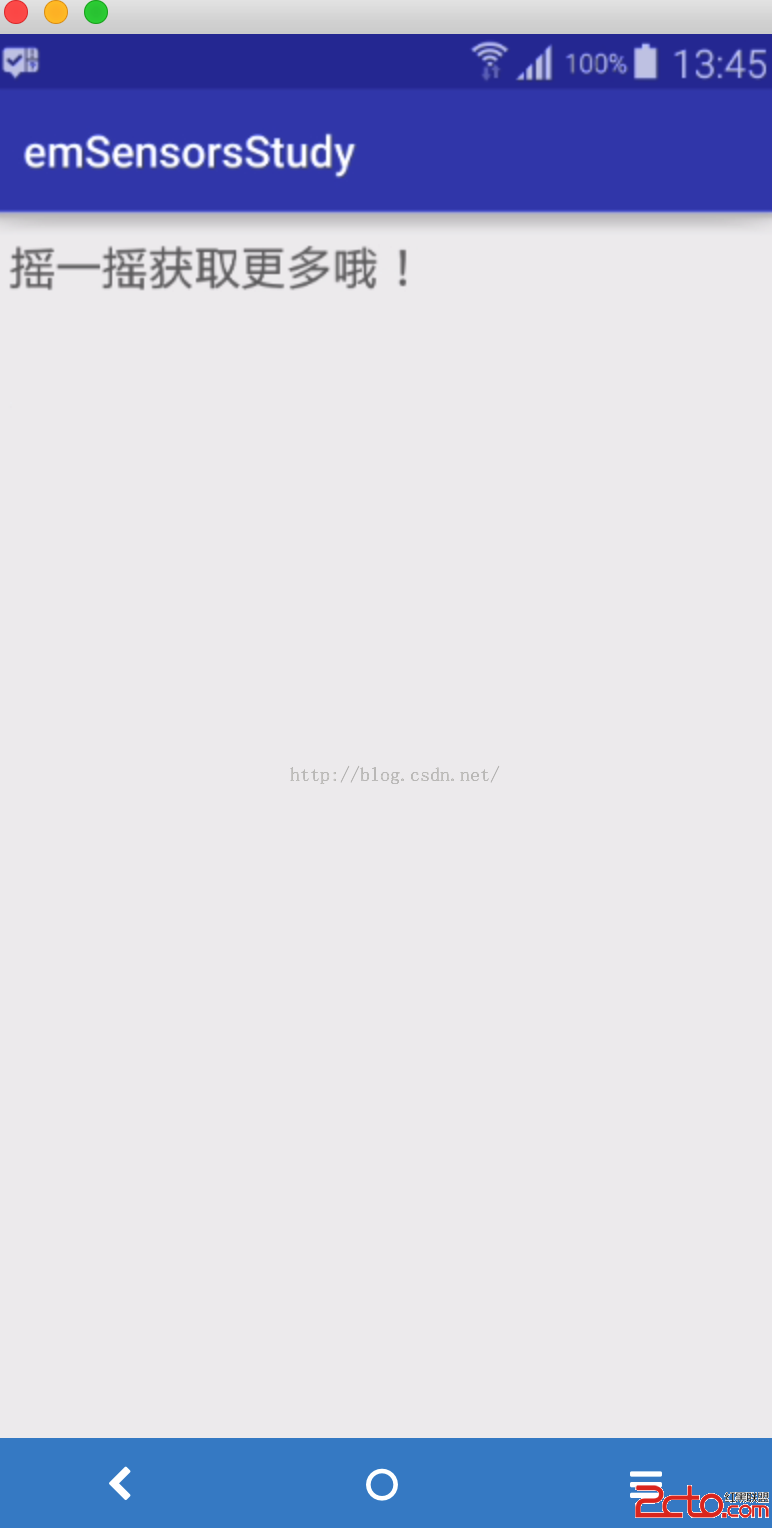
<textview android:layout_width="wrap_content" android:layout_height="wrap_content" android:text="搖一搖獲取更多哦!" android:layout_gravity="" android:textsize="22dp">
<textview android:id="@+id/shack" android:layout_width="wrap_content" android:layout_height="wrap_content" android:layout_gravity="center" android:textsize="22dp">
</textview></textview></linearlayout>
package com.jared.emsensorsstudy;
import android.content.Context;
import android.hardware.Sensor;
import android.hardware.SensorEvent;
import android.hardware.SensorEventListener;
import android.hardware.SensorManager;
import android.os.Bundle;
import android.os.Vibrator;
import android.support.v7.app.AppCompatActivity;
import android.widget.TextView;
public class AccelerSensor extends AppCompatActivity {
private SensorManager sensorManager;
private TextView shackPhone;
private Vibrator vibrator;
@Override
protected void onCreate(Bundle savedInstanceState) {
super.onCreate(savedInstanceState);
setContentView(R.layout.activity_acceler_sensor);
shackPhone = (TextView)findViewById(R.id.shack);
initWithAcceler();
}
@Override
protected void onDestroy() {
super.onDestroy();
if(sensorManager != null) {
sensorManager.unregisterListener(listener);
}
}
private void initWithAcceler() {
sensorManager = (SensorManager)getSystemService(Context.SENSOR_SERVICE);
Sensor sensor = sensorManager.getDefaultSensor(Sensor.TYPE_ACCELEROMETER);
sensorManager.registerListener(listener, sensor, SensorManager.SENSOR_DELAY_NORMAL);
vibrator = (Vibrator)getSystemService(Context.VIBRATOR_SERVICE);
}
private SensorEventListener listener = new SensorEventListener() {
@Override
public void onSensorChanged(SensorEvent sensorEvent) {
float xValue = Math.abs(sensorEvent.values[0]);
float yValue = Math.abs(sensorEvent.values[1]);
float zValue = Math.abs(sensorEvent.values[2]);
int medumValue = 19;
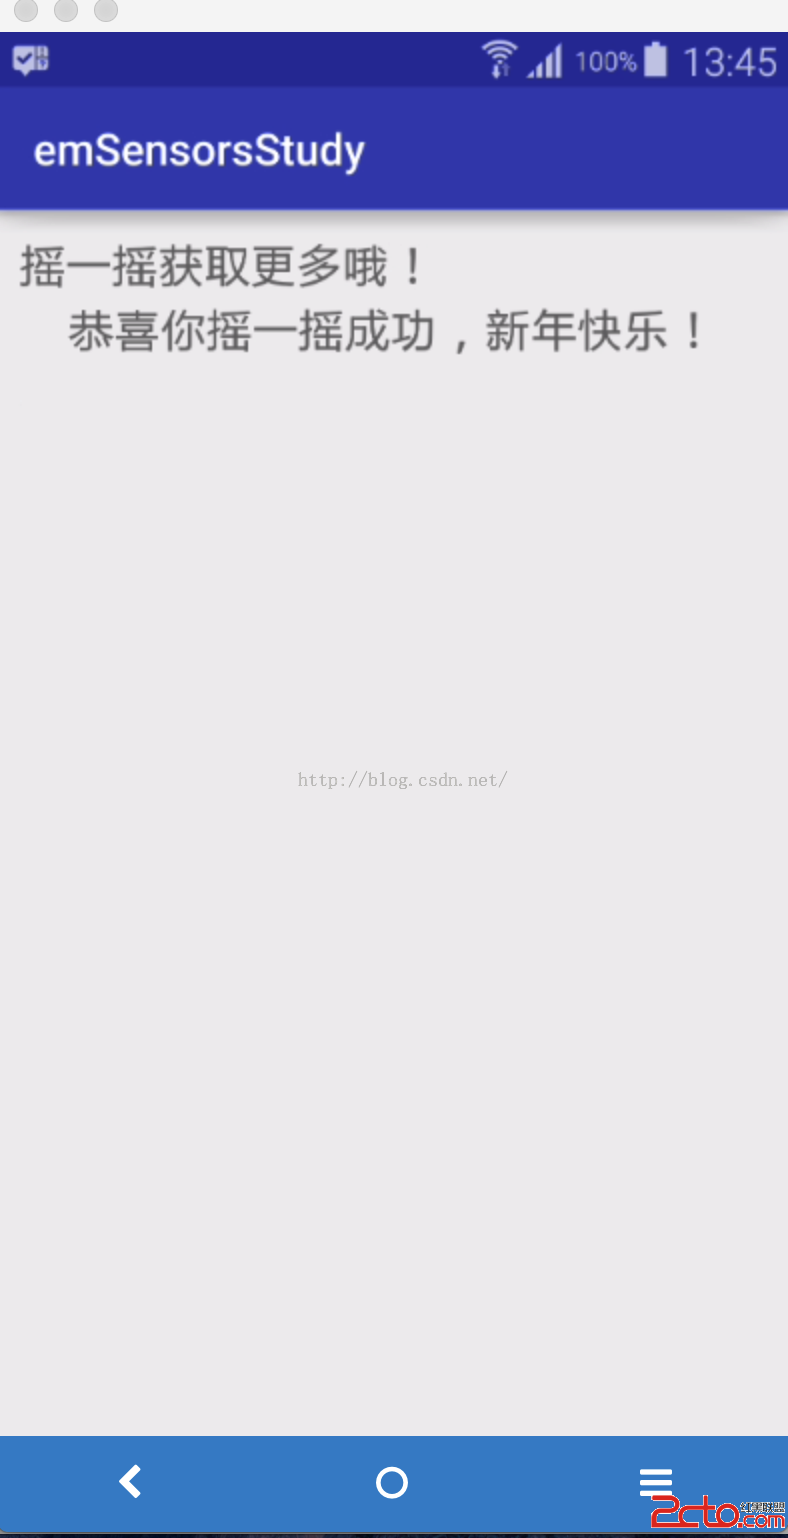
if(xValue > medumValue || yValue > medumValue || zValue > medumValue) {
vibrator.vibrate(200);
shackPhone.setText("恭喜你搖一搖成功,新年快樂!");
} else {
//Toast.makeText(getApplicationContext(), "請使勁搖哦!", Toast.LENGTH_SHORT).show();
}
}
@Override
public void onAccuracyChanged(Sensor sensor, int i) {
}
};
}
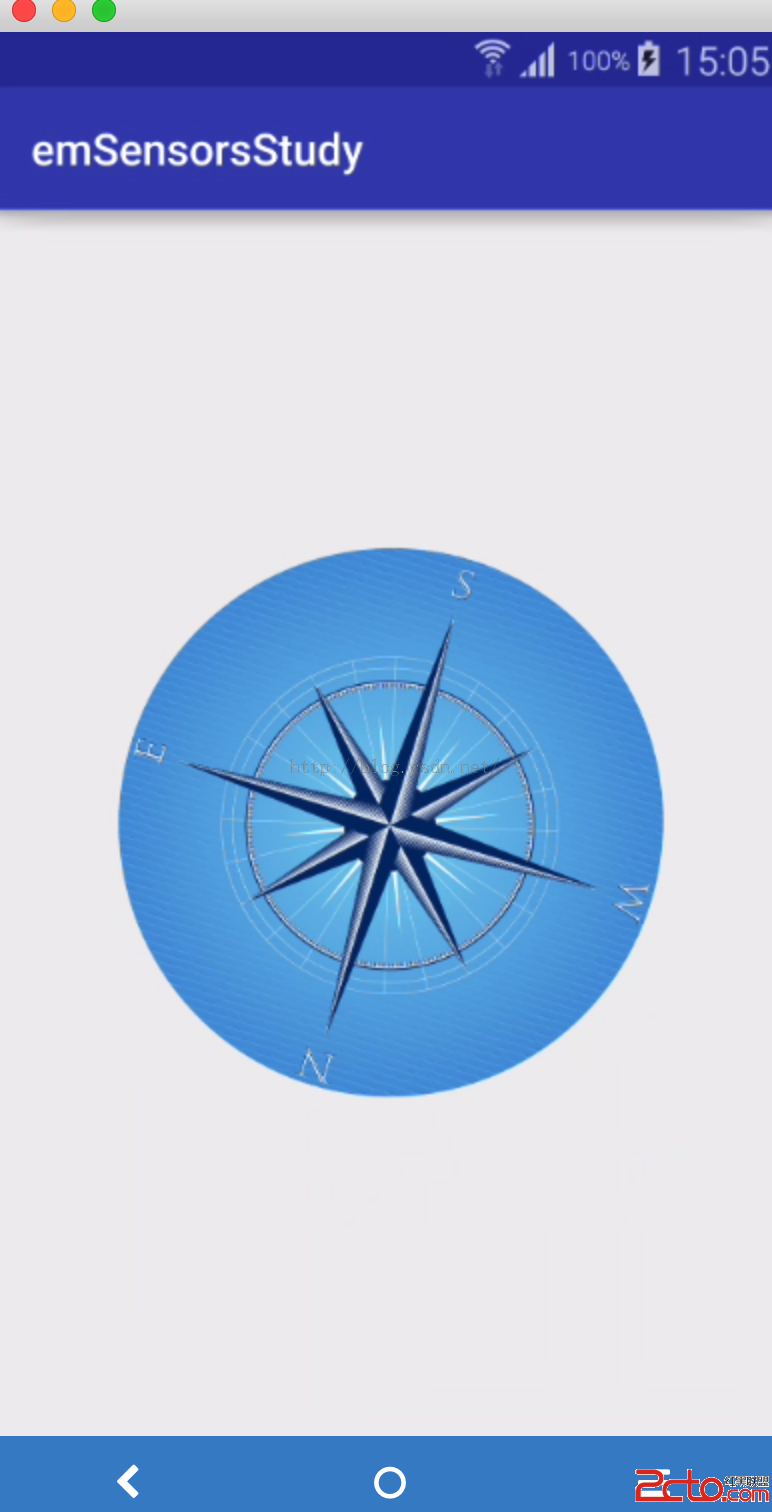
最後來學習下magneticSensor了。這裡實現個compass。首先就是提供一張圖片了,修改布局如下:
<!--{cke_protected}{C}%3C!%2D%2D%3Fxml%20version%3D%221.0%22%20encoding%3D%22utf-8%22%3F%2D%2D%3E-->
<relativelayout xmlns:android="http://schemas.android.com/apk/res/android" xmlns:tools="http://schemas.android.com/tools" android:layout_width="match_parent" android:layout_height="match_parent" android:layout_margin="10dp" tools:context="com.jared.emsensorsstudy.MagneticSensor">

    <imageview android:id="@+id/compass_img" android:layout_width="250dp" android:layout_height="250dp" android:layout_centerinparent="true" android:src="@drawable/compass">

</imageview></relativelayout>
接著就是修改MagneticSensor的代碼了:
package com.jared.emsensorsstudy;

import android.content.Context;
import android.hardware.Sensor;
import android.hardware.SensorEvent;
import android.hardware.SensorEventListener;
import android.hardware.SensorManager;
import android.os.Bundle;
import android.support.v7.app.AppCompatActivity;
import android.view.animation.Animation;
import android.view.animation.RotateAnimation;
import android.widget.ImageView;

public class MagneticSensor extends AppCompatActivity {

    private SensorManager sensorManager;
    private ImageView compassImage;

    @Override
    protected void onCreate(Bundle savedInstanceState) {
        super.onCreate(savedInstanceState);
        setContentView(R.layout.activity_magnetic_sensor);

        compassImage = (ImageView)findViewById(R.id.compass_img);

        initWithCompass();
    }

    @Override
    protected void onDestroy() {
        super.onDestroy();
        sensorManager.unregisterListener(listener);
    }

    private void initWithCompass() {
        sensorManager = (SensorManager)getSystemService(Context.SENSOR_SERVICE);
        Sensor magneticSensor = sensorManager.getDefaultSensor(Sensor.TYPE_MAGNETIC_FIELD);
        Sensor acclerSensor = sensorManager.getDefaultSensor(Sensor.TYPE_ACCELEROMETER);
        sensorManager.registerListener(listener, magneticSensor, SensorManager.SENSOR_DELAY_GAME);
        sensorManager.registerListener(listener, acclerSensor, SensorManager.SENSOR_DELAY_GAME);

    }

    private SensorEventListener listener = new SensorEventListener() {

        float[] acclerValues = new float[3];
        float[] magneticValues = new float[3];
        private float lastRotateDegree;

        @Override
        public void onSensorChanged(SensorEvent sensorEvent) {
            switch (sensorEvent.sensor.getType()) {
                case Sensor.TYPE_ACCELEROMETER:
                    acclerValues = sensorEvent.values.clone();
                    break;
                case Sensor.TYPE_MAGNETIC_FIELD:
                    magneticValues = sensorEvent.values.clone();
                    break;
                default:
                    break;
            }
            float[] values = new float[3];
            float[] R = new float[9];
            //調用getRotaionMatrix獲得變換矩陣R[]
            SensorManager.getRotationMatrix(R, null, acclerValues, magneticValues);
            SensorManager.getOrientation(R, values);
            //經過SensorManager.getOrientation(R, values);得到的values值為弧度
            //轉換為角度

            float rotateDegree = -(float)Math.toDegrees(values[0]);
            if(Math.abs(rotateDegree - lastRotateDegree) > 2) {
                RotateAnimation animation = new RotateAnimation(
                  lastRotateDegree, rotateDegree, Animation.RELATIVE_TO_SELF, 0.5f,
                        Animation.RELATIVE_TO_SELF, 0.5f);
                animation.setFillAfter(true);
                compassImage.startAnimation(animation);
                lastRotateDegree = rotateDegree;
            }
        }

        @Override
        public void onAccuracyChanged(Sensor sensor, int i) {

        }
    };
}
這裡通過加速度和磁傳感器來實現一個方向,因為方向傳感器官方已經不提倡使用了。運行效果如下:
傳感器就先學習這些了。
 Android中解析JSON格式數據常見方法合集,androidjson
Android中解析JSON格式數據常見方法合集,androidjson 待解析的JSON格式的文件如下: [{id:5, version:1.0, name:
 Android 圖片的合成,
Android 圖片的合成,本文實現在Android下圖片的合成 布局設計比較簡單: <RelativeLayout xmlns:android=http://s
 [android] 手機衛士自定義對話框布局,android衛士
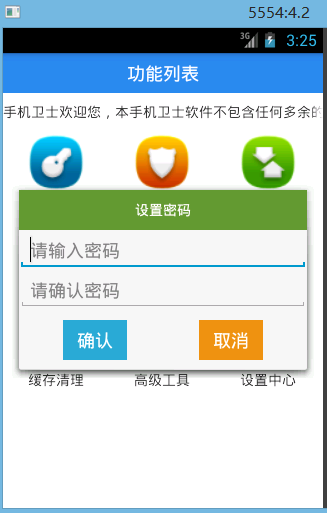
[android] 手機衛士自定義對話框布局,android衛士手機防盜頁面部分 點擊手機防盜,進行判斷,如果沒有設置密碼,顯示一個設置密碼的對話框,如果已經設置密碼了,
 android ListView詳解,androidlistview
android ListView詳解,androidlistview由於google doc 很多人都打不開,故更新了源碼下載地址 【源碼下載】----2011-01-1