編輯:關於Android編程
布局中listview要覆蓋標題欄
 int mTouchSlop = ViewConfiguration.get(this).getScaledTouchSlop();
//滑動監聽
showHideTitleBar(true);
ListView standby_lv = (ListView) findViewById(R.id.standby_lv);
standby_lv.setOnTouchListener(new View.OnTouchListener() {
   @Override
   public boolean onTouch(View v, MotionEvent event) {
    switch (event.getAction()) {
     case MotionEvent.ACTION_DOWN:
      mFirstY = event.getY();
      break;
     case MotionEvent.ACTION_MOVE:
      mCurrentY = event.getY();
      if (mCurrentY - mFirstY > mTouchSlop) {
       // 下滑 顯示titleBar
       showHideTitleBar(true);
      } else if (mFirstY - mCurrentY > mTouchSlop) {
       // 上滑 隱藏titleBar
       showHideTitleBar(false);
      }
      break;
     case MotionEvent.ACTION_UP:
      break;
    }
    return false;
   }
  });
 private Animator mAnimatorTitle;
 private Animator mAnimatorTitlePage;
 private Animator mAnimatorContent;
 private void showHideTitleBar(boolean tag) {
  if (mAnimatorTitle != null && mAnimatorTitle.isRunning()) {
   mAnimatorTitle.cancel();
  }
  if (mAnimatorTitlePage != null && mAnimatorTitlePage.isRunning()) {
   mAnimatorTitlePage.cancel();
  }
  if (mAnimatorContent != null && mAnimatorContent.isRunning()) {
   mAnimatorContent.cancel();
  }
  if (tag) {
   mAnimatorTitle = ObjectAnimator.ofFloat(mTitle, "translationY", mTitle.getTranslationY(), 0);
   mAnimatorTitlePage = ObjectAnimator.ofFloat(mTitlePage, "translationY", mTitlePage.getTranslationY(), 0);
   mAnimatorContent = ObjectAnimator.ofFloat(standby_lv, "translationY", standby_lv.getTranslationY(), getResources().getDimension(R.dimen.title_height));
  } else {
   mAnimatorTitle = ObjectAnimator.ofFloat(mTitle, "translationY", mTitle.getTranslationY(), -mTitle.getHeight());
   mAnimatorTitlePage = ObjectAnimator.ofFloat(mTitlePage, "translationY", mTitlePage.getTranslationY(), -mTitlePage.getHeight());
   mAnimatorContent = ObjectAnimator.ofFloat(standby_lv, "translationY", standby_lv.getTranslationY(), 0);
  }
  mAnimatorTitle.start();
  mAnimatorTitlePage.start();
  mAnimatorContent.start();
 }
dimen.xml文件
<dimen name="titlepage_height">45dp</dimen>
以上所述是小編給大家介紹的Android ListView滑動隱藏標題欄的實例代碼,希望對大家有所幫助,如果大家有任何疑問請給我留言,小編會及時回復大家的。在此也非常感謝大家對本站網站的支持!
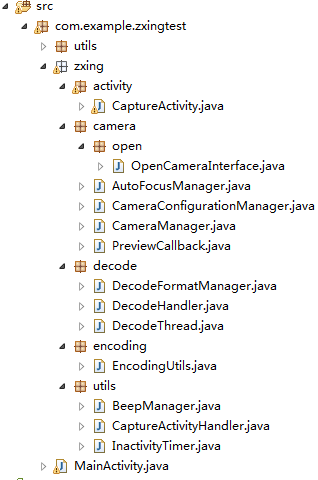 Android中的二維碼生成與掃描功能
0. 前言今天這篇文章主要描述二維碼的生成與掃描,使用目前流行的Zxing,為什麼要講二維碼,因為二維碼太普遍了,隨便一個Android APP都會有二維碼掃描。本篇旨在
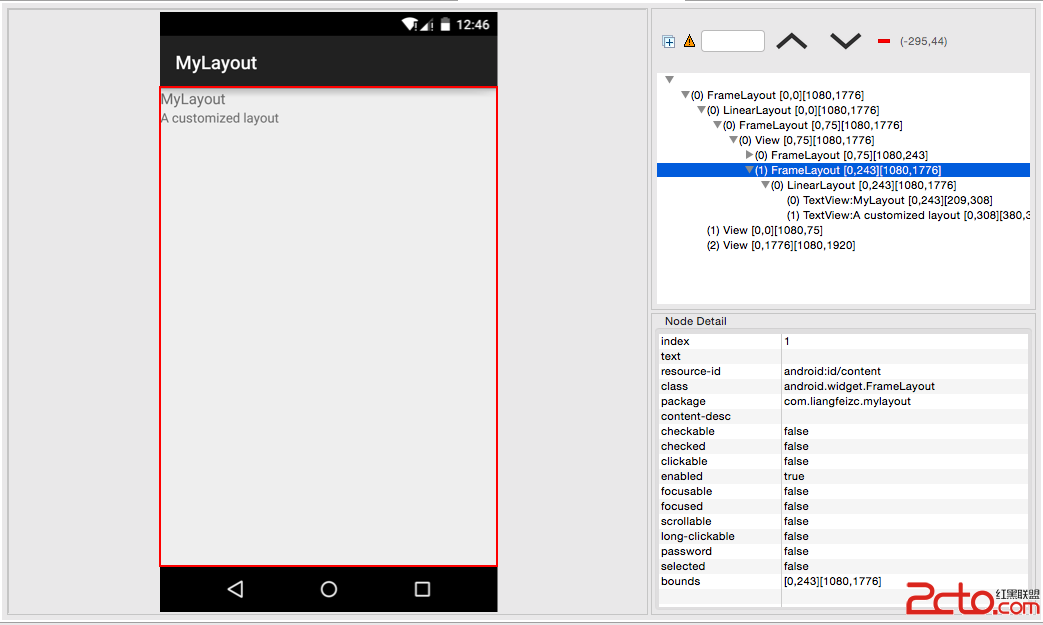 Android中如何優雅地自定義一個View
Android中自定義View的實現比較簡單,無非就是繼承父類,然後重載方法,即便如此,在實際編碼中難免會遇到一些坑,我把自己遇到的一些問題和解決方法總結一下,希望對廣大
 Android 實現氣泡布局/彈窗,可控制氣泡尖角方向及偏移量
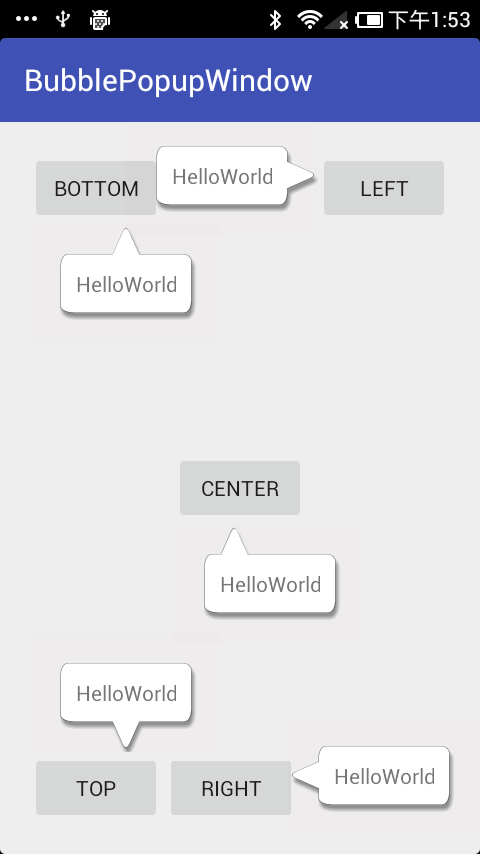
Android 自定義布局實現氣泡彈窗,可控制氣泡尖角方向及偏移量。效果圖實現首先自定義一個氣泡布局。/** * 氣泡布局 */public class BubbleRe
 Retrofit 的使用詳解(下載 多文件上傳)
Retrofit提供了5種內置的注解:GET、POST、PUT、DELETE和HEAD,在注解中指定的資源的相對URLurl與參數小總結@GET("users/