編輯:關於Android編程
本文實例講述了Android切換卡TabWidget用法。分享給大家供大家參考,具體如下:
Tab選項卡類似與電話本的界面,通過多個標簽切換不同的內容,要實現這個效果,首先要知道TabHost,它是一個用來存放多個Tab標簽的容器,每一個Tab都可以對應自己的布局,比如,電話本中的Tab布局就是一個線性布局
要使用TabHost,首先要通過getTabHost方法獲取TabHost的對象,然後通過addTab方法來向TabHost中添加Tab,當然每個Tab在切換時都會產生一個事件,要捕捉這個事件,需要設置TabActivity的事件監聽setOnTabChangedListener
下面是個小例子:
TabTest.java:
package org.hualang.tab;
import android.app.Activity;
import android.app.TabActivity;
import android.graphics.Color;
import android.os.Bundle;
import android.widget.TabHost;
import android.widget.Toast;
import android.widget.TabHost.OnTabChangeListener;
public class TabTest extends TabActivity {
  /** Called when the activity is first created. */
  TabHost tabhost;
  @Override
  public void onCreate(Bundle savedInstanceState) {
    super.onCreate(savedInstanceState);
    setContentView(R.layout.main);
    //取得TabHost對象
    tabhost = getTabHost();
    //為TabHost添加標簽
    //新建一個newTabSpec(newTabSpec)
    //設置其標簽和圖標(setIndicator)
    //設置內容(setContent)
    tabhost.addTab(tabhost.newTabSpec("tab1")
        .setIndicator("TAB 1",getResources().getDrawable(R.drawable.img1))
        .setContent(R.id.text1));
    tabhost.addTab(tabhost.newTabSpec("tab2")
        .setIndicator("TAB 2",getResources().getDrawable(R.drawable.img2))
        .setContent(R.id.text2));
    tabhost.addTab(tabhost.newTabSpec("tab3")
        .setIndicator("TAB 3",getResources().getDrawable(R.drawable.img3))
        .setContent(R.id.text3));
    //設置TabHost的背景顏色
    //tabhost.setBackgroundColor(Color.argb(150,22,70,150));
    //設置TabHost的背景圖片資源
    tabhost.setBackgroundResource(R.drawable.bg0);
    //設置當前顯示哪個標簽
    tabhost.setCurrentTab(0);
    //標簽切換事件處理,setOnTabChangedListener
    tabhost.setOnTabChangedListener(new OnTabChangeListener()
    {
      public void onTabChanged(String tabId)
      {
        Toast toast=Toast.makeText(getApplicationContext(), "現在是"+tabId+"標簽", Toast.LENGTH_SHORT);
        toast.show();
      }
    });
  }
}
main.xml:
<?xml version="1.0" encoding="utf-8"?>
<TabHost xmlns:android="http://schemas.android.com/apk/res/android"
  android:id="@android:id/tabhost"
  android:layout_width="fill_parent"
  android:layout_height="fill_parent">
  <LinearLayout
    android:orientation="vertical"
    android:layout_width="fill_parent"
    android:layout_height="fill_parent">
    <TabWidget
      android:id="@android:id/tabs"
      android:layout_width="fill_parent"
      android:layout_height="wrap_content" />
    <FrameLayout
      android:id="@android:id/tabcontent"
      android:layout_width="fill_parent"
      android:layout_height="fill_parent">
      <TextView
        android:id="@+id/text1"
        android:layout_width="fill_parent"
        android:layout_height="fill_parent"
        android:text="選項卡1" />
      <TextView
        android:id="@+id/text2"
        android:layout_width="fill_parent"
        android:layout_height="fill_parent"
        android:text="選項卡2" />
      <TextView
        android:id="@+id/text3"
        android:layout_width="fill_parent"
        android:layout_height="fill_parent"
        android:text="選項卡3" />
    </FrameLayout>
  </LinearLayout>
</TabHost>
更多關於Android相關內容感興趣的讀者可查看本站專題:《Android控件用法總結》、《Android視圖View技巧總結》、《Android操作SQLite數據庫技巧總結》、《Android操作json格式數據技巧總結》、《Android數據庫操作技巧總結》、《Android文件操作技巧匯總》、《Android編程開發之SD卡操作方法匯總》、《Android開發入門與進階教程》及《Android資源操作技巧匯總》
希望本文所述對大家Android程序設計有所幫助。
 搜索----Android Demo
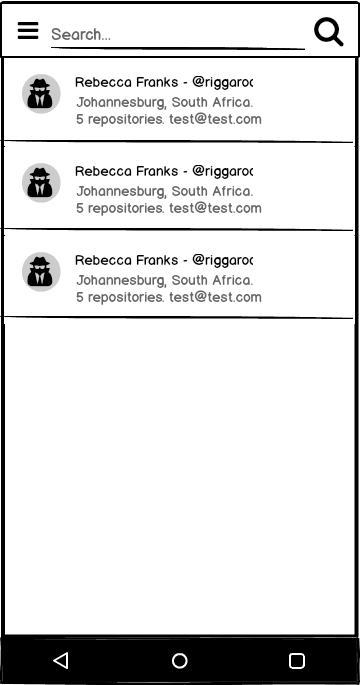
在前面的博客中,小編簡單的介紹了,點擊發現按鈕,自動加載熱門的相關數據,成長的腳步從不停歇,完成了發現的功能,今天我們來簡單看一下如何在搜索欄中輸入關鍵字,搜索出我們所需
 安卓自動化測試入門-2-配置項目
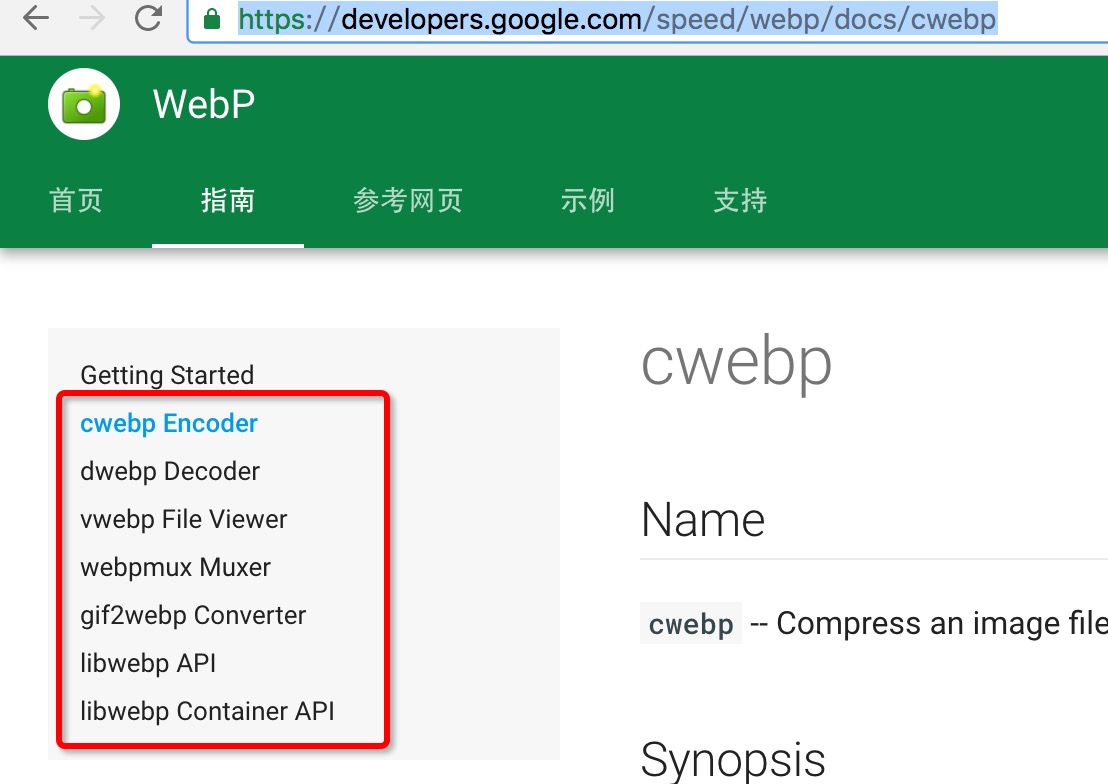
本文翻譯自Riggaroo的《Introduction to Automated Android Testing – Part 2 – Setup
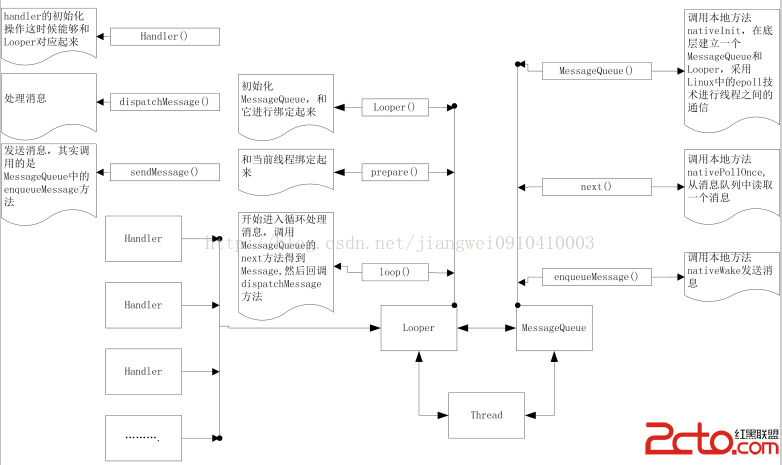 Android中對消息機制(Handler)的再次解讀
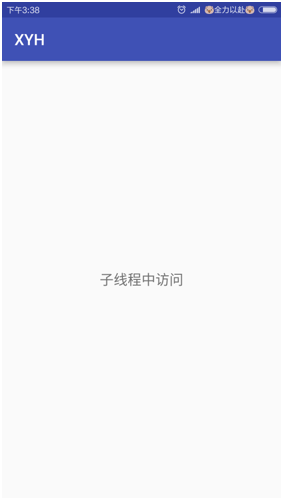
今天遇到一些關於在子線程中操作Handler的問題,感覺又要研究源代碼了,但是關於Handler的話,我之前研究過,可以參考這篇文章:http://blog.csdn.n
 仿微信的滑動和改變字體圖標顏色
今天在慕課上學了仿微信的滑動,於是就重新敲了代碼在原有的圖形上又增加了改變字體的顏色。這裡將代碼放在這裡便於以後學習。整個過程用了ViewPager與PagerAdapt