編輯:關於Android編程
之前的移動端上傳的方法,有些朋友測試說微信支持不是很好,還有部分安卓機也不支持,其實我已經有了另一個方法,但是例子還沒整理出來,而聯系我的很多朋友需要,所以就提前先發出來了,並且做一個簡單的說明,就不做一個demo了。
<!doctype html>
<html>
<head>
<meta charset="utf-8">
<meta name="viewport" content="width=device-width, initial-scale=1, maximum-scale=1, user-scalable=0">
<title>圖片壓縮</title>
<style>
body { margin:0; padding:0; }
html { font-size:62.5%; }

.imgzip { padding:1em; }
.imgzip .itm { padding-bottom:1em; word-break:break-all; font-size:1.2rem; line-height:1.5em; }
.imgzip .itm .tit { margin-bottom:.5em; background-color:#e71446; color:#FFF; padding:.5rem 1rem; border-radius:3px; }
.imgzip .itm .cnt { padding:1rem; }
.imgzip .itm .cnt img { display:block; max-width:100%; }
.imgzip textarea { width:100%; height:20em; }
</style>
</head>

<body>
<script src="http://code.jquery.com/jquery-1.8.3.js"></script>
<input type="file" accept="image/*;capture=camera" class="input">
<div class="imgzip"></div>
<script>
document.addEventListener('DOMContentLoaded', init, false);

function init() {
var u = new UploadPic();
u.init({
input: document.querySelector('.input'),
callback: function (base64) {
$.ajax({
url:"{:U('upload')}",
data:{str:base64,type:this.fileType},
type:'post',
dataType:'json',
success:function(i){
alert(i.info);
}
})
},
loading: function () {

}
});
}

function UploadPic() {
this.sw = 0;
this.sh = 0;
this.tw = 0;
this.th = 0;
this.scale = 0;
this.maxWidth = 0;
this.maxHeight = 0;
this.maxSize = 0;
this.fileSize = 0;
this.fileDate = null;
this.fileType = '';
this.fileName = '';
this.input = null;
this.canvas = null;
this.mime = {};
this.type = '';
this.callback = function () {};
this.loading = function () {};
}

UploadPic.prototype.init = function (options) {
this.maxWidth = options.maxWidth || 800;
this.maxHeight = options.maxHeight || 600;
this.maxSize = options.maxSize || 3 * 1024 * 1024;
this.input = options.input;
this.mime = {'png': 'image/png', 'jpg': 'image/jpeg', 'jpeg': 'image/jpeg', 'bmp': 'image/bmp'};
this.callback = options.callback || function () {};
this.loading = options.loading || function () {};

this._addEvent();
};

/**
* @description 綁定事件
* @param {Object} elm 元素
* @param {Function} fn 綁定函數
*/
UploadPic.prototype._addEvent = function () {
var _this = this;

function tmpSelectFile(ev) {
_this._handelSelectFile(ev);
}

this.input.addEventListener('change', tmpSelectFile, false);
};

/**
* @description 綁定事件
* @param {Object} elm 元素
* @param {Function} fn 綁定函數
*/
UploadPic.prototype._handelSelectFile = function (ev) {
var file = ev.target.files[0];

this.type = file.type

// 如果沒有文件類型,則通過後綴名判斷(解決微信及360浏覽器無法獲取圖片類型問題)
if (!this.type) {
this.type = this.mime[file.name.match(/\.([^\.]+)$/i)[1]];
}

if (!/image.(png|jpg|jpeg|bmp)/.test(this.type)) {
alert('選擇的文件類型不是圖片');
return;
}

if (file.size > this.maxSize) {
alert('選擇文件大於' + this.maxSize / 1024 / 1024 + 'M,請重新選擇');
return;
}

this.fileName = file.name;
this.fileSize = file.size;
this.fileType = this.type;
this.fileDate = file.lastModifiedDate;

this._readImage(file);
};

/**
* @description 讀取圖片文件
* @param {Object} image 圖片文件
*/
UploadPic.prototype._readImage = function (file) {
var _this = this;

function tmpCreateImage(uri) {
_this._createImage(uri);
}

this.loading();

this._getURI(file, tmpCreateImage);
};

/**
* @description 通過文件獲得URI
* @param {Object} file 文件
* @param {Function} callback 回調函數,返回文件對應URI
* return {Bool} 返回false
*/
UploadPic.prototype._getURI = function (file, callback) {
var reader = new FileReader();
var _this = this;

function tmpLoad() {
// 頭不帶圖片格式,需填寫格式
var re = /^data:base64,/;
var ret = this.result + '';

if (re.test(ret)) ret = ret.replace(re, 'data:' + _this.mime[_this.fileType] + ';base64,');

callback && callback(ret);
}

reader.onload = tmpLoad;

reader.readAsDataURL(file);

return false;
};

/**
* @description 創建圖片
* @param {Object} image 圖片文件
*/
UploadPic.prototype._createImage = function (uri) {
var img = new Image();
var _this = this;

function tmpLoad() {
_this._drawImage(this);
}

img.onload = tmpLoad;

img.src = uri;
};

/**
* @description 創建Canvas將圖片畫至其中,並獲得壓縮後的文件
* @param {Object} img 圖片文件
* @param {Number} width 圖片最大寬度
* @param {Number} height 圖片最大高度
* @param {Function} callback 回調函數,參數為圖片base64編碼
* return {Object} 返回壓縮後的圖片
*/
UploadPic.prototype._drawImage = function (img, callback) {
this.sw = img.width;
this.sh = img.height;
this.tw = img.width;
this.th = img.height;

this.scale = (this.tw / this.th).toFixed(2);

if (this.sw > this.maxWidth) {
this.sw = this.maxWidth;
this.sh = Math.round(this.sw / this.scale);
}

if (this.sh > this.maxHeight) {
this.sh = this.maxHeight;
this.sw = Math.round(this.sh * this.scale);
}

this.canvas = document.createElement('canvas');
var ctx = this.canvas.getContext('2d');

this.canvas.width = this.sw;
this.canvas.height = this.sh;

ctx.drawImage(img, 0, 0, img.width, img.height, 0, 0, this.sw, this.sh);

this.callback(this.canvas.toDataURL(this.type));

ctx.clearRect(0, 0, this.tw, this.th);
this.canvas.width = 0;
this.canvas.height = 0;
this.canvas = null;
};
</script>
</body>
</html>
這個也是把圖片轉成了base64去傳送,個人不建議去用js改變圖片的大小,建議裁切縮放還是PHP來做吧。
this.maxWidth = options.maxWidth || 800;
this.maxHeight = options.maxHeight || 600;
this.maxSize = options.maxSize || 3 * 1024 * 1024;
this.input = options.input;
this.mime = {'png': 'image/png', 'jpg': 'image/jpeg', 'jpeg': 'image/jpeg', 'bmp': 'image/bmp'};
這一部分是對上傳圖片的配置,應該可以看懂,可以自己去改
$.ajax({
url:"{:U('upload')}",
data:{str:base64,type:this.fileType},
type:'post',
dataType:'json',
success:function(i){
alert(i.info);
}
這部分是上傳以後ajax發送base64碼到php,
base64碼帶有圖片的說明字符串,所以得用正則去掉,然後base64解碼保存到圖片的文件中。並且返回地址即可
upload.php的內容
$str = $_POST['str'];
    $type = $_POST['type'];

    switch($type){
      case 'image/png':
        $ext='.png';
        break;
      case 'image/jpeg';
        $ext='.jpeg';
        break;
      case 'image/jpeg':
        $ext='.jpg';
        break;
      case 'image/bmp':
        $ext='.bmp';
        break;
      default:
        $ext='.jpg';
    }
    $file_path='./Uploads/'.date('Ymd').'/'.time().$ext;
    if(!file_exists(dirname($file_path))){
      mkdir(dirname($file_path),0777,true);
    }
    $img_content = str_replace('data:'.$type.';base64,','',$str);
    $img_content = base64_decode($img_content);
    $result =file_put_contents($file_path,$img_content);
以上就是本文的全部內容,希望對大家的學習有所幫助,也希望大家多多支持本站。
 Android開發之控制手機音頻
本實例通過MediaPlayer播放一首音樂並通過AudioManager控制手機音頻,關於AudioManager的詳解可參照:Android開發之AudioManag
 Android FM模塊學習之一 FM啟動流程
最近在學習FM模塊,FM是一個值得學習的模塊,可以從上層看到底層。上層就是FM的按扭操作和界面顯示,從而調用到FM底層驅動來實現廣播收聽的功能。 看看
 圖標放大縮小移動,加標注點,並帶點擊效果的實現
第一:了解三個類Canvas,在英語中,這個單詞的意思是帆布。在Android中,則把Canvas當做畫布,只要我們借助設置好的畫筆(Paint類)就可以在畫布上繪制我們
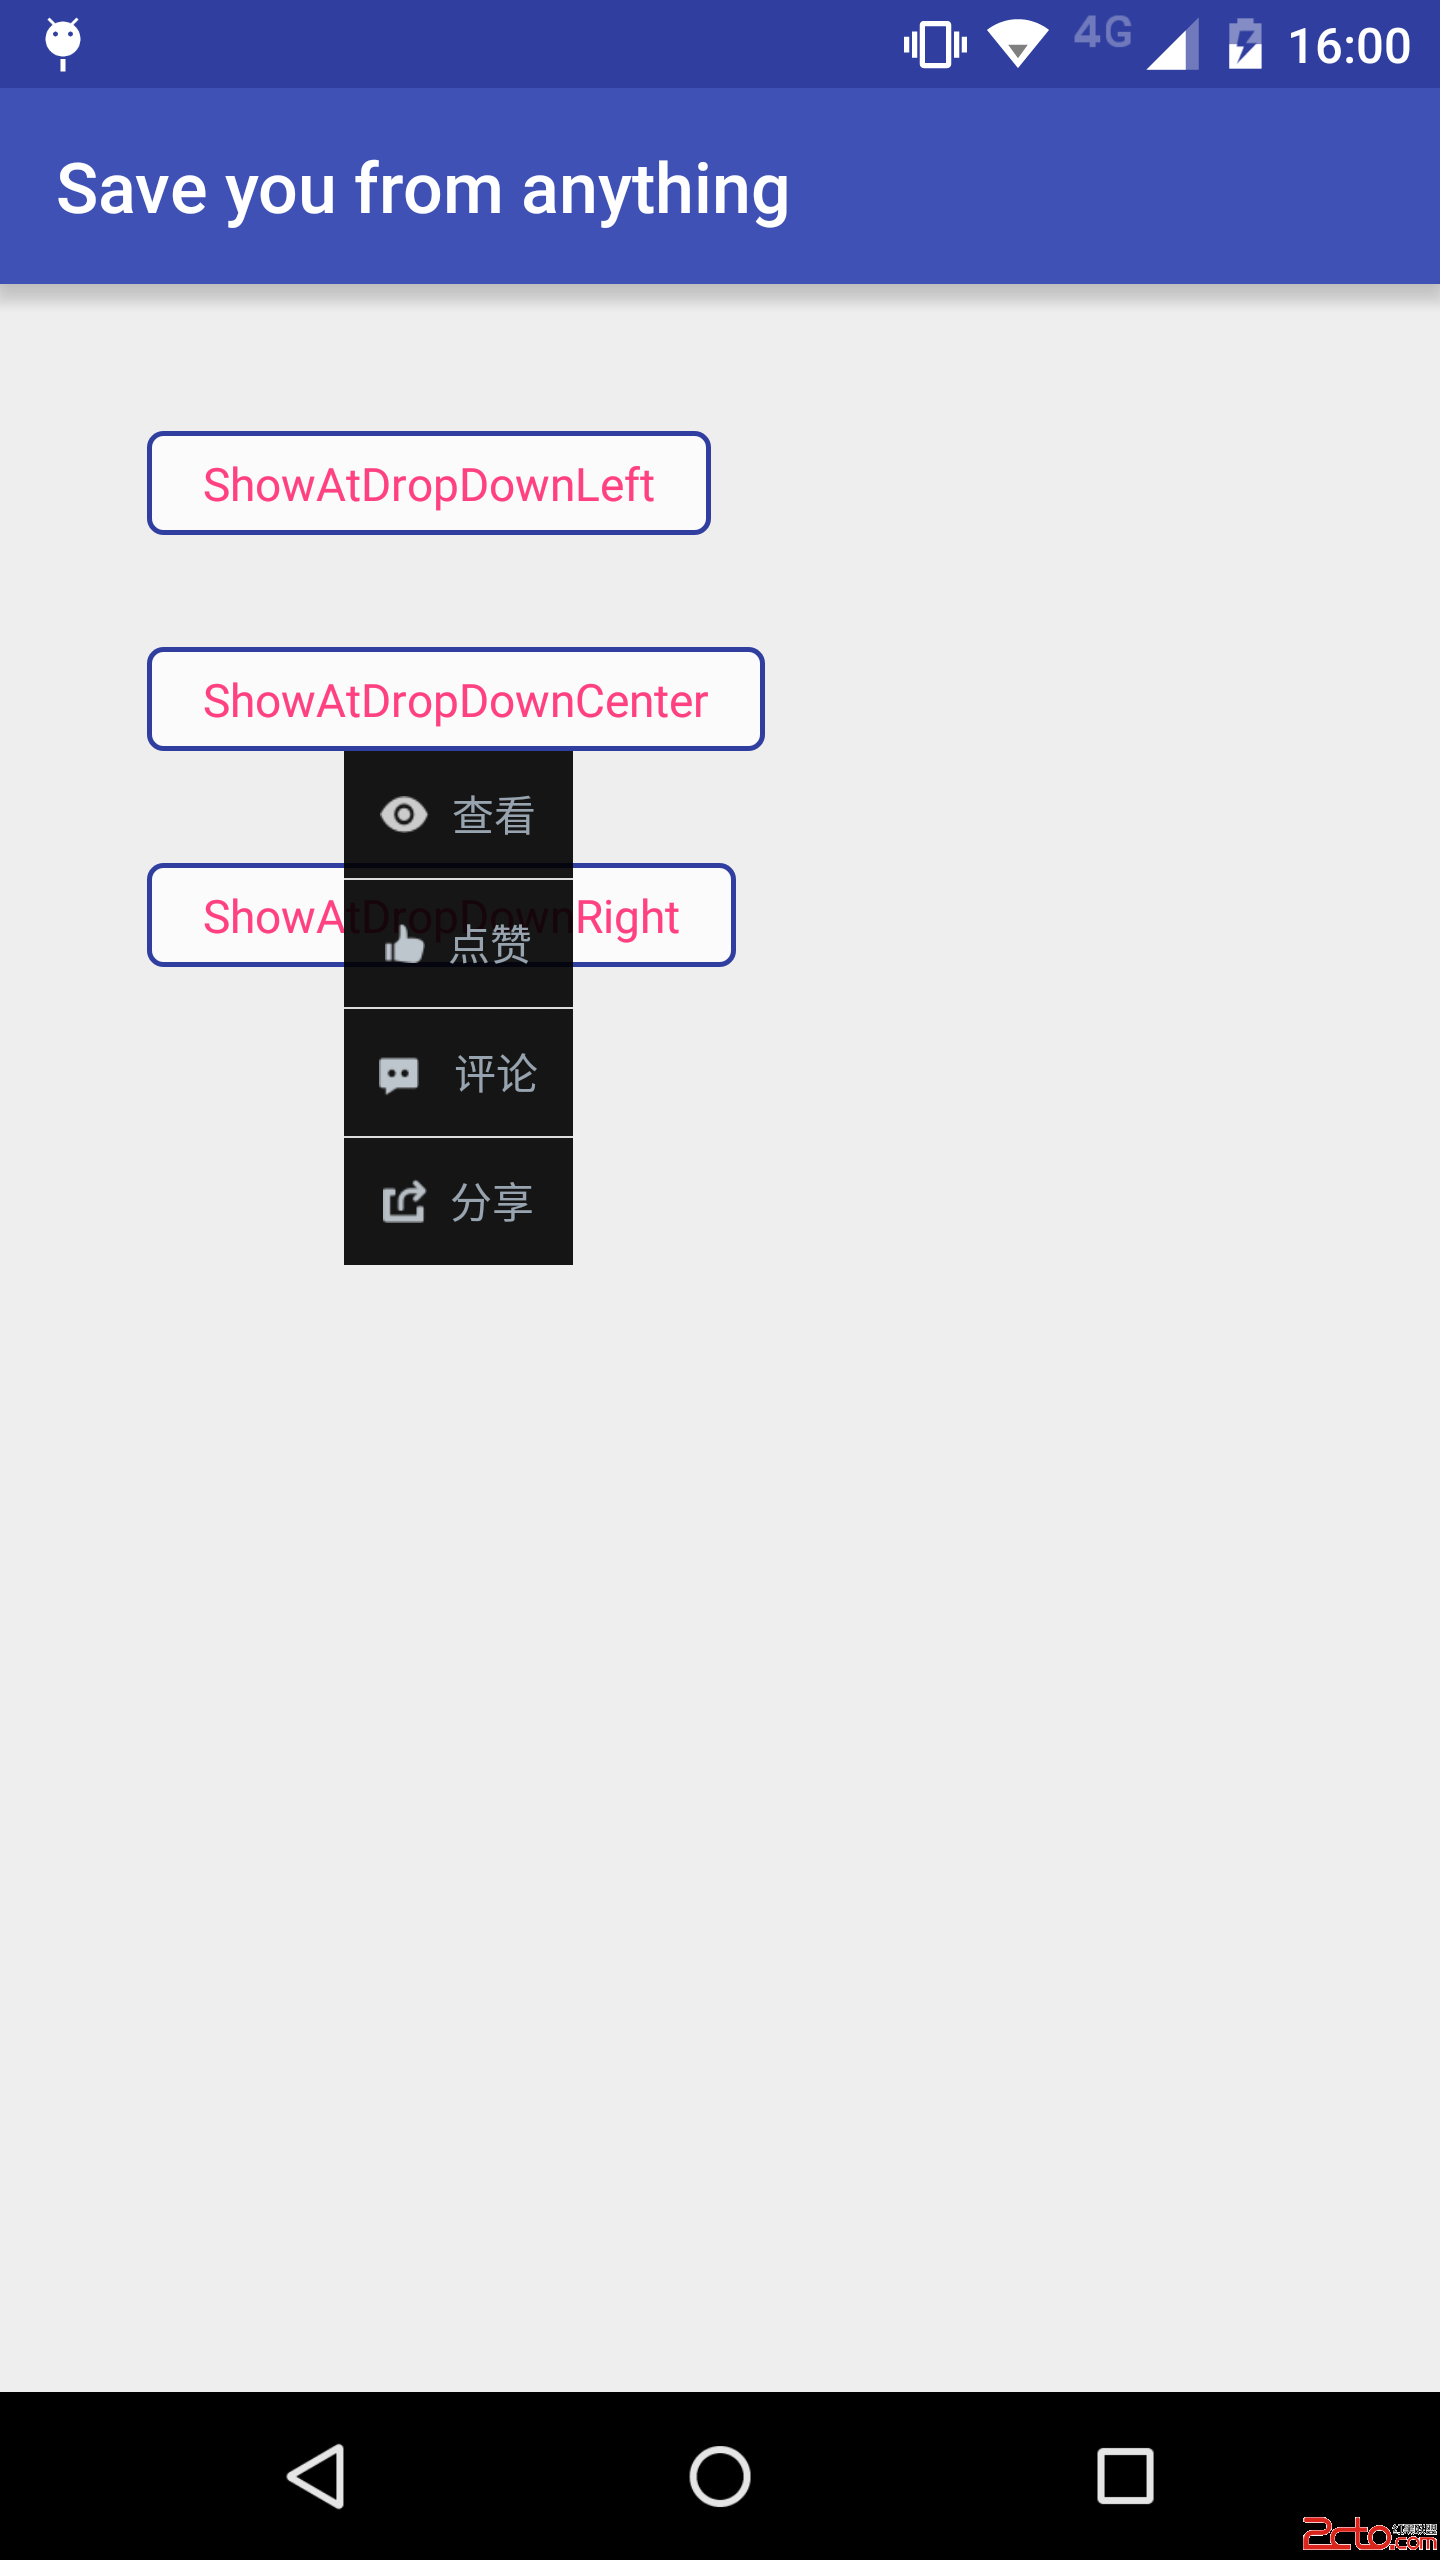 47.Android 自定義PopupWindow技巧
47.Android 自定義PopupWindow技巧Android 自定義PopupWindow技巧 前言 PopupWindow的寬高 PopupWindow定位在下