編輯:關於Android編程
本文實例為大家分享了Android中使用定時器的三種方法,供大家參考,具體內容如下
圖示:

因為都比較簡單,所以就直接貼代碼(慮去再次點擊停止的操作),有個全局的Handler負責接收消息更新UI
第一種方法:Thread.sleep();方法
Runnable runnable = new Runnable() {
    @Override
  public void run() {
   while (true) {
   mHandler.sendEmptyMessage(0);
 try {
   Thread.sleep(1000);
  } catch (InterruptedException e) {
    e.printStackTrace();
     }
     }
    }
   };
new Thread(runnable).start();
}
第二種方法:Handler的postDelay()方法
final Runnable runnable = new Runnable() {
      @Override
      public void run() {
        if (isStart2) {
          mHandler.sendEmptyMessage(0);
          mHandler.postDelayed(this, 1000);
        }
      }
    };
mHandler.postDelayed(runnable, 1000);
    }
第三種:Timer和TimerTask
 private Timer timer = new Timer();
  private TimerTask timerTask = new TimerTask() {
    @Override
    public void run() {
      mHandler.sendEmptyMessage(0);
    }
  };
 timer.schedule(timerTask, 1000, 1000);
總的來說第三種方法最方便,不易出錯,第二種容易忘記添加出發事件.
貼一下完整代碼:
布局文件
<?xml version="1.0" encoding="utf-8"?>
<RelativeLayout xmlns:android="http://schemas.android.com/apk/res/android"
  xmlns:tools="http://schemas.android.com/tools"
  android:layout_width="match_parent"
  android:layout_height="match_parent"
  android:paddingBottom="@dimen/activity_vertical_margin"
  android:paddingLeft="@dimen/activity_horizontal_margin"
  android:paddingRight="@dimen/activity_horizontal_margin"
  android:paddingTop="@dimen/activity_vertical_margin"
  tools:context="com.brioal.timertest.MainActivity">

  <TextView
    android:id="@+id/main_tv"
    android:layout_width="wrap_content"
    android:layout_height="wrap_content"
    android:layout_centerHorizontal="true"
    android:layout_marginTop="100dp"
    android:text="Hello World!" />

  <LinearLayout
    android:layout_width="match_parent"
    android:layout_height="wrap_content"
    android:layout_below="@id/main_tv"
    android:layout_marginTop="100dp"
    android:gravity="center"
    android:orientation="vertical">

    <Button
      android:layout_width="wrap_content"
      android:layout_height="wrap_content"
      android:layout_gravity="center"
      android:layout_margin="5dp"
      android:onClick="Method1"
      android:text="方法1:Thread"
      android:textAllCaps="false" />

    <Button
      android:layout_width="wrap_content"
      android:layout_height="wrap_content"
      android:layout_gravity="center"
      android:layout_margin="5dp"
      android:onClick="Method2"
      android:text="方法2:Handler"
      android:textAllCaps="false" />

    <Button
      android:layout_width="wrap_content"
      android:layout_height="wrap_content"
      android:layout_gravity="center"
      android:layout_margin="5dp"
      android:onClick="Method3"
      android:text="方法3:Task"
      android:textAllCaps="false" />
  </LinearLayout>
</RelativeLayout>
MainActivity
package com.brioal.timertest;

import android.os.Bundle;
import android.os.Handler;
import android.os.Message;
import android.support.v7.app.AppCompatActivity;
import android.view.View;
import android.widget.TextView;

import java.text.SimpleDateFormat;
import java.util.Timer;
import java.util.TimerTask;

public class MainActivity extends AppCompatActivity {
  private TextView mTv;
  private Handler mHandler = new Handler() {
    @Override
    public void handleMessage(Message msg) {
      super.handleMessage(msg);
      //收到消息後顯示當前時間
      long current = System.currentTimeMillis();
      SimpleDateFormat dateFormat = new SimpleDateFormat("HH:mm:ss");
      String time = dateFormat.format(current);
      mTv.setText(time);
    }
  };
  private Timer timer = new Timer();
  private TimerTask timerTask = new TimerTask() {
    @Override
    public void run() {
      mHandler.sendEmptyMessage(0);
    }
  };
  private Thread thread1;
  private boolean isStart1 = false;
  private boolean isStart2 = false;
  private boolean isStart3 = false;


  @Override
  protected void onCreate(Bundle savedInstanceState) {
    super.onCreate(savedInstanceState);
    setContentView(R.layout.activity_main);
    mTv = (TextView) findViewById(R.id.main_tv);
  }

  //Thread方法
  public void Method1(View view) {
    Runnable runnable = new Runnable() {
      @Override
      public void run() {
        while (isStart1) {
          mHandler.sendEmptyMessage(0);
          try {
            Thread.sleep(1000);

          } catch (InterruptedException e) {
            e.printStackTrace();
          }
        }

      }
    };
    if (isStart1) {
      isStart1 = false;
    } else {
      isStart1 = true;
      thread1 = new Thread(runnable);
      thread1.start();
    }
  }

  public void Method2(View view) {

    final Runnable runnable = new Runnable() {
      @Override
      public void run() {
        if (isStart2) {
          mHandler.sendEmptyMessage(0);
          mHandler.postDelayed(this, 1000);
        }
      }
    };
    if (isStart2) {
      isStart2 = false;
    } else {
      mHandler.postDelayed(runnable, 1000);
      isStart2 = true;
    }
  }

  public void Method3(View view) {
    if (isStart3) {
      timer.cancel();
      isStart3 = false;
    } else {
      timer.schedule(timerTask, 1000, 1000);
      isStart3 = true;
    }
  }
}
總結完了,完整Github地址:TimerTest
以上就是定時器使用方法的全部內容,希望能給大家一個參考,也希望大家多多支持本站。
 Android開發之裁剪照片
1. 從相冊選擇照片進行裁剪 從相冊選擇照片並裁剪: /** * 從相冊選擇照片進行裁剪 */ private void
 Android實現下拉菜單Spinner效果
Android 中下拉菜單,即如html中的<select>,關鍵在於調用setDropDownViewResource方法,以XML的方式定義下拉菜單要顯示
 android平台架構介紹
下面這張圖片是在google官網上下載的關於android系統的體系結構圖: 組件所使用的C、C++庫的集合,一般說來,android應用開發者不能直接調
 Android與服務器通訊:如何保證兩端時間一致性
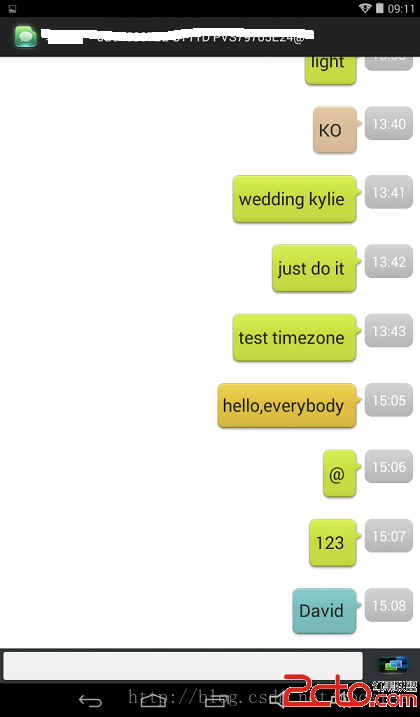
在AChat項目的開發過程中,項目要求無論終端是什麼時區設置、地處何方,終端的時間是否正確,post到服務器的數據包裡面的時間字段均要求跟服務器同步,也就是說,用戶買來一