編輯:關於Android編程
首先,讓我們確認下什麼是service?
service就是android系統中的服務,它有這麼幾個特點:它無法與用戶直接進行交互、它必須由用戶或者其他程序顯式的啟動、它的優先級比較高,它比處於前台的應用優先級低,但是比後台的其他應用優先級高,這就決定了當系統因為缺少內存而銷毀某些沒被利用的資源時,它被銷毀的概率很小哦。
那麼,什麼時候,我們需要使用service呢?
我們知道,service是運行在後台的應用,對於用戶來說失去了被關注的焦點。這就跟我們打開了音樂播放之後,便想去看看圖片,這時候我們還不想音樂停止,這裡就會用到service;又例如,我們打開了一個下載鏈接之後,我們肯定不想瞪著眼睛等他下載完再去做別的事情,對吧?這時候如果我們想手機一邊在後台下載,一邊可以讓我去看看新聞啥的,就要用到service。
service分類:
一般我們認為service分為兩類,本地service和遠程service。
1. 本地service:顧名思義,那就是和當前應用在同一個進程中的service,彼此之間擁有共同的內存區域,所以對於某些數據的共享特別的方便和簡單;
2. 遠程service:主要牽扯到不同進程間的service訪問。因為android的系統安全的原因導致了我們在不同的進程間無法使用一般的方式共享數據。在這裡android為我們提供了一個AIDL工具。(android interface description language)android接口描述語言。在後邊我們將會對其進行詳細的介紹。
Service啟動流程
context.startService() 啟動流程:
context.startService() -> onCreate() -> onStart() -> Service running -> context.stopService() -> onDestroy() -> Service stop
如果Service還沒有運行,則android先調用onCreate(),然後調用onStart();
如果Service已經運行,則只調用onStart(),所以一個Service的onStart方法可能會重復調用多次。
如果stopService的時候會直接onDestroy,如果是調用者自己直接退出而沒有調用stopService的話,Service會一直在後台運行,該Service的調用者再啟動起來後可以通過stopService關閉Service。
所以調用startService的生命周期為:onCreate --> onStart (可多次調用) --> onDestroy
context.bindService()啟動流程:
context.bindService() -> onCreate() -> onBind() -> Service running -> onUnbind() -> onDestroy() -> Service stop
onBind()將返回給客戶端一個IBind接口實例,IBind允許客戶端回調服務的方法,比如得到Service的實例、運行狀態或其他操作。這個時候把調用者(Context,例如Activity)會和Service綁定在一起,Context退出了,Srevice就會調用onUnbind->onDestroy相應退出。
所以調用bindService的生命周期為:onCreate --> onBind(只一次,不可多次綁定) --> onUnbind --> onDestory。
在Service每一次的開啟關閉過程中,只有onStart可被多次調用(通過多次startService調用),其他onCreate,onBind,onUnbind,onDestory在一個生命周期中只能被調用一次。

service生命周期:
和Activity相比,service的生命周期已經簡單的不能再簡單了,只有onCreate()->onStart()->onDestroy()三個方法。
Activity中和service有關的方法:
如果我們想使用service中的一些數據或者訪問其中的一些方法,那麼我們就要通過下面的方法:
intent是跳轉到service的intent,如 Intent intent = new Intent(); intent.setClass(this,MyService.class);
/**
  * 鏈接到service時觸發。
  * name 鏈接到service組件的名稱
  * service 在service中調用onBund時返回的IBinder,主要用來進行信息的交流
  */
 @Override
 public void onServiceConnected(ComponentName name, IBinder service) {
  Log.i("通知", "鏈接成功!");
  MyBinder binder = (MyBinder)service;
  MyService myService = binder.getMyService();
  int count = myService.getCount();
  Log.i("通知", "count="+count);

 }
使用service的步驟:
第一步:我們要繼承service類,實現自己的service。
如果想要訪問service中的某些值,我們通常會提供一個繼承了Binder的內部類,通過onBund()方法返回給service請求。這裡實際上巧妙的利用了內部類能夠訪問外部類屬性的特點。
第二步:在androidManifest.xml中進行注冊,如:
<!--
 service配置開始
 -->
 <service android:name="MyService"></service>
<!--
 service配置結束
 -->
第三步:在activity中進行啟動、綁定、解綁或者停止service。
(很多書上說,service與用戶是不能交互的,其實這話很不正確,我們完全可以通過activity與service進行交互嘛!我覺得,確切的說法應該是service與用戶不能進行直接的交互)。
例子
下邊提供一個調用service聽音樂的例子:
activity代碼:
package cn.com.chenzheng_java;

import cn.com.chenzheng_java.MyService.MyBinder;
import android.app.Activity;
import android.content.ComponentName;
import android.content.Intent;
import android.content.ServiceConnection;
import android.os.Bundle;
import android.os.IBinder;
import android.util.Log;
import android.view.View;
import android.view.View.OnClickListener;
import android.widget.Button;
/**
 * @description 對service進行簡單的應用
 */
public class ServiceActivity extends Activity implements OnClickListener{
 private Button button_start ;
 private Button button_bind ;
 private Button button_destroy ;
 private Button button_unbind;

 @Override
 protected void onCreate(Bundle savedInstanceState) {
  super.onCreate(savedInstanceState);
  setContentView(R.layout.service);

  button_start = (Button) findViewById(R.id.button1_service);
  button_bind = (Button) findViewById(R.id.button2_service);
  button_destroy = (Button) findViewById(R.id.button3_service);
  button_unbind = (Button) findViewById(R.id.button4_service);

  button_start.setOnClickListener(this);
  button_bind.setOnClickListener(this);
  button_destroy.setOnClickListener(this);
  button_unbind.setOnClickListener(this);

 }

 private class MyServiceConnection implements ServiceConnection{

  /**
   * 鏈接到service時觸發。
   * name 鏈接到service組件的名稱
   * service 在service中調用onBund時返回的IBinder,主要用來進行信息的交流
   */
  @Override
  public void onServiceConnected(ComponentName name, IBinder service) {
   Log.i("通知", "鏈接成功!");
   MyBinder binder = (MyBinder)service;
   MyService myService = binder.getMyService();
   int count = myService.getCount();
   Log.i("通知", "count="+count);

  }

  @Override
  public void onServiceDisconnected(ComponentName name) {
   Log.i("通知", "鏈接未成功!");
  }

 }

 private MyServiceConnection serviceConnection = new MyServiceConnection();
 @Override
 public void onClick(View v) {
  if(v == button_start){
   Intent intent = new Intent();
   intent.setClass(getApplicationContext(), MyService.class);
   startService(intent);
  }

  if(v == button_bind){
   Intent intent = new Intent();
   intent.setClass(getApplicationContext(), MyService.class);
   bindService(intent,serviceConnection , BIND_AUTO_CREATE);
  }
  if(v==button_destroy){
   Intent intent = new Intent();
   intent.setClass(getApplicationContext(), MyService.class);
   stopService(intent);
  }
  if(v==button_unbind){
   unbindService(serviceConnection);
  }

 }

}
繼承service的類:
package cn.com.chenzheng_java;

import android.app.Service;
import android.content.Intent;
import android.media.MediaPlayer;
import android.os.Binder;
import android.os.IBinder;
import android.util.Log;

/**
 * @description 實現自己的service
 * @author chenzheng_java
 * @since 2011/03/18
 */
public class MyService extends Service {
 MediaPlayer mediaPlayer;

 /**
  * 當用戶調用bindService方法時會觸發該方法 返回一個IBinder對象,我們可以通過該對象,對service中 的某些數據進行訪問
  */
 @Override
 public IBinder onBind(Intent intent) {
  Log.i("通知", "service綁定成功!");
  return new MyBinder();
 }

 @Override
 public void onCreate() {
  Log.i("通知", "service創建成功!");

  mediaPlayer = MediaPlayer.create(this, R.raw.aiweier);
  mediaPlayer.setLooping(false);
  super.onCreate();
 }

 @Override
 public void onDestroy() {
  mediaPlayer.stop();
  Log.i("通知", "service銷毀成功!");
  super.onDestroy();
 }

 @Override
 public void onRebind(Intent intent) {
  Log.i("通知", "service重新綁定成功!");
  super.onRebind(intent);
 }

 @Override
 public void onStart(Intent intent, int startId) {
  mediaPlayer.start();
  Log.i("通知", "service start成功!");
  super.onStart(intent, startId);
 }

 @Override
 public boolean onUnbind(Intent intent) {
  mediaPlayer.stop();
  Log.i("通知", "service解綁成功!");
  return super.onUnbind(intent);
 }

 private int count = 100;

 public int getCount() {
  return count;
 }

 public void setCount(int count) {
  this.count = count;
 }

 public class MyBinder extends Binder {
  /**
   * @return 返回一個個人的service對象
   */
  MyService getMyService() {
   return MyService.this;
  }
 }

}
service.xml代碼:
<?xml version="1.0" encoding="utf-8"?>
<LinearLayout
 xmlns:android="http://schemas.android.com/apk/res/android"
 android:layout_width="match_parent"
 android:layout_height="match_parent">
 <Button android:text="啟動" android:id="@+id/button1_service" android:layout_width="wrap_content" android:layout_height="wrap_content"></Button>
 <Button android:text="綁定" android:id="@+id/button2_service" android:layout_width="wrap_content" android:layout_height="wrap_content"></Button>
 <Button android:text="銷毀" android:id="@+id/button3_service" android:layout_width="wrap_content" android:layout_height="wrap_content"></Button>
 <Button android:text="解綁" android:id="@+id/button4_service" android:layout_width="wrap_content" android:layout_height="wrap_content"></Button>
</LinearLayout>
androidManifest.xml
<?xml version="1.0" encoding="utf-8"?>
<manifest xmlns:android="http://schemas.android.com/apk/res/android"
  package="cn.com.chenzheng_java"
  android:versionCode="1"
  android:versionName="1.0">
 <uses-sdk android:minSdkVersion="8" />

 <application android:icon="@drawable/icon" android:label="@string/app_name">
  <activity android:name="ServiceActivity"
     android:label="@string/app_name">
   <intent-filter>
    <action android:name="android.intent.action.MAIN" />
    <category android:name="android.intent.category.LAUNCHER" />
   </intent-filter>
  </activity>
<!--
 service配置開始
 -->
 <service android:name="MyService"></service>
<!--
 service配置結束
 -->
 </application>
 </manifest>
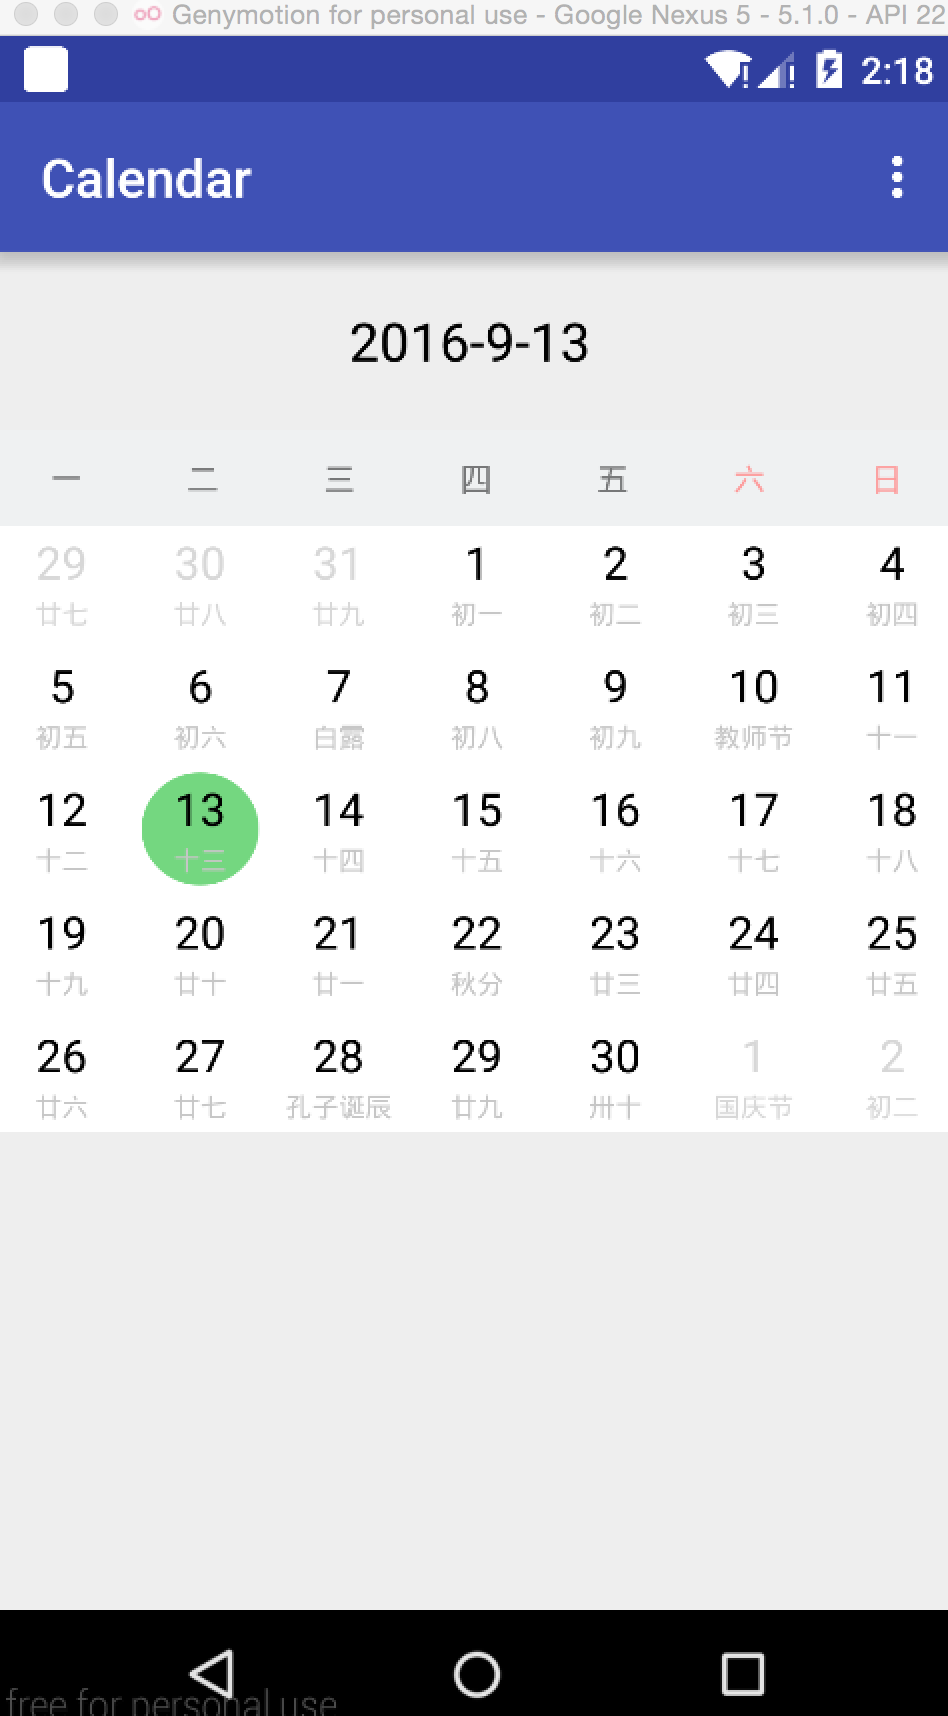
最終效果圖:

 android開發之synchronized的用法
android開發之synchronized的用法 在android開發中synchronized主要有四種用法。第一是在方法聲明時使用;第二是在對某一代碼塊時使用;
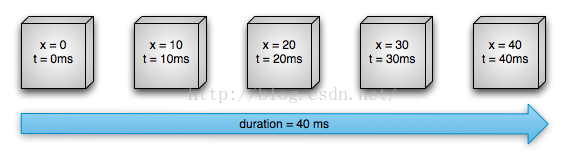 Android動畫總結系列(4)——屬性動畫集成
一、概述1.1 簡述Android框架提供兩大動畫方案:屬性動畫與補間動畫。這兩者都非常有用,而且從谷歌文檔來看,都會持續支持。但官方文檔建議我們應優先考慮使用屬性動畫,
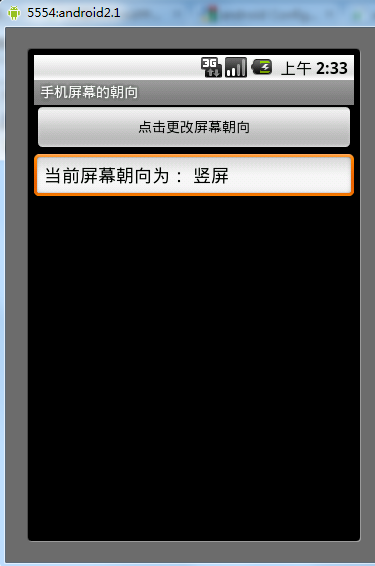 Android改變手機屏幕朝向的方法
本文實例講述了Android改變手機屏幕朝向的方法。分享給大家供大家參考。具體如下:模擬當點擊按鈕時,使手機朝向發生改變。main.xml布局文件:<?xm
 Android仿美團切換城市
最近一直關注一些比較有名的app,像美團、58、趕集網、淘寶等等。主要目的就是學習下目前一些常用的技術,模擬一下它們的比較炫的界面來鞏固下知識,我發現美團、5