編輯:關於Android編程
本文實例講述了Android編程繪制圓形圖片的方法。分享給大家供大家參考,具體如下:
效果圖如下:

第一步:新建RoundView自定義控件繼承View
package com.rong.activity;
import com.rong.test.R;
import android.content.Context;
import android.graphics.Bitmap;
import android.graphics.Bitmap.Config;
import android.graphics.BitmapFactory;
import android.graphics.Canvas;
import android.graphics.Color;
import android.graphics.Paint;
import android.graphics.PorterDuff;
import android.graphics.PorterDuffXfermode;
import android.util.AttributeSet;
import android.widget.ImageView;
/**
 * 利用Xfermode制作一個圓形圖片
 *
 * @author 徐榮
 *
 */
public class RoundView extends ImageView {
  /**
   * 畫筆
   */
  private Paint mPaint;
  /**
   * 原型圖
   */
  private Bitmap src;
  /**
   * 遮罩層
   */
  private Bitmap mask;
  public RoundView(Context context, AttributeSet attrs) {
    super(context, attrs);
    // 初始化畫筆
    mPaint = new Paint();
    mPaint.setAntiAlias(true);
    // 拿到原型圖
    src = BitmapFactory.decodeResource(getResources(), R.drawable.ml);
  }
  @Override
  protected void onSizeChanged(int w, int h, int oldw, int oldh) {
    super.onSizeChanged(w, h, oldw, oldh);
    // 圖片的遮罩,為什麼要在這裡面初始化遮罩層呢?因為在這個方法裡Width()和Height()才被初始化了
    mask = Bitmap.createBitmap(getMeasuredWidth(), getMeasuredHeight(), Config.ARGB_4444);
  }
  @Override
  protected void onDraw(Canvas canvas) {
    super.onDraw(canvas);
    // 設置畫布的顏色為透明
    canvas.drawColor(Color.TRANSPARENT);
    // 劃出你要顯示的圓
    Canvas cc = new Canvas(mask);
    cc.drawCircle(getMeasuredWidth() / 2, getMeasuredHeight() / 2, getMeasuredHeight() / 2, mPaint);
    // 這個方法相當於PS新建圖層,下面你要做的事就在這個圖層上操作
    canvas.saveLayer(0, 0, getMeasuredWidth(), getMeasuredHeight(), null, Canvas.ALL_SAVE_FLAG);
    // 先繪制遮罩層
    canvas.drawBitmap(mask, 0, 0, mPaint);
    // 設置混合模式
    mPaint.setXfermode(new PorterDuffXfermode(PorterDuff.Mode.SRC_IN));
    // 再繪制src源圖
    canvas.drawBitmap(src, 0, 0, mPaint);
    // 還原混合模式
    mPaint.setXfermode(null);
    // 還原畫布,相當於Ps的合並圖層
    canvas.restore();
  }
}
第二步 新建布局文件Activity_main.xml
<?xml version="1.0" encoding="utf-8"?>
<RelativeLayout xmlns:android="http://schemas.android.com/apk/res/android"
  android:layout_width="match_parent"
  android:layout_height="match_parent"
  android:background="#ffffff"
  android:orientation="vertical" >
  <com.rong.activity.RoundView
    android:layout_width="160dp"
    android:layout_height="160dp"
    android:layout_centerInParent="true" />
</RelativeLayout>
運行!
更多關於Android相關內容感興趣的讀者可查看本站專題:《Android開發入門與進階教程》、《Android基本組件用法總結》、《Android視圖View技巧總結》、《Android布局layout技巧總結》及《Android控件用法總結》
希望本文所述對大家Android程序設計有所幫助。
 Android入門教程之創建樣式與主題
一、前言作為一個安卓開發者,我們一般把焦點放在app的功能上。但是僅僅有功能是不夠的,界面和功能一樣重要。有兩種方法可以改變app的外觀。第一種就是直接在xml中直接修改
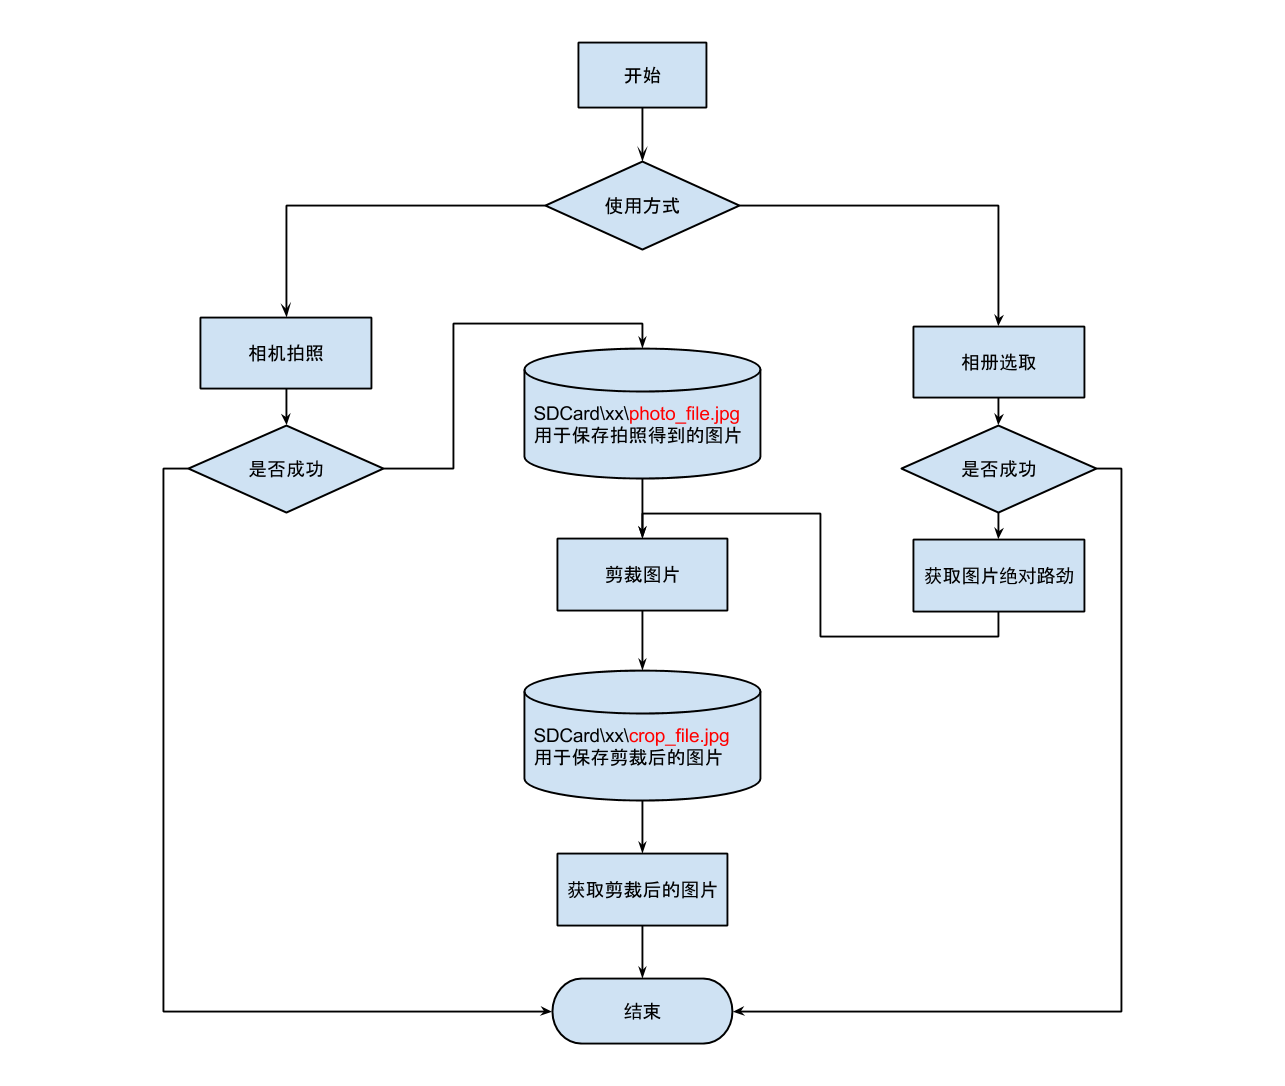
 Android 仿qq上傳頭像(一)
這麼長時間沒寫博客感覺手都要生了啊,最近因為工作的關系來到了上海,目前還算穩定,所以抓緊時間寫篇博客壓壓驚。標題早已經看穿一切,這次我們來模仿一下
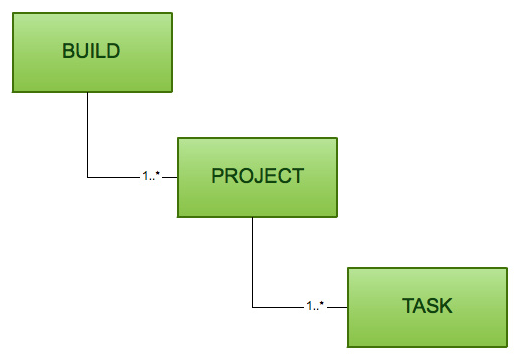 Gradle系列二
1.Introduction1.1.gradle構建系統的目標1)讓重用代碼和資源變得更加容易2)讓創建同一應用程序的不同版本變得更加容易,無論是多個apk發布版本還是同
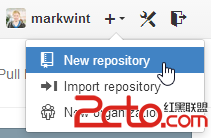 如何在Android Studio上使用Github
首先,登陸到Github上並創建一個新repository。在屏幕右上角,點擊“+”標記,並且選擇“New repository&rd