編輯:關於Android編程
目前智能電視終端(智能電視和智能電視盒子)已經越來越火,過去主打視頻功能,如今的智能電視終端不僅會繼續完善視頻功能,還會加入電視游戲功能,同時這也趕上了“電視游戲機解禁”的時機。
當今的大部分Android手游都能夠在Android系統的電視終端上運行,其中有少數手游是原生支持手柄(例如MOGA手柄),這部分游戲可以作為電視游戲。但其他手游(射擊,賽車,動作等游戲)若要在電視上玩,就需要修改操控模式,把觸摸屏操控改為手柄實體鍵操控。
本文主要講解的是如何使用/system/bin/之下的Input命令模擬按鍵和觸摸屏操作,調用Input命令需要具備root權限。本文完整代碼點擊此處本站下載。
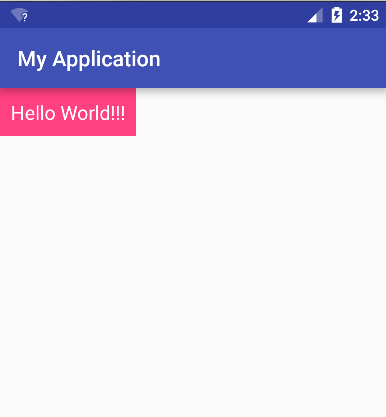
程序運行結果如下圖所示:

本文核心RootCommand.java的代碼如下,不建議把代碼濃縮成全局靜態方法,這裡保持process和os這2個變量的生命周期直到app結束,可以減去多次初始化/釋放的耗時。具體代碼如下:
package com.hellogv.slinput;
import java.io.DataOutputStream;
import java.io.IOException;
import android.util.Log;
/**
 * 調用su執行input命令
 * 全局只調用一次init()和exit(),多次調用run()。
 * @author hellogv
 *
 */
public class RootCommand {
 private String TAG="RootCommand";
 private Process process = null;
 private DataOutputStream os = null;
 public void init() {
 try {
  process = Runtime.getRuntime().exec("su");
  os = new DataOutputStream(process.getOutputStream());
 } catch (IOException e) {
  Log.e(TAG, getExceptionMessage(e));
 }
 }
 /**
 * 模仿shell來執行命令,必須先root再使用
 *
 * @param command
 * @return
 */
 public boolean run(String command) {
 try {
  os.writeBytes(command + "\n");
  os.flush();
 } catch (Exception e) {
  Log.e(TAG, getExceptionMessage(e));
  return false;
 }
 return true;
 }
 /**
 * 模仿shell來執行命令,必須先root再使用
 *
 * @param command
 * @return
 */
 public void release() {
 try {
  os.writeBytes("exit\n");
  os.flush();
  process.waitFor();
 } catch (Exception e) {
  Log.e(TAG, getExceptionMessage(e));
 } finally {
  try {
  if (os != null) {
   os.close();
  }
  process.destroy();
  } catch (Exception e) {
  }
 }
 }
 private static String getExceptionMessage(Exception ex){
 String result="";
 StackTraceElement[] stes = ex.getStackTrace();
 for(int i=0;i<stes.length;i++){
  result=result+stes[i].getClassName()
  + "." + stes[i].getMethodName()
  + " " + stes[i].getLineNumber() +"line"
  +"\r\n";
 }
 return result;
 }
}
調用RootCommand的代碼如下,input命令的使用格式詳見代碼:
public void onCreate(Bundle savedInstanceState) {
super.onCreate(savedInstanceState);
setContentView(R.layout.activity_main);
rootCommand.init();
//模擬按下Home鍵
btnTestKey = (Button) this.findViewById(R.id.btnTestKey);
btnTestKey.setOnClickListener(new OnClickListener(){

 @Override
 public void onClick(View v) {
 //命令格式:input keyevent keycode
 rootCommand.run("/system/bin/input keyevent "+KeyEvent.KEYCODE_HOME);
 }
});
//模擬滑動觸摸屏
btnTestSwipe= (Button) this.findViewById(R.id.btnTestSwipe);
btnTestSwipe.setOnClickListener(new OnClickListener(){
 @Override
 public void onClick(View v) {
 int x2 = MainActivity.this.getWindow().getDecorView().getWidth() - 10;
 //先去到桌面
 rootCommand.run("/system/bin/input keyevent "+KeyEvent.KEYCODE_HOME);
 //滑動桌面,命令格式:input swipe x1 y1 x2 y2
 for(int i=0;i<4;i++){
  rootCommand.run("/system/bin/input swipe 10 300 "+x2+" 400");
  rootCommand.run("/system/bin/input swipe "+x2+" 300 10 400");
 }
 }
});
//模擬點擊觸摸屏
btnTestTap= (Button) this.findViewById(R.id.btnTestTap);
btnTestTap.setOnClickListener( new OnClickListener(){
 @Override
 public void onClick(View v) {
  int[] location = new int[2];
  btnTestSwipe.getLocationOnScreen(location);
  int x = location[0]+btnTestSwipe.getWidth()/2;
  int y = location[1]+btnTestSwipe.getHeight()/2;
 //模擬點擊btnTestTap
  rootCommand.run("/system/bin/input tap "+x+" "+y);
 }
});
//退出程序
btnExit = (Button) this.findViewById(R.id.btnExit);
btnExit.setOnClickListener( new OnClickListener(){
 @Override
 public void onClick(View v) {
 rootCommand.release();
 MainActivity.this.finish();
 }
});
//判斷是否root過,沒root過不可用
if(RootTools.isRootAvailable()==false){
 Toast.makeText(this, "本程序需要使用ROOT權限。", Toast.LENGTH_SHORT).show();
 this.finish();
}
}
感興趣的朋友可以下載本實例的完整代碼加以調試運行,相信會對大家的Android程序設計有很大的幫助。
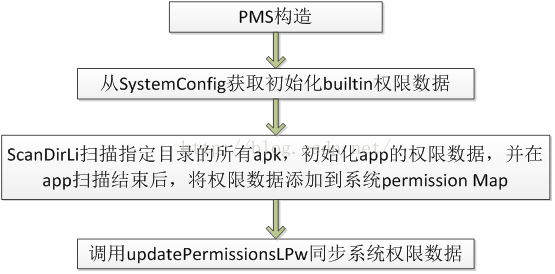 Android PackageManager Service詳解(5.1源碼)(三)
2:PackageManagerServiceAndroid既然基於linux,那我們能不能將c/c++代碼交叉編譯成可執行文件然後放到目標機器上跑呢?當然可以,不過前提
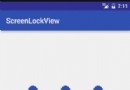 輕松實現安卓(Android)九宮格解鎖
效果圖思路首先我們來分析一下實現九宮格解鎖的思路:當用戶的手指觸摸到某一個點時,先判斷該點是否在九宮格的某一格范圍之內,若在范圍內,則該格變成選中的狀態;之後用戶手指滑動
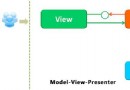 Android中的MVP架構解密
說來慚愧,MVP的架構模式已經在Android領域出現一兩年了,但是到今天自己才開始Android領域中的MVP架構征程。閒話不多說,開始吧!一、架構演變概述我記得我找
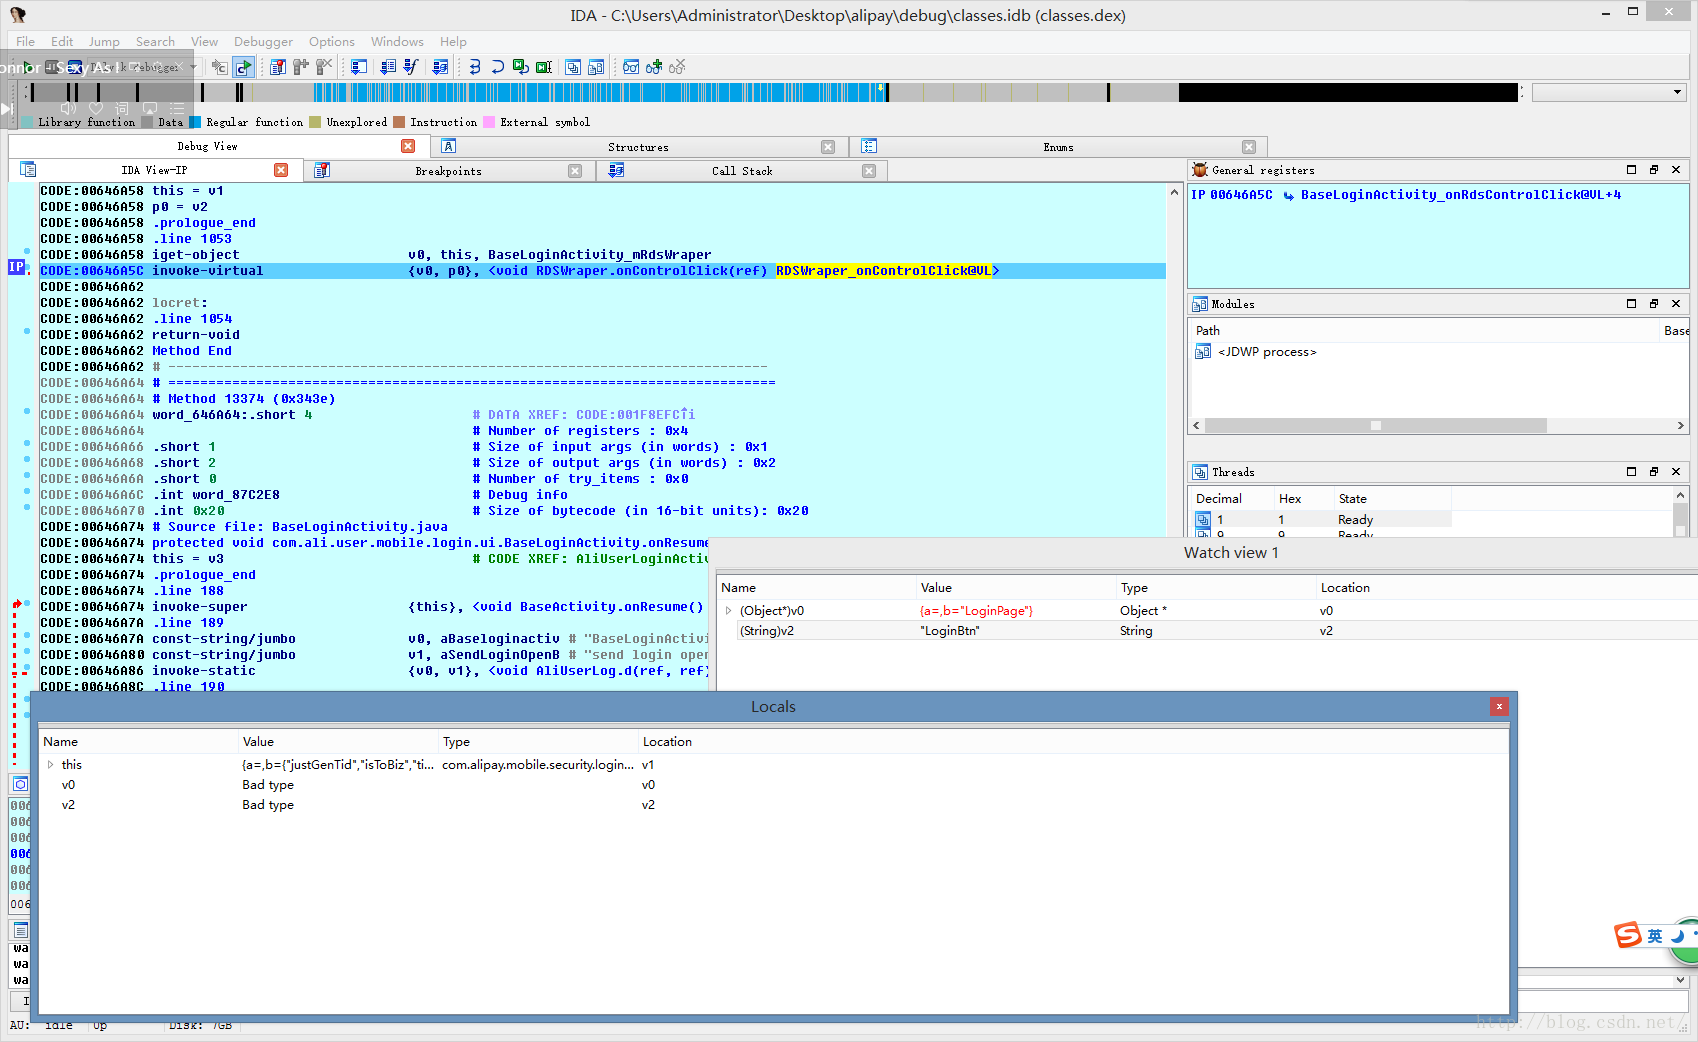 Android應用逆向——最好用的兩個無源碼調試器
要逆向分析並修改一個Android應用,首先是對APK進行解包和打包,這一部分網上資料鋪天蓋地,不再贅述了。值得一提的一點就是,如果apktool無法解包或打包的話,可以