編輯:關於Android編程
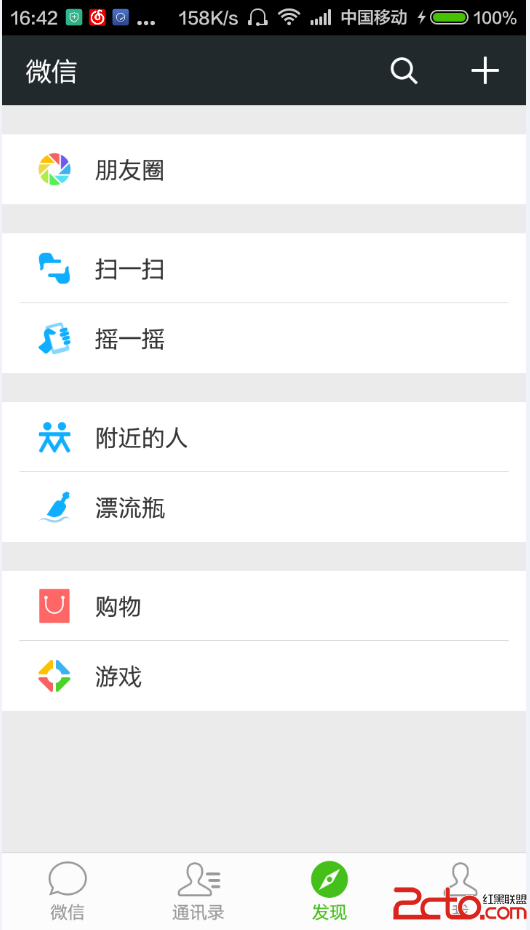
本文實例講述了Android授權訪問網頁的實現方法,即使用Webview顯示OAuth Version 2.a ImplicitGrant方式授權的頁,但是對於移動終端不建議使用Authorize code grant方式授權。
具體功能代碼如下所示:
import android.annotation.SuppressLint;
import android.app.Activity;
import android.content.Intent;
import android.graphics.Bitmap;
import android.net.http.SslError;
import android.os.Bundle;
import android.util.Log;
import android.webkit.SslErrorHandler;
import android.webkit.WebSettings;
import android.webkit.WebView;
import android.webkit.WebViewClient;
import com.tencent.weibo.oauthv2.OAuthV2;
import com.tencent.weibo.oauthv2.OAuthV2Client;
/**
 * 使用Webview顯示OAuth Version 2.a ImplicitGrant方式授權的頁
 * (移動終端不建議使用Authorize code grant方式授權
 * 本類使用方法
 * 調用本類的地方請添加如下代碼
 * //請將OAuthV2Activity改為類的類名
 * Intent intent = new Intent(OAuthV2Activity.this, OAuthV2AuthorizeWebView.class);
 * intent.putExtra("oauth", oAuth); //oAuth為OAuthV2類的實例,存放授權相關信??
 * startActivityForResult(intent, myRrequestCode); //請設置合適的requsetCode
 * 重寫接收回調信息的方
 * if (requestCode==myRrequestCode) { //對應之前設置的的myRequsetCode
 *   if (resultCode==OAuthV2AuthorizeWebView.RESULT_CODE) {
 *     //取得返回的OAuthV2類實例oAuth
 *     oAuth=(OAuthV2) data.getExtras().getSerializable("oauth");
 *   }
 * }
 * @see android.app.Activity#onActivityResult(int requestCode, int resultCode, Intent data)
 */
public class MyWebView extends Activity {
  public final static int RESULT_CODE = 2;
  private OAuthV2 oAuth;
  private final String TAG = "MyWebView";
 private WebView mWebView;
  @SuppressLint("NewApi")
 @Override
  public void onCreate(Bundle savedInstanceState) {
    super.onCreate(savedInstanceState);
    setContentView(R.layout.webview_qq);
    mWebView = (WebView) findViewById(R.id.qq_mywebview);;
    mWebView.setVerticalScrollBarEnabled(false);
 mWebView.setHorizontalScrollBarEnabled(false);
 Intent intent = this.getIntent();
    oAuth = (OAuthV2) intent.getExtras().getSerializable("oauth");
    String urlStr = OAuthV2Client.generateImplicitGrantUrl(oAuth);
    WebSettings webSettings = mWebView.getSettings();
    webSettings.setJavaScriptEnabled(true);
    webSettings.setSupportZoom(true);
    mWebView.requestFocus();
    mWebView.loadUrl(urlStr);
    System.out.println(urlStr.toString());
    Log.i(TAG, "WebView Starting....");
    WebViewClient client = new WebViewClient() {
    /* 回調方法,當頁面加載時執行*/
      @Override
      public void onPageStarted(WebView view, String url, Bitmap favicon) {
        Log.i(TAG, "WebView onPageStarted...");
        Log.i(TAG, "URL = " + url);
        if (url.indexOf("access_token=") != -1) {
          int start=url.indexOf("access_token=");
          String responseData=url.substring(start);
          OAuthV2Client.parseAccessTokenAndOpenId(responseData, oAuth);
          Intent intent = new Intent();
          intent.putExtra("oauth", oAuth);
          setResult(RESULT_CODE, intent);
          finish();
        }
        super.onPageStarted(view, url, favicon);
        Log.i(TAG, "999999999");
      }
      /* TODO Android2.2及以上版本才能使用該方法,目前https://open.t.qq.com中存在http資源會引起sslerror,待網站修正後可去掉該方*/
 public void onReceivedSslError(WebView view, SslErrorHandler handler, SslError error) {
        if ((null != view.getUrl()) && (view.getUrl().startsWith("https://open.t.qq.com"))) {
          handler.proceed();// 接受證書
        } else {
          handler.cancel(); // 默認的處理方式,WebView變成空白
        }
        // handleMessage(Message msg); 其他處理
      }
    };
    mWebView.setWebViewClient(client);
  }
}
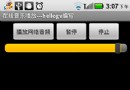 Android提高之MediaPlayer播放網絡音頻的實現方法
前面有文章曾經地介紹過MediaPlayer的基本用法,這裡就更加深入地講解MediaPlayer的在線播放功能。本文主要實現MediaPlayer在線播放音頻的功能,由
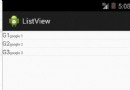 關於Android的ListView
最近在做的一個項目需要展示一個頁面,標題和內容,我以前雖然用過。但是是從手機本地數據庫讀的。現在是從公司PHP網站的服務器讀取。原來用simpleCursorAdapte
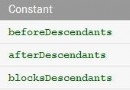 android:descendantFocusability用法簡析
開發中很常見的一個問題,項目中的listview不僅僅是簡單的文字,常常需要自己定義listview,自己的Adapter去繼承BaseAdapter,在adapter
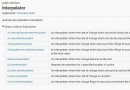 Android動畫進階(Interpolator)
Android:interpolatorInterpolator 被用來修飾動畫效果,定義動畫的變化率,可以使存在的動畫效果accelerated(加速),deceler