編輯:關於Android編程
Android的窗口體系中,WindowManager占有非常重要的地位,它封裝了添加、移除、更新窗口的方法,它是Activity、View的更加底層的管理類,使用WindowManager的其中一個例子就是制作懸浮窗或懸浮球之類的懸浮組件,這種懸浮組件不依賴某個Activity,它可以在任何界面顯示(只要你願意)。
這篇文章將對如何使用懸浮球做簡單總結,即使在android6.0下(android6.0使用動態權限管理),它也可以正常工作。ButterKnife可以方便的獲取到xml中定義的view的實例,比findViewById方便多了,使用ButterKnife非常簡單,可以總結為3步吧:
compile 'com.jakewharton:butterknife:7.0.0'
@Bind(R.id.start) Button start; @Bind(R.id.stop) Button stop; @Bind(R.id.bind) Button bind; @Bind(R.id.unbind) Button unbind;
ButterKnife.bind(this);在onCreate中調用它就可以。通過這句調用,start,stop,bind,unbind幾個Button都被實例化了。
public class FlowWindowService extends Service {
    private final String TAG = "FlowWindowService";
    @Override
    public void onCreate() {
        super.onCreate();
        Log.d(TAG,"onCreate");
    }

    @Nullable
    @Override
    public IBinder onBind(Intent intent) {
        Log.d(TAG,"onBind");
        return null;
    }

    @Override
    public int onStartCommand(Intent intent, int flags, int startId) {
        Log.d(TAG,"onStartCommand");
        showFlowWindow();
        return super.onStartCommand(intent, flags, startId);
    }

    @Override
    public void onDestroy() {
        super.onDestroy();
        Log.d(TAG,"onDestroy");
    }

    public void showFlowWindow(){
        Log.v(TAG,"showFlowWindow");
        WindowManager windowManager = (WindowManager) getSystemService(WINDOW_SERVICE);
        Button button = new Button(getApplicationContext());
        button.setText("flow");
        button.setBackgroundColor(Color.RED);
        button.setWidth(100);
        button.setHeight(100);
        WindowManager.LayoutParams params = new WindowManager.LayoutParams();
        params.type = WindowManager.LayoutParams.TYPE_PHONE;
        params.format = PixelFormat.RGBA_8888;
        params.gravity = Gravity.LEFT | Gravity.TOP;
        params.flags = WindowManager.LayoutParams.FLAG_NOT_TOUCH_MODAL | WindowManager.LayoutParams.FLAG_NOT_FOCUSABLE;
        params.width = 100;
        params.height = 100;
        params.x = 300;
        params.y = 300;
        windowManager.addView(button, params);
    }
}
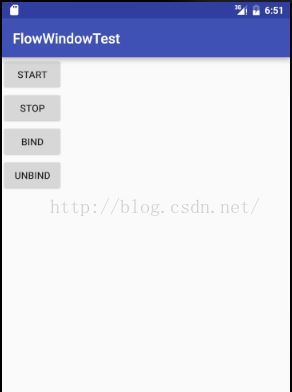
MainActivity中使用ButterKnife實例化四個Button,並設置觸摸事件監聽器:
public class MainActivity extends AppCompatActivity {
    @Bind(R.id.start) Button start;
    @Bind(R.id.stop) Button stop;
    @Bind(R.id.bind) Button bind;
    @Bind(R.id.unbind) Button unbind;
    @Override
    protected void onCreate(Bundle savedInstanceState) {
        super.onCreate(savedInstanceState);
        setContentView(R.layout.activity_main);
        ButterKnife.bind(this);
        start.setOnClickListener(new View.OnClickListener() {
            @Override
            public void onClick(View v) {
                    startService(new Intent(MainActivity.this,FlowWindowService.class));
            }
        });
        stop.setOnClickListener(new View.OnClickListener() {
            @Override
            public void onClick(View v) {
                stopService(new Intent(MainActivity.this,FlowWindowService.class));
        }
        });
        bind.setOnClickListener(new View.OnClickListener() {
            @Override
            public void onClick(View v) {
                bindService(new Intent(MainActivity.this,FlowWindowService.class),connectionService, Context.BIND_AUTO_CREATE);
            }
        });
        unbind.setOnClickListener(new View.OnClickListener() {
            @Override
            public void onClick(View v) {
                unbindService(connectionService);
            }
        });
    }
    ServiceConnection connectionService = new ServiceConnection() {
        @Override
        public void onServiceConnected(ComponentName name, IBinder service) {

        }

        @Override
        public void onServiceDisconnected(ComponentName name) {

        }
    };
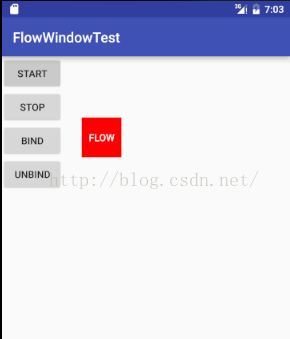 懸浮窗出現。退出應用後它還在:
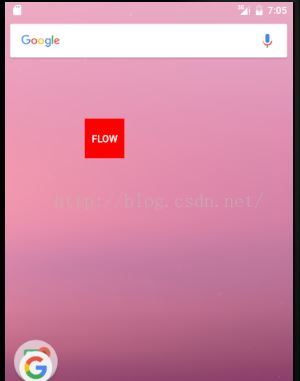 退出應用後懸浮窗還在是因為我們沒有在Service退出的時候移除懸浮窗,在Service的onDestroy中移除即可:
    @Override
    public void onDestroy() {
        super.onDestroy();
        Log.d(TAG,"onDestroy");
        windowManager.removeView(button);
    }
這意味著之前的代碼需要略作修改,button和windowManager都必須是類中定義的,而不是方法中定義的。
   private static final int REQUEST_PERMISSION_CODE = 1;
    private void requestCameraPermission() {
        requestPermissions(new String[]{Manifest.permission.SYSTEM_ALERT_WINDOW}, REQUEST_PERMISSION_CAMERA_CODE);
    }

    @Override
    public void onRequestPermissionsResult(int requestCode, String[] permissions, int[] grantResults) {
        super.onRequestPermissionsResult(requestCode, permissions, grantResults);
        if (requestCode == REQUEST_PERMISSION_CODE) {
            int grantResult = grantResults[0];
            boolean granted = grantResult == PackageManager.PERMISSION_GRANTED;
            Log.i(TAG, "onRequestPermissionsResult granted=" + granted);
        }
    }
使用requestPermisson方法申請SYSTEM_ALERT_WINDOW權限,REQUEST_PERMISSON_CODE是一個整數,用來表示這次請求,它的值隨意。requestPermissions會導致onRequestPermissionsResult方法被回調,在這個方法中我們就可以知道我們是不是申請到了權限。最後,在MainActivity的onCreate方法中申請權限即可。
    protected void onCreate(Bundle savedInstanceState) {
        super.onCreate(savedInstanceState);
        setContentView(R.layout.activity_main);
        ButterKnife.bind(this);
        requestPermission();
如果權限申請失敗,很有可能是應用程序的權限太低,嘗試一下用系統簽名文件給它簽名,然後就OK了。另外,在Android的模擬器上是可以直接申請權限成功的。
    button.setOnClickListener(new View.OnClickListener() {
            int count = 0;
            @Override
            public void onClick(View v) {
               if((count++)%2==0){
                   button.setBackgroundColor(Color.GREEN);
               }else {
                   button.setBackgroundColor(Color.RED);
               }
            }
        });
    Handler myHandler = new Handler();
    Runnable runnable = new Runnable() {
        boolean direct = true;
        @Override
        public void run() {
            Log.v(TAG,"params.x: "+params.x);
            if(direct){
                params.x+=10;
                if(params.x>800){
                    direct = false;
                }
            }else {
                params.x-=10;
                if(params.x<100){
                    direct = true;
                }
            }
            windowManager.updateViewLayout(button,params);
            if(!button.isAttachedToWindow()){
                Log.v(TAG,"not attach to window");
            }else{
                myHandler.postDelayed(this,50);
            }
        }
    };
    public void moveFlowButton(){
        Log.v(TAG,"moveFlowButton");
        myHandler.postDelayed(runnable,500);
    }
   Process: com.konka.flowwindowtest, PID: 19478
               java.lang.IllegalArgumentException: View=android.widget.Button{2553221 VFED..C.. ......I. 0,0-200,200} not attached to window manager
               at android.view.WindowManagerGlobal.findViewLocked(WindowManagerGlobal.java:456)
               at android.view.WindowManagerGlobal.updateViewLayout(WindowManagerGlobal.java:368)
               at android.view.WindowManagerImpl.updateViewLayout(WindowManagerImpl.java:99)
               at com.konka.flowwindowtest.FlowWindowService$1.run(FlowWindowService.java:89)
               at android.os.Handler.handleCallback(Handler.java:751)
               at android.os.Handler.dispatchMessage(Handler.java:95)
               at android.os.Looper.loop(Looper.java:154)
               at android.app.ActivityThread.main(ActivityThread.java:5969)
               at java.lang.reflect.Method.invoke(Native Method)
               at com.android.internal.os.ZygoteInit$MethodAndArgsCaller.run(ZygoteInit.java:801)
               at com.android.internal.os.ZygoteInit.main(ZygoteInit.java:691)
這個問題應該是Service已經銷毀了,但是button還想要更新位置造成的,所以應該在銷毀Service前先取消handler更新button的動畫。
首先定義一個線程退出標志:
Boolean destoryStatus = false;在onDestory中是它為true即可:
        synchronized (this){
            destoryStatus = true;
        }
run方法如下:
    Runnable runnable = new Runnable() {
        boolean direct = true;
        @Override
        public void run() {
            if(!destoryStatus){
                Log.v(TAG,"params.x: "+params.x);
                if(direct){
                    params.x+=10;
                    if(params.x>800){
                        direct = false;
                    }
                }else {
                    params.x-=10;
                    if(params.x<100){
                        direct = true;
                    }
                }
                windowManager.updateViewLayout(button,params);
                myHandler.postDelayed(this,50);
            }
        }
    };
這樣就不會有這個問題了。
 Android 自動完全組件(SocialTokenAutoComplete)—— 一種更友好的方式@某人在社交應用中
public class SocialTokenActivity extends Activity { SocialContactsCompletionVie
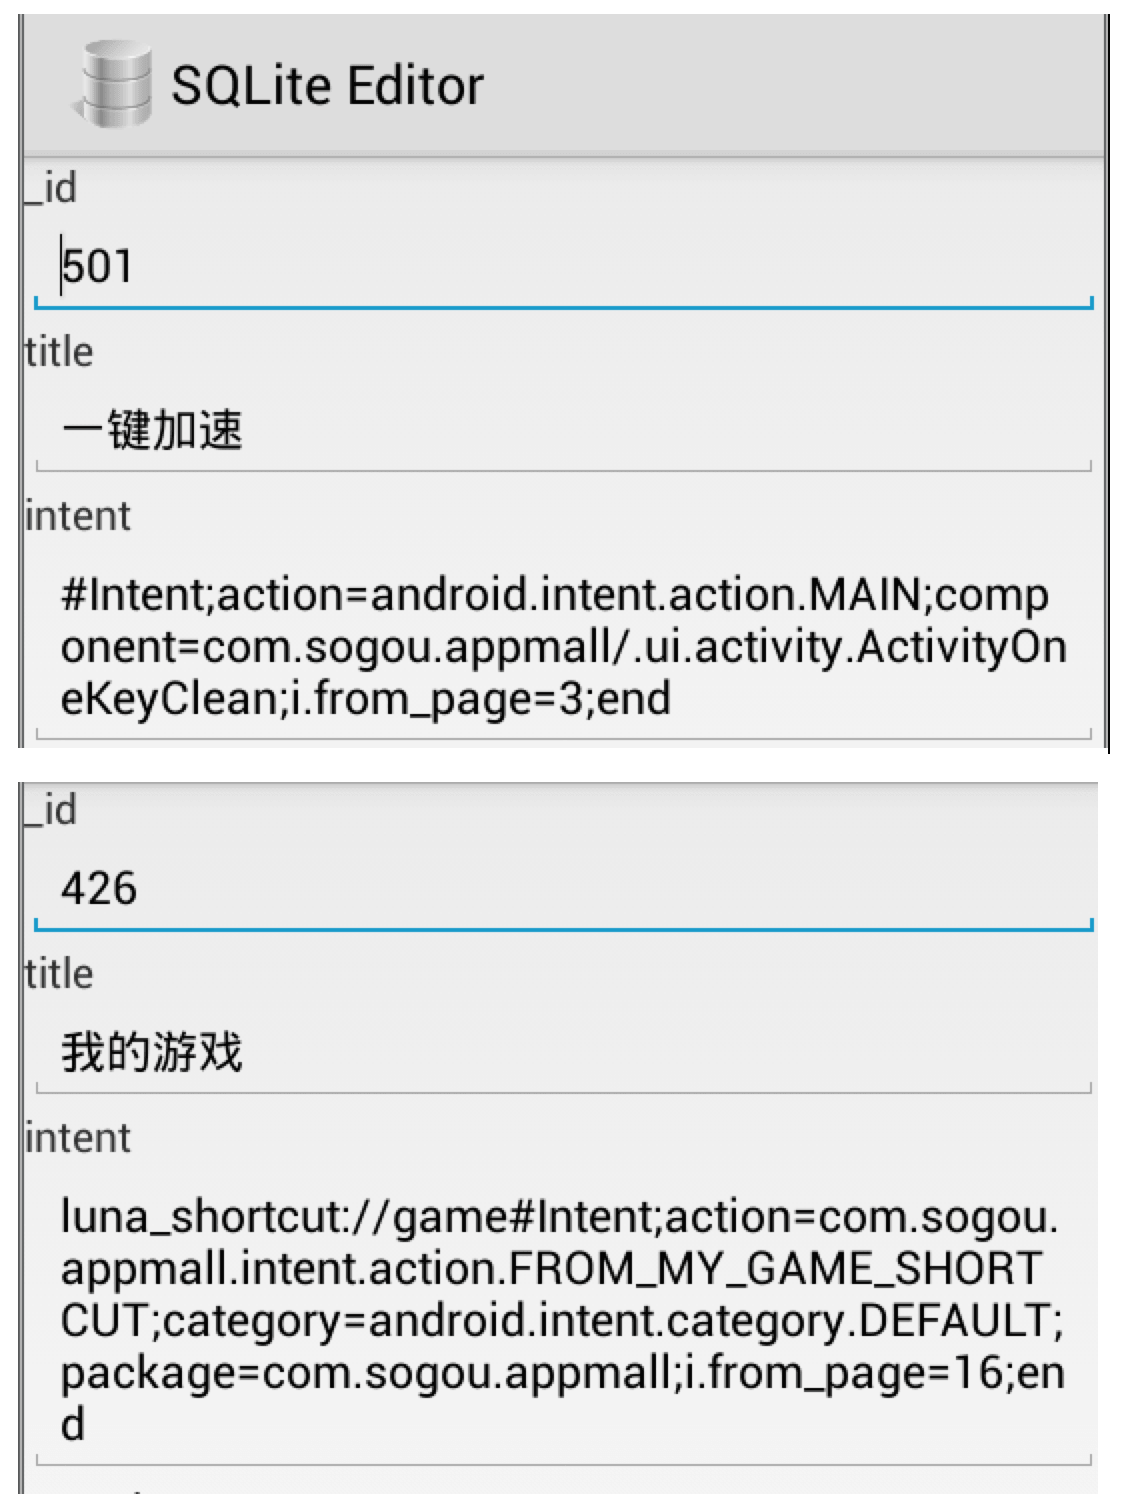 android launcher3桌面快捷方式分析
背景一般情況下,為了讓用戶更方便的打開應用,程序會在桌面上生成一些快捷方式。本來呢,如果是原生的桌面,其實是十分簡單,直接調用系統相關的API就行了。但是眾多的系統廠商以
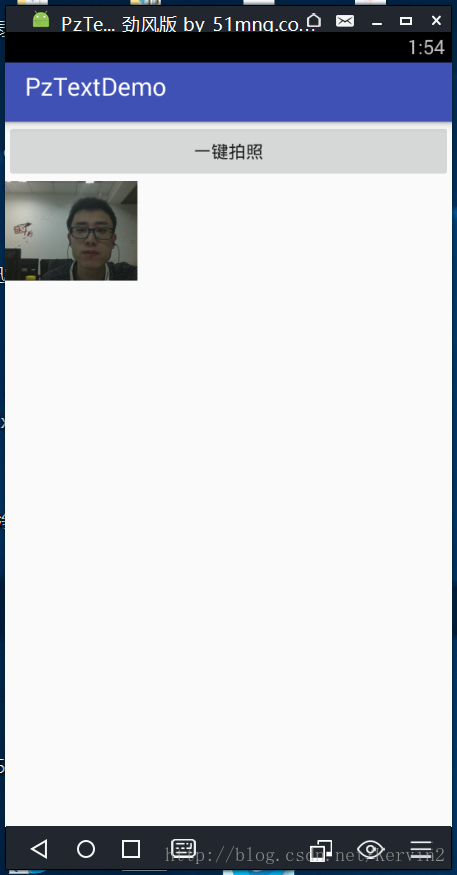 Android使用系統自帶的相機實現一鍵拍照功能
今天分享的是用系統自帶的相機實現一鍵拍照功能。public class MainActivity extends AppCompatActivity {private s
 Android仿微信圖片選擇器
很多項目要用到圖片選擇控件,每次都要寫一大堆邏輯。於是基於圖片選擇組件(PhotoPicker)封裝了一個控件PhotoUploadView。方便簡易,一鍵集成,幾句代碼