編輯:關於Android編程
第三課(第三步):支持以手指觸控的任意點為中心開始縮放
關鍵部分是在縮放的時候不斷進行邊界檢測,防止放大後縮小後出現白邊:
/**
	 * 在縮放的時候進行邊界控制范圍位置控制
	 */

	private void checkBorderAndCenterWhenScale() {
		// TODO Auto-generated method stub
		RectF rect = getMatrixRectF();
		float deltaX = 0;
		float deltaY = 0;

		float width = getWidth();
		float height = getHeight();
		//縮放時進行邊界檢測,放在出現白邊
		if(rect.width() >= width){
			if(rect.left > 0){//處理左邊的空白
				deltaX = -rect.left;
			}
			if(rect.right < width){//處理右邊的空白
				deltaX = (int) (width - rect.right);
			}
		}
		if(rect.height() >= height){
			if(rect.top > 0){
				deltaY = -rect.top;
			}
			if(rect.bottom < height){
				deltaY = height - rect.bottom;
			}
		}
		//如果寬度或高度小於控件的寬或高,則讓其居中
		if(rect.width() < width){
			deltaX = width/2f -rect.right + rect.width()/2f;
		}
		if(rect.height() < height){
			deltaY = height /2f -rect.bottom + rect.height()/2f;
		}
		mScaleMatrix.postTranslate(deltaX, deltaY);

	}
package com.example.viewpagerimage;

import android.content.Context;
import android.graphics.Matrix;
import android.graphics.RectF;
import android.graphics.drawable.Drawable;
import android.util.AttributeSet;
import android.view.MotionEvent;
import android.view.ScaleGestureDetector;
import android.view.ScaleGestureDetector.OnScaleGestureListener;
import android.view.View;
import android.view.View.OnTouchListener;
import android.view.ViewTreeObserver.OnGlobalLayoutListener;
import android.widget.ImageView;

//實現監聽器OnGlobalLayoutListener,監聽圖片是否加載完成
public class MyImageView extends ImageView implements OnGlobalLayoutListener, OnScaleGestureListener,OnTouchListener{

	private boolean mOnce;//判斷是否初始化
	private float mInitScale;//初始化時縮放的值
	private float mMidScale;//雙擊放大到達的值
	private float mMaxScale;//放大的最大值

	private ScaleGestureDetector mScaleGestureDetector;//捕獲用戶多指觸控縮放的比例

	private Matrix mScaleMatrix;
	public MyImageView(Context context, AttributeSet attrs, int defStyleAttr) {
		super(context, attrs, defStyleAttr);
		//init
		mScaleMatrix = new Matrix();
		setScaleType(ScaleType.MATRIX);

		mScaleGestureDetector = new ScaleGestureDetector(context, this);

		setOnTouchListener(this);
		//當圖片加載時,圖片可能很大,也可能很小,需要讓圖片自適應屏幕大小,當圖片太大時自動縮小到屏幕大小,當圖片太小時放大到屏幕大小。

	}

	public MyImageView(Context context, AttributeSet attrs) {
		this(context, attrs,0);
		// TODO Auto-generated constructor stub
	}

	public MyImageView(Context context) {
		this(context,null);
		// TODO Auto-generated constructor stub
	}
	@Override
	protected void onAttachedToWindow() {
		// TODO Auto-generated method stub
		super.onAttachedToWindow();//當View 顯示在屏幕上時調用
		getViewTreeObserver().addOnGlobalLayoutListener(this);//注冊接口
	}
	@SuppressWarnings("deprecation")
	@Override
	protected void onDetachedFromWindow() {
		// TODO Auto-generated method stub
		super.onDetachedFromWindow();//當View從屏幕上移除時調用
		getViewTreeObserver().removeGlobalOnLayoutListener(this);//移除接口
	}
	/**
	 * 獲取ImageView加載完成的圖片
	 */
	@Override
	public void onGlobalLayout() {
		// 全局的布局完成後調用
		if(!mOnce){
			//得到控件的寬和高
			int width = getWidth();
			int height = getHeight();
			//得到我們的圖片以及寬和高
			Drawable d = getDrawable();
			if(d == null)
				return;

			int dw = d.getIntrinsicWidth();
			int dh = d.getIntrinsicHeight();
			float scale = 1.0f;//縮放值
			//如果圖片的寬度大於控件高度,但是寬度小於控件的寬度,將其縮小
			if(dw > width && dh < height){
				scale = width*1.0f/dw;
			}
			else if(dh > height && dw < width){
				scale = height*1.0f /dh;
			}

			else if(dw > width && dh > height){
				scale = Math.min(width*1.0f/dw, height*1.0f/dh);
			}
			else if(dw < width && dh < height){
				scale = Math.min(width *1.0f/dw, height*1.0f/dh);
			}
			/*
			 * 得到初始化時縮放的比例
			 * */

			mInitScale = scale;
			mMaxScale = mInitScale * 4;
			mMidScale = mInitScale * 2;

			//將圖片移動到當前控件的中心
			int dx = getWidth()/2 - dw /2;
			int dy = getHeight()/2 - dh/2;

			mScaleMatrix.postTranslate(dx, dy);//平移
			mScaleMatrix.postScale(mInitScale, mInitScale,width/2,height/2);//縮放,後面兩個參數是縮放的中心點
			setImageMatrix(mScaleMatrix);

			mOnce = true;


		}
	}
	/**
	 * 獲取當前圖片的縮放值
	 * @return
	 */
	public float getScale(){
		float[] values = new float[9];
		mScaleMatrix.getValues(values);
		return values[Matrix.MSCALE_X];

	}
	//縮放的區間,initScale maxScale
	@Override
	public boolean onScale(ScaleGestureDetector detector) {
		// TODO Auto-generated method stub
		float scale = getScale();
		float scaleFactor = detector.getScaleFactor();//得到縮放的值

		if(getDrawable() == null){
			return true;
		}
		//縮放范圍的控制
		if((scale < mMaxScale && scaleFactor > 1.0f) || (scale > mInitScale && scaleFactor < 1.0f)){
			if(scale * scaleFactor < mInitScale){
				scaleFactor = mInitScale / scale;//當手指縮放小於最小值時 ,默認顯示最小的比例
			}
			if(scale * scaleFactor > mMaxScale){//當手指縮放大於於最大值時 ,默認顯示最大的比例
				scale = mMaxScale/scale;
			}
			//縮放,縮放中心是手指觸控的地方
			mScaleMatrix.postScale(scaleFactor, scaleFactor, detector.getFocusX(),detector.getFocusY());
			checkBorderAndCenterWhenScale();

			setImageMatrix(mScaleMatrix);
		}
		return true;//設置完成返回true保證事件能夠進行
	}

	/**
	 * 獲得圖片放大縮小以後的寬和高以及l r t b
	 * @return
	 */
	private RectF getMatrixRectF(){
		Matrix matrix = mScaleMatrix;
		RectF recF = new RectF();
		Drawable d = getDrawable();
		if(d != null){
			recF.set(0, 0, d.getIntrinsicWidth(), d.getIntrinsicHeight());
			matrix.mapRect(recF);
		}
		return recF;
	}
	/**
	 * 在縮放的時候進行邊界控制范圍位置控制
	 */

	private void checkBorderAndCenterWhenScale() {
		// TODO Auto-generated method stub
		RectF rect = getMatrixRectF();
		float deltaX = 0;
		float deltaY = 0;

		float width = getWidth();
		float height = getHeight();
		//縮放時進行邊界檢測,放在出現白邊
		if(rect.width() >= width){
			if(rect.left > 0){//處理左邊的空白
				deltaX = -rect.left;
			}
			if(rect.right < width){//處理右邊的空白
				deltaX = (int) (width - rect.right);
			}
		}
		if(rect.height() >= height){
			if(rect.top > 0){
				deltaY = -rect.top;
			}
			if(rect.bottom < height){
				deltaY = height - rect.bottom;
			}
		}
		//如果寬度或高度小於控件的寬或高,則讓其居中
		if(rect.width() < width){
			deltaX = width/2f -rect.right + rect.width()/2f;
		}
		if(rect.height() < height){
			deltaY = height /2f -rect.bottom + rect.height()/2f;
		}
		mScaleMatrix.postTranslate(deltaX, deltaY);

	}

	@Override
	public boolean onScaleBegin(ScaleGestureDetector detector) {
		// TODO Auto-generated method stub
		return true;//必須返回true
	}

	@Override
	public void onScaleEnd(ScaleGestureDetector detector) {
		// TODO Auto-generated method stub

	}

	@Override
	public boolean onTouch(View v, MotionEvent event) {
		// TODO Auto-generated method stub
		mScaleGestureDetector.onTouchEvent(event);//把event傳遞給mscaleGestureDetector處理
		return true;//必須返true
	}
}


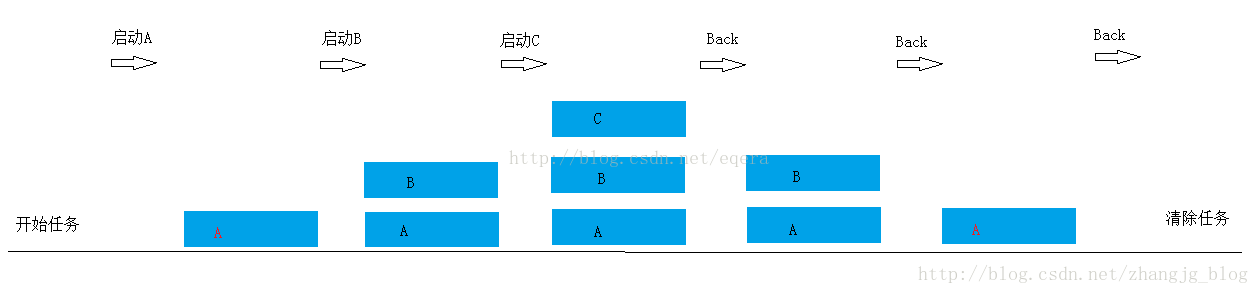 Android中Activity四種啟動模式和taskAffinity屬性詳解
在Android應用開發中,打造良好的用戶體驗是非常重要的。而在用戶體驗中,界面的引導和跳轉是值得深入研究的重要內容。在開發中,與界面跳轉聯系比較緊密的概念是Task(任
 Android中如何優雅地自定義一個View
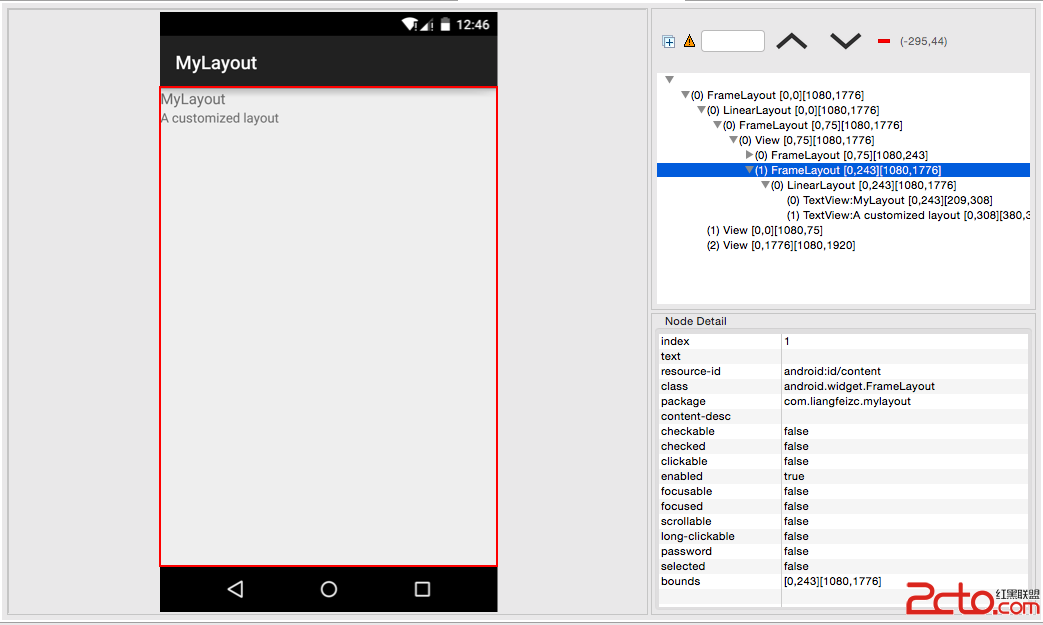
Android中自定義View的實現比較簡單,無非就是繼承父類,然後重載方法,即便如此,在實際編碼中難免會遇到一些坑,我把自己遇到的一些問題和解決方法總結一下,希望對廣大
 Android滑動組件懸浮固定在頂部效果
要想實現的效果是如下:場景:有些時候是內容中間的組件當滑動至頂部的時候固定顯示在頂部。實現的思路:1.目標組件(button)有兩套,放在頂部和內容中間;2.當內容中間的
 Android開發基礎之Worker線程向Main線程發送消息
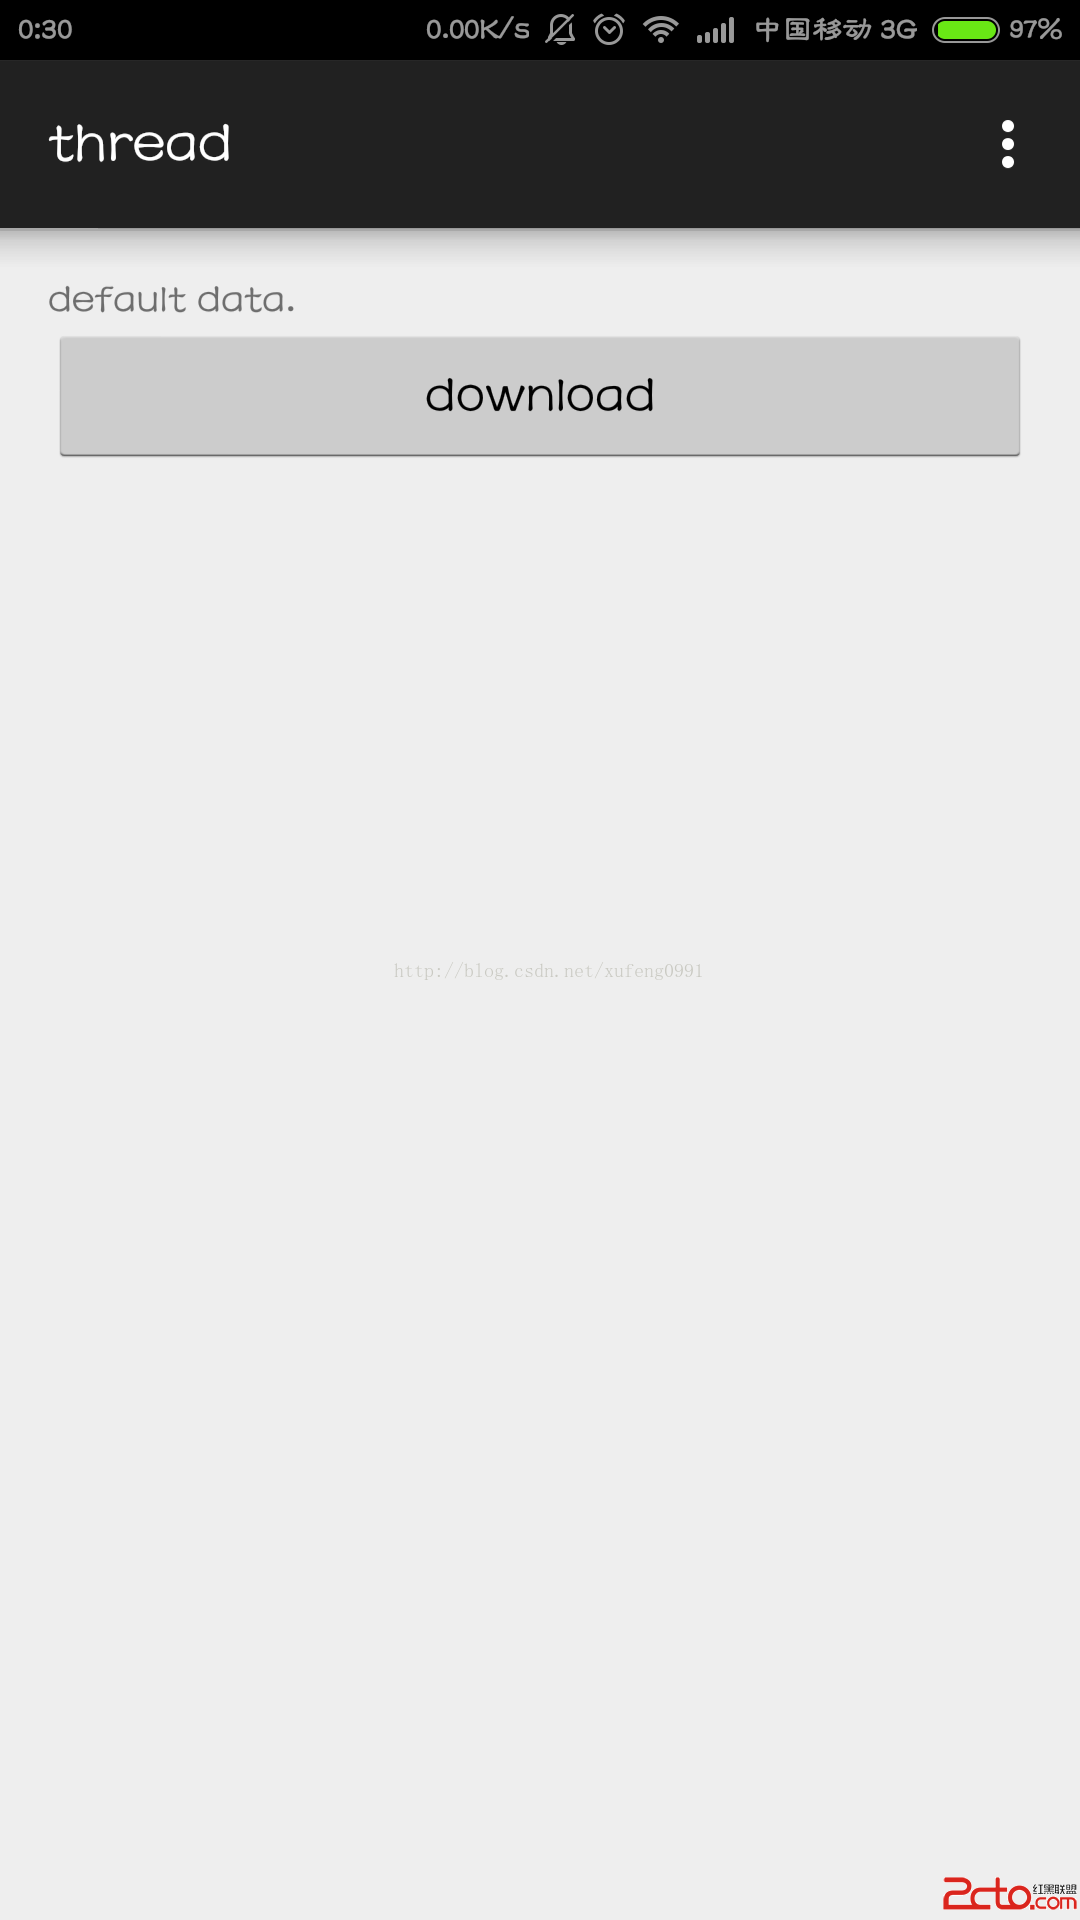
由於Worker線程不能修改UI,所以當在Worker線程中接收到消息之後,需要通知主線程來更新UI。下面是一個下例子: 一 布局 二 代碼&