編輯:關於Android編程
當下很多手機應用都會有一個非常類似的功能,即屏幕的下方顯示一行Tab標簽選項,點擊不同的標簽就可以切換到不同的界面,如以下幾個應用所示:
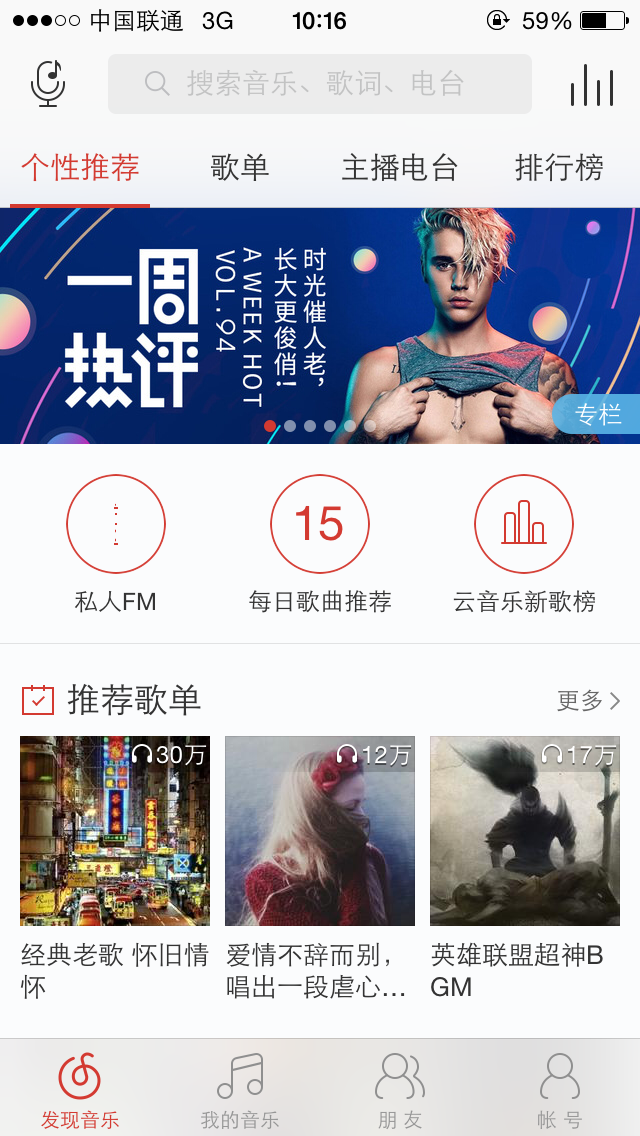
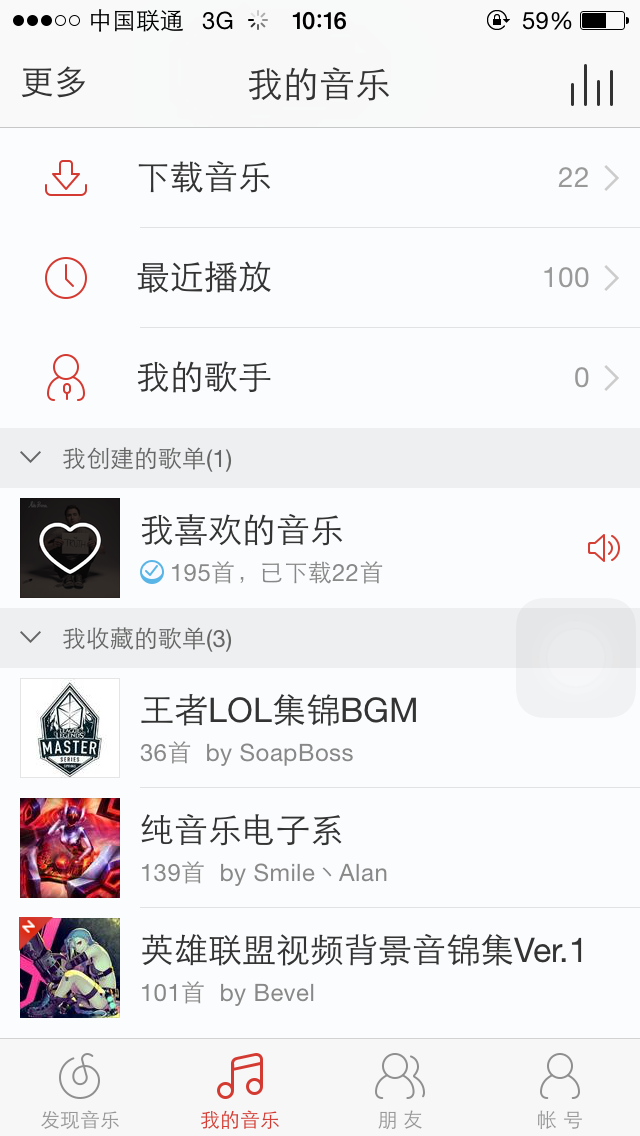
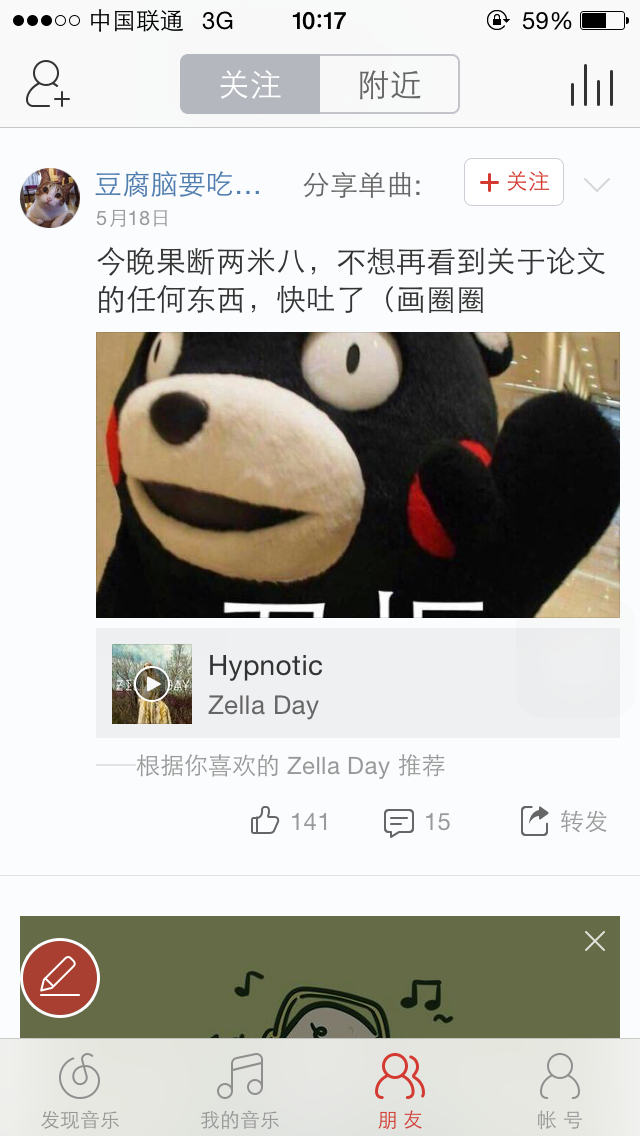
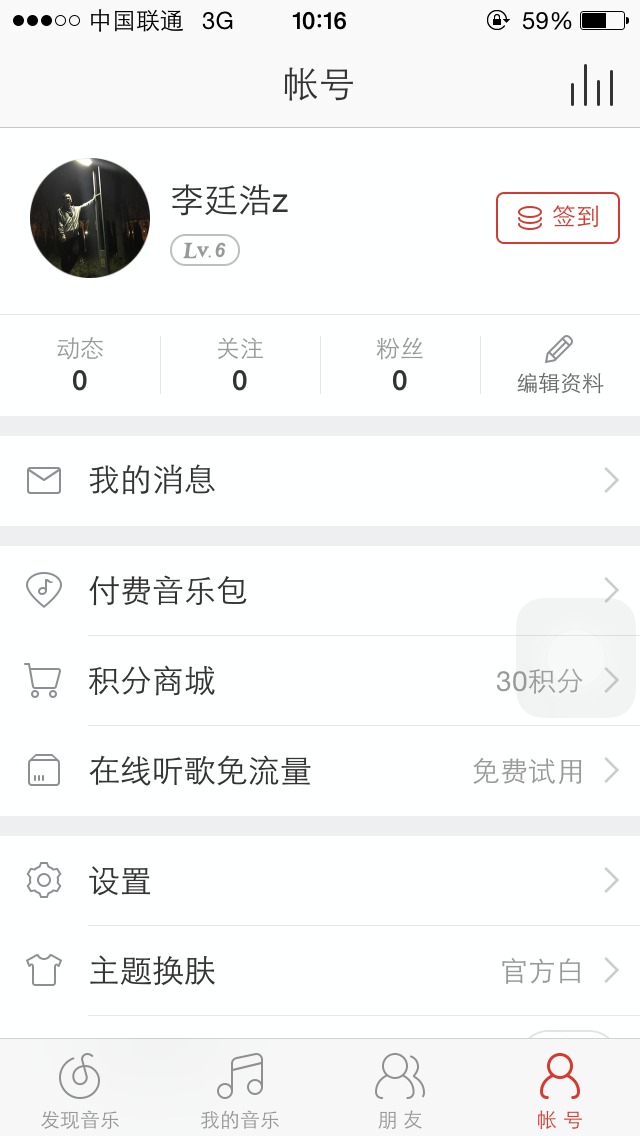
以上底部這四個標簽,每一個分別對應一個Fragment,這種底部標簽式的布局策略真的非常常見,那麼話說回來,這種效果到底是如何的呢?熟悉Android的朋友一定都會知道,很簡單嘛,使用TabHost就OK了!但是殊不知,TabHost並非是那麼的簡單,它的可擴展性非常的差,不能隨意地定制Tab項顯示的內容,而且運行還要依賴於ActivityGroup。ActivityGroup原本主要是用於為每一個TabHost的子項管理一個單獨的Activity,但目前已經被廢棄了。為什麼呢?當然就是因為Fragment的出現了!
下面就開始真正的編程吧!
打開或者新建一個xml文件作為程序的主布局文件,這裡直接采用activity_main.xml作為程序的主布局文件,在裡面加入如下代碼:
    <framelayout android:id="@+id/Content" android:layout_height="0dp" android:layout_weight="1" android:layout_width="match_parent">


    </framelayout>
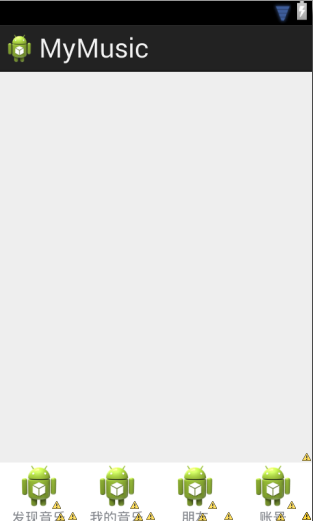
那麼接下來我們要開始實現Fragment和它們的布局了,新建一個discover_music_fragment.xml作為第一個“發現音樂”的界面,代碼如下所示:
這個布局就是在屏幕的正中央顯示一個消息圖標以及一段文字。

public class DiscoverMusicFragment extends Fragment {

	@Override
	public View onCreateView(LayoutInflater inflater, ViewGroup container,
			Bundle savedInstanceState) {
		View discover_music_fragment = inflater.inflate(
				R.layout.discover_music_fragment, container, false);
		return discover_music_fragment;
	}

}
public class MainActivity extends Activity implements OnClickListener {
	/**
	 * 用於展示‘發現音樂’的Fragment
	 */
	private DiscoverMusicFragment discoverMusicFragment;
	/**
	 * 用於展示‘我的音樂’的Fragment
	 */
	private MyMusicFragment myMusicFragment;
	/**
	 * 用於展示‘朋友’的Fragment
	 */
	private FriendsFragment friendsFragment;
	/**
	 * 用於展示‘賬號’的Fragment
	 */
	private AccountFragment accountFragment;
	/**
	 * ‘發現音樂’布局
	 */
	private View discover_music_layout;
	/**
	 * ‘我的音樂’布局
	 */
	private View my_music_layout;
	/**
	 * ‘朋友’布局
	 */
	private View friends_layout;
	/**
	 * ‘賬號’布局
	 */
	private View account_layout;
	/**
	 * 在Tab布局上顯示‘發現音樂’圖標的控件
	 */
	private ImageView discover_music_image;
	/**
	 * 在Tab布局上顯示‘我的音樂’圖標的控件
	 */
	private ImageView my_music_image;
	/**
	 * 在Tab布局上顯示‘朋友’圖標的控件
	 */
	private ImageView friends_image;
	/**
	 * 在Tab布局上顯示‘賬號’圖標的控件
	 */
	private ImageView account_image;
	/**
	 * 在Tab布局上顯示‘發現音樂’標題的控件
	 */
	private TextView discover_music_text;
	/**
	 * 在Tab布局上顯示‘我的音樂’標題的控件
	 */
	private TextView my_music_text;
	/**
	 * 在Tab布局上顯示‘朋友’標題的控件
	 */
	private TextView friends_text;
	/**
	 * 在Tab布局上顯示‘賬號’標題的控件
	 */
	private TextView account_text;
	/**
	 * 用於對Fragment進行管理
	 */
	private FragmentManager fragmentManager;

	/**
	 * ‘我的音樂’界面‘下載音樂’
	 */
	@Override
	protected void onCreate(Bundle savedInstanceState) {
		super.onCreate(savedInstanceState);
		requestWindowFeature(Window.FEATURE_NO_TITLE);
		setContentView(R.layout.activity_main);
		// 初始化布局元素
		initViews();
		fragmentManager = getFragmentManager();
		// 第一次啟動時選中第0個tab
		setTabSelection(0);
	}


	private void initViews() {
		// 四個布局
		discover_music_layout = findViewById(R.id.discover_layout);
		my_music_layout = findViewById(R.id.my_layout);
		friends_layout = findViewById(R.id.friends_layout);
		account_layout = findViewById(R.id.account_layout);

		// 四個圖片
		discover_music_image = (ImageView) findViewById(R.id.discover_image);
		my_music_image = (ImageView) findViewById(R.id.my_image);
		friends_image = (ImageView) findViewById(R.id.friends_image);
		account_image = (ImageView) findViewById(R.id.account_image);

		// 四個標題
		discover_music_text = (TextView) findViewById(R.id.discover_text);
		my_music_text = (TextView) findViewById(R.id.my_text);
		friends_text = (TextView) findViewById(R.id.friends_text);
		account_text = (TextView) findViewById(R.id.account_text);
		// 設置監聽事件
		discover_music_layout.setOnClickListener(this);
		my_music_layout.setOnClickListener(this);
		friends_layout.setOnClickListener(this);
		account_layout.setOnClickListener(this);
	}

	@Override
	public void onClick(View v) {
		switch (v.getId()) {
		case R.id.discover_layout:
			// 當點擊了‘發現音樂’tab時,選中第1個tab
			setTabSelection(0);
			break;
		case R.id.my_layout:
			// 當點擊了‘我的音樂’tab時,選中第2個tab
			setTabSelection(1);
			break;
		case R.id.friends_layout:
			// 當點擊了‘朋友’tab時,選中第3個tab
			setTabSelection(2);
			break;
		case R.id.account_layout:
			// 當點擊了‘賬號’tab時,選中第4個tab
			setTabSelection(3);
			break;
		default:
			break;

		}

	}


	/**
	 * 根據傳入的index參數來設置選中的tab頁。
	 *
	 * @param index
	 *            每個tab頁對應的下標。0表示發現音樂,1表示我的音樂,2表示朋友,3表示賬號。
	 */
	private void setTabSelection(int index) {
		// 每次選中之前要清除掉上次選中的狀態
		clearSelection();
		// 開啟一個Fragment事務
		FragmentTransaction fragmentTransaction = fragmentManager
				.beginTransaction();
		// 先隱藏掉所有的Fragment,以防止有多個Fragment顯示在界面上的情況
		HideFragments(fragmentTransaction);
		switch (index) {
		case 0:// 當點擊了‘發現音樂’時,改變文字的顏色
			discover_music_text.setTextColor(Color.BLUE);
			if (discoverMusicFragment == null) {
				// 如果discoverMusicFragment為空,則創建一個並添加到界面上
				discoverMusicFragment = new DiscoverMusicFragment();
				fragmentTransaction.add(R.id.Content, discoverMusicFragment);
			} else {
				// 如果discoverMusicFragment不為空,則將其顯示出來
				fragmentTransaction.show(discoverMusicFragment);
			}
			break;
		case 1:// 當點擊了‘我的音樂’時,改變文字的顏色
			my_music_text.setTextColor(Color.BLUE);
			if (myMusicFragment == null) {
				// 如果myMusicFragment為空,則創建一個並添加到界面上
				myMusicFragment = new MyMusicFragment();
				fragmentTransaction.add(R.id.Content, myMusicFragment);
			} else {
				// 如果myMusicFragment不為空,則將其顯示出來
				fragmentTransaction.show(myMusicFragment);
			}
			break;
		case 2:// 當點擊了‘朋友’時,改變文字的顏色
			friends_text.setTextColor(Color.BLUE);
			if (friendsFragment == null) {
				// 如果friendsFragment為空,則創建一個並添加到界面上
				friendsFragment = new FriendsFragment();
				fragmentTransaction.add(R.id.Content, friendsFragment);
			} else {
				// 如果friendsFragment不為空,則將其顯示出來
				fragmentTransaction.show(friendsFragment);
			}
			break;
		case 3:// 當點擊了‘賬號’時,改變文字的顏色
			account_text.setTextColor(Color.BLUE);
			if (accountFragment == null) {
				// 如果accountFragment為空,則創建一個並添加到界面上
				accountFragment = new AccountFragment();
				fragmentTransaction.add(R.id.Content, accountFragment);
			} else {
				// 如果accountFragment不為空,則將其顯示出來
				fragmentTransaction.show(accountFragment);
			}
			break;
		default:
			break;
		}
		fragmentTransaction.commit();
	}

	/**
	 * 將所有的Fragment都設置為隱藏狀態
	 *
	 * @param fragmentTransaction
	 *            用於對Fragment執行操作的事務
	 */
	private void HideFragments(FragmentTransaction fragmentTransaction) {
		if (discoverMusicFragment != null) {
			fragmentTransaction.hide(discoverMusicFragment);
		}
		if (myMusicFragment != null) {
			fragmentTransaction.hide(myMusicFragment);
		}
		if (friendsFragment != null) {
			fragmentTransaction.hide(friendsFragment);
		}
		if (accountFragment != null) {
			fragmentTransaction.hide(accountFragment);
		}
	}

	/**
	 * 清除掉所有選中狀態
	 */
	private void clearSelection() {
		discover_music_text.setTextColor(Color.parseColor("#82858b"));
		my_music_text.setTextColor(Color.parseColor("#82858b"));
		friends_text.setTextColor(Color.parseColor("#82858b"));
		account_text.setTextColor(Color.parseColor("#82858b"));
	}

	@Override
	public boolean onCreateOptionsMenu(Menu menu) {
		// Inflate the menu; this adds items to the action bar if it is present.
		getMenuInflater().inflate(R.menu.main, menu);
		return true;
	}

}
下面我再帶大家簡單梳理一遍。在onCreate()方法中先是調用了initViews()來獲取每個控件的實例,並給相應的控件設置好點擊事件,然後調用setTabSelection()方法設置默認的選中項,這裡傳入的0說明默認選中第1個Tab項。
那麼setTabSelection()方法中又是如何處理的呢?可以看到,首先第一步是調用clearSelection()方法來清理掉之前的選中狀態,然後開啟一個Fragment事務,並隱藏掉所有的Fragment,以防止有多個Fragment顯示在界面上。接下來根據傳入的index參數判斷出選中的是哪一個Tab項,並改變該Tab項的圖標和文字顏色,然後將相應的Fragment添加到界面上。這裡注意一個細節,我們添加Fragment的時候並沒有使用replace()方法,而是會先判斷一下該Fragment是否為空,如果是空的則調用add()方法添加一個進來,如果不是空的則直接調用show()方法顯示出來即可。那麼為什麼沒有使用replace()方法呢?這是因為replace()方法會將被替換掉的那個Fragment徹底地移除掉,該Fragment的生命周期就結束了。當再次點擊剛才那個Tab項的時候,就會讓該Fragment的生命周期重新開始,onCreate()、onCreateView()等方法都會重新執行一遍。這顯然不是我們想要的,也和ActivityGroup的工作原理不符,因此最好的解決方案就是使用hide()和show()方法來隱藏和顯示Fragment,這就不會讓Fragment的生命周期重走一遍了。
設置完默認選中項後,我們當然還可以通過點擊Tab項來自由地切換界面,這就會進入到onClick()方法中。onClick()方法中的邏輯判斷非常簡單,當點擊了消息標簽時就會選中第1個tab項,點擊聯系人標簽時就會選中第2個tab項,點擊動態標簽時就會選中第3個tab項,點擊設置標簽時就會選中第4個tab項。都是通過調用setTabSelection()方法來完成的,只是傳入了不同的參數。
好了,這樣我們就將全部的代碼都編寫完成了。
大家趕緊去試一下吧!
還有一點,這個效果在橫屏的時候也可以的哦!
好了,今天的講解到此結束,有疑問的朋友請在下面留言!謝謝!
 Android自定義ViewGroup實戰-----流式布局
本文是參考了鴻神之後的文章之後做的一些修改與總結,添加了一些自己的筆記,增加對自定義ViewGroup的理解。文章後面會給出原文地址。首先,什麼是流式布局(FlowLay
 Android 中的SurfaceTexture,TextureView, GLsurfaceview的區別與聯系詳解
SurfaceView, GLSurfaceView, SurfaceTexture和TextureView是Android當中名字比較繞,關系又比較密切的幾個類。本文基
 升級安卓開發環境到Android Studio和Genymotion
2014新年第一天,全面升級安卓開發環境。主要做兩件事:1. 把IDE從eclipse轉到Android Studio(又去掉了一個與IBM Rational的聯系,多少
 Android View 事件分發機制源碼詳解(View篇)
前言在Android View 事件分發機制源碼詳解(ViewGroup篇)一文中,主要對ViewGroup#dispatchTouchEvent的源碼做了相應的解析,其