編輯:關於Android編程
首先需要做的是實現幾個頁面的跳轉,既類似微信的點擊按鈕,切換頁面。
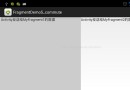
話不多說,這是一個簡單的頁面切換的Demo,先貼幾張實現的效果:
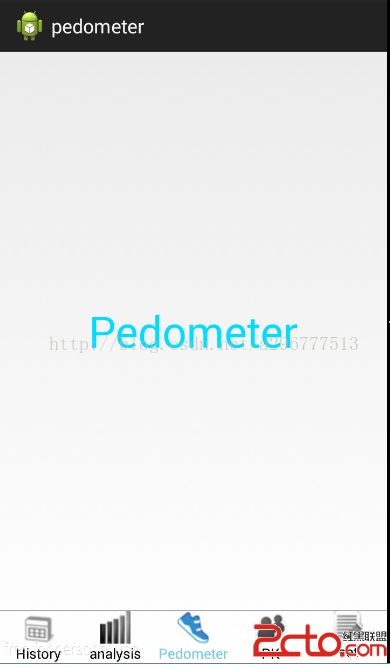

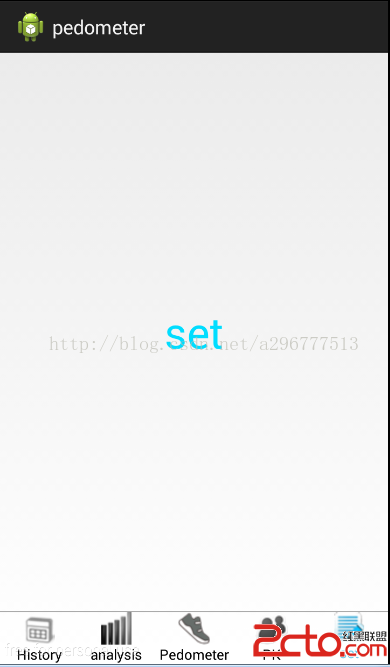
圖片的底部是5個RadioButton,用來進行頁面之間的切換。剩下的部分是一個LinearLayout的布局,用來鑲嵌5個Fragment(碎片)的頁面。
一共用到5個類:MainActivity、MyAdapter、FragmentHistory、FragmentAnalysis、FragmentPedometer、FragmentPK、FragmentSet
MainActivity的主要代碼如下:
package com.example.changepage1;

import java.util.ArrayList;
import java.util.List;
import android.os.Bundle;
import android.support.v4.app.Fragment;
import android.support.v4.app.FragmentActivity;
import android.widget.RadioGroup;

public class MainActivity extends FragmentActivity {
	private RadioGroup rg;
	private List fragments;

	@Override
	protected void onCreate(Bundle savedInstanceState) {
		super.onCreate(savedInstanceState);
		setContentView(R.layout.page_mian);
		rg = (RadioGroup) findViewById(R.id.radioGroup);//實例化radiogroup
		fragments = new ArrayList();

		//分別添加5個fragment
		fragments.add(new FragmentHistory());
		fragments.add(new FragmentAnalysis());
		fragments.add(new FragmentPedometer());
		fragments.add(new FragmentPK());
		fragments.add(new FragmentSet());
		new MyAdapter(this, fragments, R.id.Fragment, rg);//設置適配器

	}

}
package com.example.changepage1;
import java.util.List;
import android.support.v4.app.Fragment;
import android.support.v4.app.FragmentActivity;
import android.support.v4.app.FragmentTransaction;
import android.widget.RadioGroup;
import android.widget.RadioGroup.OnCheckedChangeListener;
/**
* 這是自己寫的一個適配器
*
* @author 李垭超 Date: 2015-1-2 Time: 下午3點
*/
public class MyAdapter implements OnCheckedChangeListener {
private List fragments; // 一個tab頁面對應一個Fragment
private RadioGroup rgs; // 用於切換tab
private FragmentActivity fragmentActivity; // Fragment所屬的Activity
private int fragmentContentId; // Activity中所要被替換的區域的id
private int currentTab = 2; // 當前Tab頁面索引
public MyAdapter(FragmentActivity fragmentActivity,
List fragments, int fragmentContentId, RadioGroup rgs) {
this.fragments = fragments;
this.rgs = rgs;
this.fragmentActivity = fragmentActivity;
this.fragmentContentId = fragmentContentId;
// 默認顯示第一頁
FragmentTransaction ft = fragmentActivity.getSupportFragmentManager()
.beginTransaction();
ft.add(fragmentContentId, fragments.get(2));
ft.commit();
this.rgs.setOnCheckedChangeListener(this);
}
/**
* 監聽radiobutton改變時間,當選擇了不同的radiobutton會出發這個函數
*/
public void onCheckedChanged(RadioGroup group, int checkedId) {
for (int i = 0; i < rgs.getChildCount(); i++) {
if (rgs.getChildAt(i).getId() == checkedId) {
Fragment fragment = fragments.get(i);
FragmentTransaction ft = obtainFragmentTransaction(i);
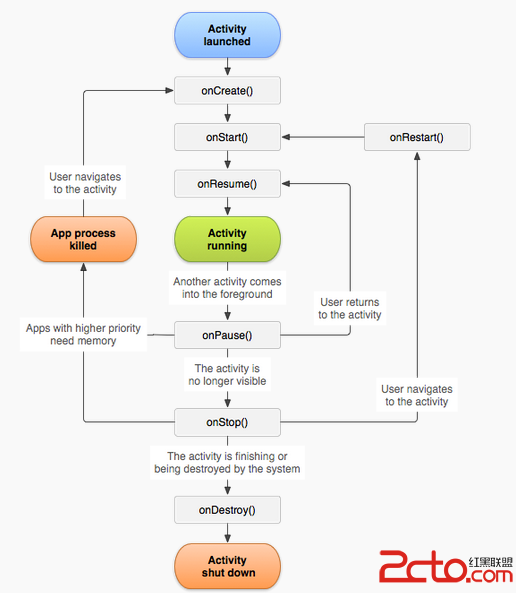
getCurrentFragment().onPause(); // 暫停當前tab
if (fragment.isAdded()) {
fragment.onResume(); // 啟動目標tab的onResume()
} else {
ft.add(fragmentContentId, fragment);
}
showTab(i); // 顯示目標tab
ft.commit();
}
}
}
public Fragment getCurrentFragment() {
return fragments.get(currentTab);
}
private void showTab(int idx) {
for (int i = 0; i < fragments.size(); i++) {
Fragment fragment = fragments.get(i);
FragmentTransaction ft = obtainFragmentTransaction(idx);
if (idx == i) {
ft.show(fragment);
} else {
ft.hide(fragment);
}
ft.commit();
}
currentTab = idx; // 更新目標tab為當前tab
}
private FragmentTransaction obtainFragmentTransaction(int index) {
FragmentTransaction ft = fragmentActivity.getSupportFragmentManager()
.beginTransaction();
// 設置切換動畫
if (index > currentTab) {
ft.setCustomAnimations(R.anim.slide_left_in, R.anim.slide_left_out);
} else {
ft.setCustomAnimations(R.anim.slide_right_in,
R.anim.slide_right_out);
}
return ft;
}
}
package com.example.changepage1;

import android.os.Bundle;
import android.support.v4.app.Fragment;
import android.view.LayoutInflater;
import android.view.View;
import android.view.ViewGroup;

/**
 * 這是分析七天步數的碎片
 * Author: 李垭超   email:296777513@qq.com
 * Date: 2015-1-2
 * Time: 下午2:39
 */
public class FragmentAnalysis extends Fragment{
	private View view;

	@Override
	public View onCreateView(LayoutInflater inflater, ViewGroup container,
			Bundle savedInstanceState) {
		view = inflater.inflate(R.layout.analysis, container, false);
		return view;
	}

}
package com.example.changepage1;

import android.os.Bundle;
import android.support.v4.app.Fragment;
import android.view.LayoutInflater;
import android.view.View;
import android.view.ViewGroup;

/**
 * 這是歷史記錄的碎片
 * Author: 李垭超   email:296777513@qq.com
 * Date: 2015-1-2
 * Time: 下午2:39
 */
public class FragmentHistory extends Fragment{
	private View view;

	@Override
	public View onCreateView(LayoutInflater inflater, ViewGroup container,
			Bundle savedInstanceState) {
		view = inflater.inflate(R.layout.history, container, false);
		return view;
	}

}
package com.example.changepage1;

import android.os.Bundle;
import android.support.v4.app.Fragment;
import android.view.LayoutInflater;
import android.view.View;
import android.view.ViewGroup;

/**
 * 這是記步的碎片
 * Author: 李垭超   email:296777513@qq.com
 * Date: 2015-1-2
 * Time: 下午2:39
 */
public class FragmentPedometer extends Fragment{
	private View view;

	@Override
	public View onCreateView(LayoutInflater inflater, ViewGroup container,
			Bundle savedInstanceState) {
		view = inflater.inflate(R.layout.pedometer, container, false);
		return view;
	}

}
package com.example.changepage1;

import android.os.Bundle;
import android.support.v4.app.Fragment;
import android.view.LayoutInflater;
import android.view.View;
import android.view.ViewGroup;

/**
 * 這是記步的碎片
 * Author: 李垭超   email:296777513@qq.com
 * Date: 2015-1-2
 * Time: 下午2:39
 */
public class FragmentPK extends Fragment{
	private View view;

	@Override
	public View onCreateView(LayoutInflater inflater, ViewGroup container,
			Bundle savedInstanceState) {
		view = inflater.inflate(R.layout.pk, container, false);
		return view;
	}

}
package com.example.changepage1;

import android.os.Bundle;
import android.support.v4.app.Fragment;
import android.view.LayoutInflater;
import android.view.View;
import android.view.ViewGroup;

/**
 * 這是設置的碎片
 * Author: 李垭超   email:296777513@qq.com
 * Date: 2015-1-2
 * Time: 下午2:39
 */
public class FragmentSet extends Fragment{
	private View view;

	@Override
	public View onCreateView(LayoutInflater inflater, ViewGroup container,
			Bundle savedInstanceState) {
		view = inflater.inflate(R.layout.set, container, false);
		return view;
	}

}
 AndroidASD完全解析07之CoordinatorLayout
前面我們簡單的介紹過CoordinatorLayout這個控件,這一篇我們詳細地介紹這個ASD庫中最重要的控件。概述我們在NestedScrollView這個控件中有設置
 導入工程到Android Studio時出現Errorr HTTP/1.1 400 Bad Request
導入工程到Android Studio時,gradle出現如下錯誤。Error:Failed to complete Gradle execution.Cause:Una
 Android Fragment與Activity之間的數據交換(Fragment從Activity獲取數據)
Fragment與Activity之間的數據交換,大體上包括三種: 一、Fragment從Activity獲取數據(本文章只介紹第一種); 二、Activity從Frag
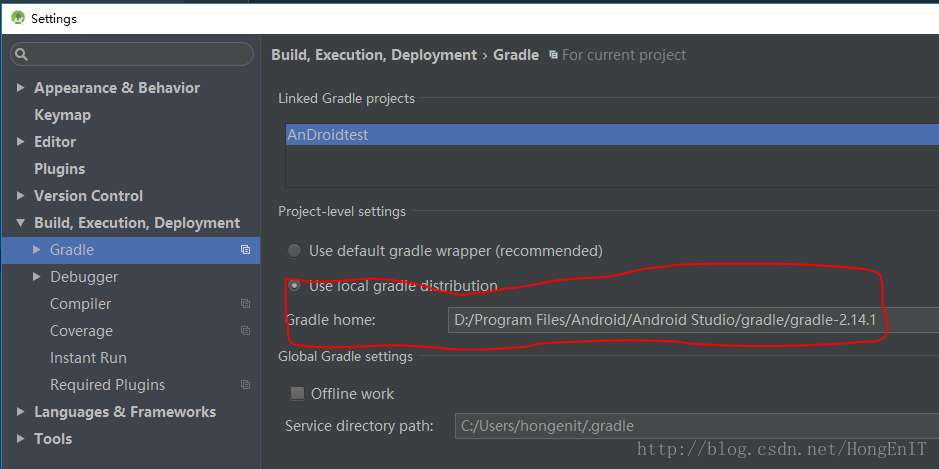
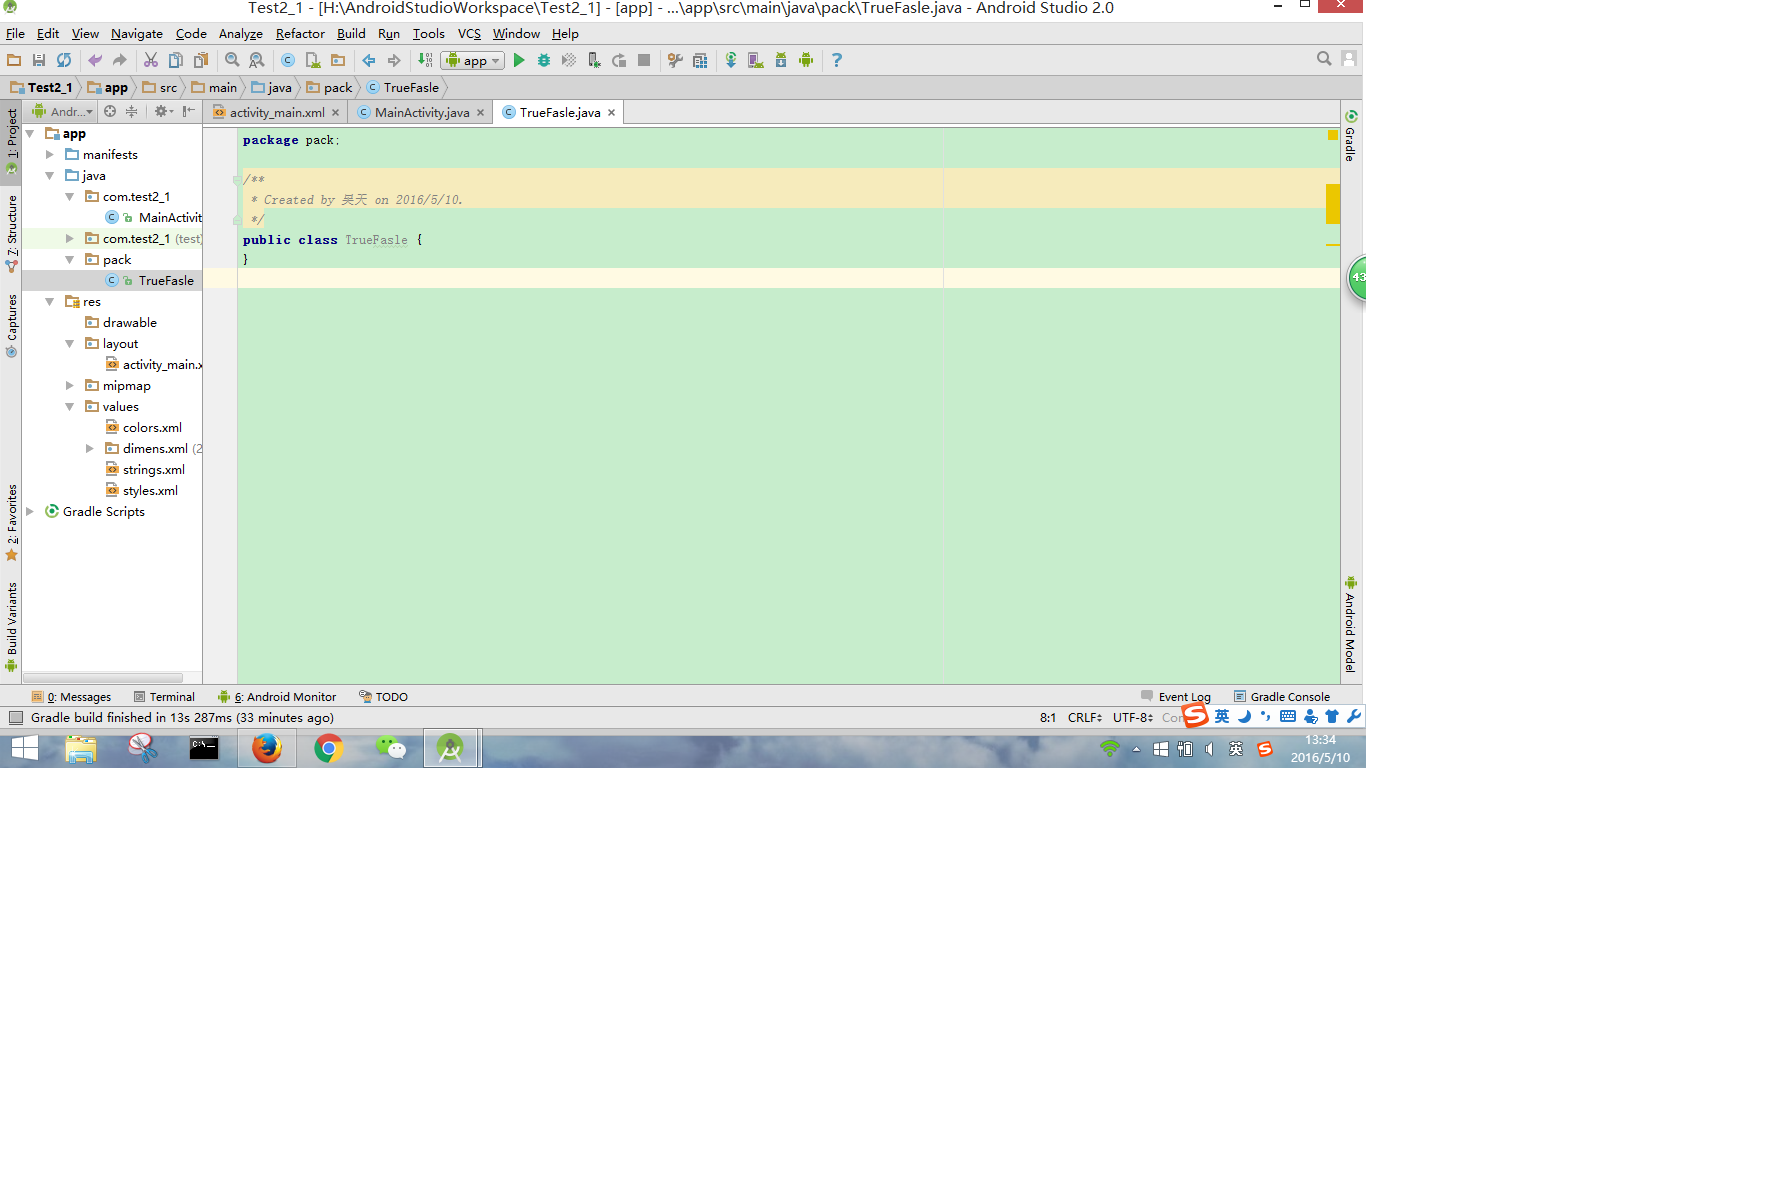 Android Studio使用
在Eclipse完成上一個APP,決定轉到Studio2.0來。 這次主要進行的設置是 1、代碼區背景顏色的更改 2、注釋、代碼自動補全快捷鍵設定 3、工具欄自定