編輯:關於Android編程
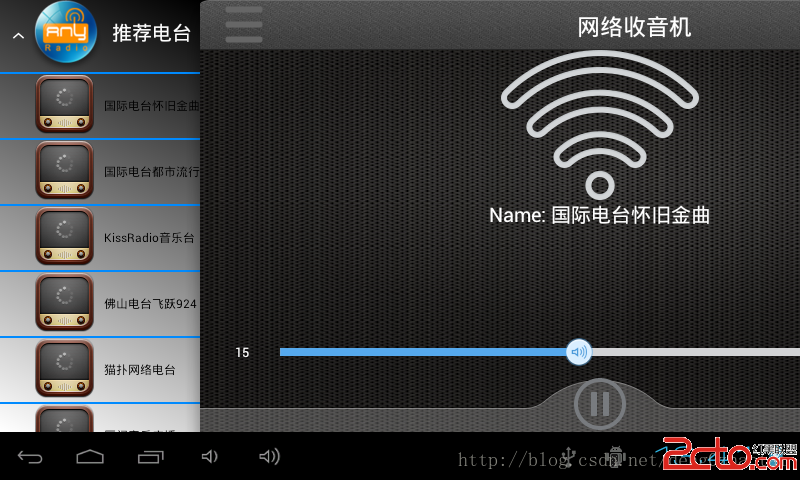
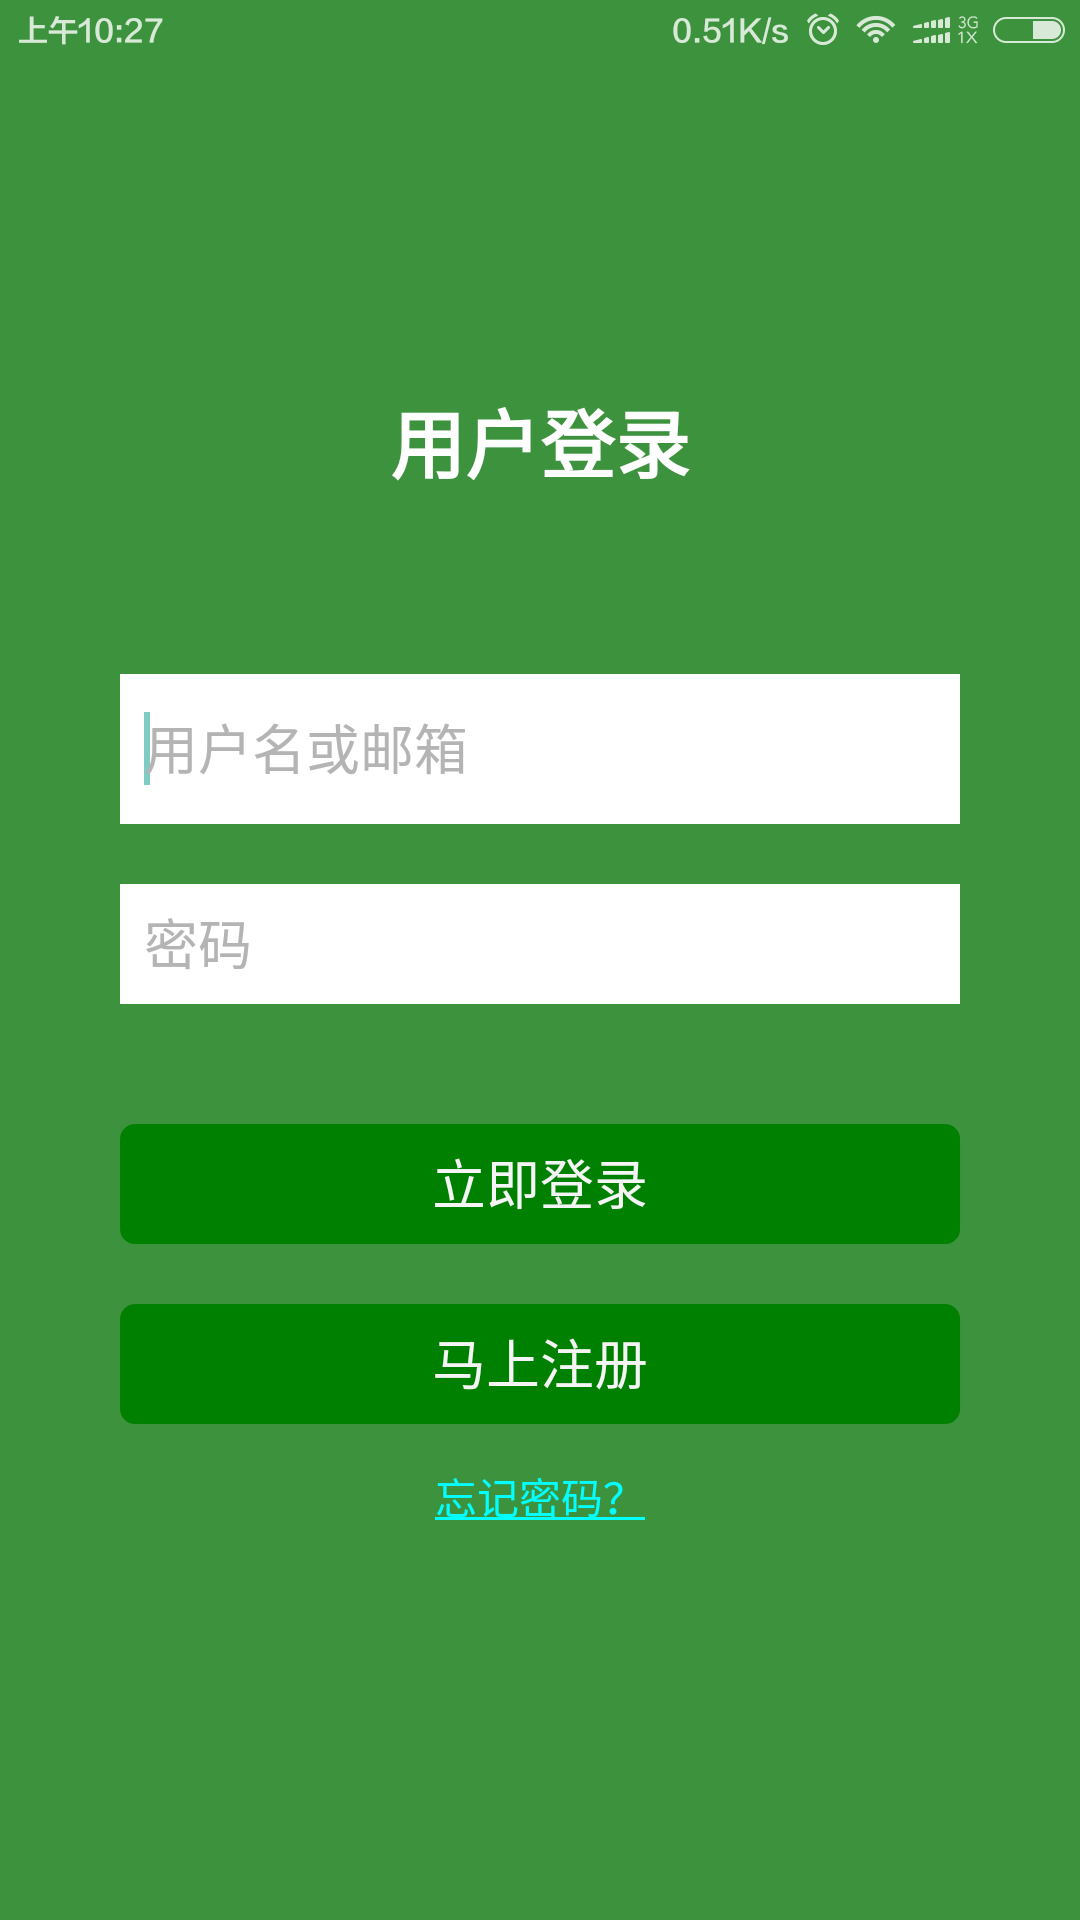
在前面提到Android網絡收音機--使用Vitamio解碼(一)實現了播放流媒體文件,但只能播放一次,在這裡可以隨機點擊左邊的menu來播放,但Vitamio還是不是很穩定,有的uri已經過期無法播放了,我下載了一個PC版的網絡收音機來對比,如果PC上能播放,在這裡也是能播放的,使用了網上的一些圖片,先看下修改後的界面
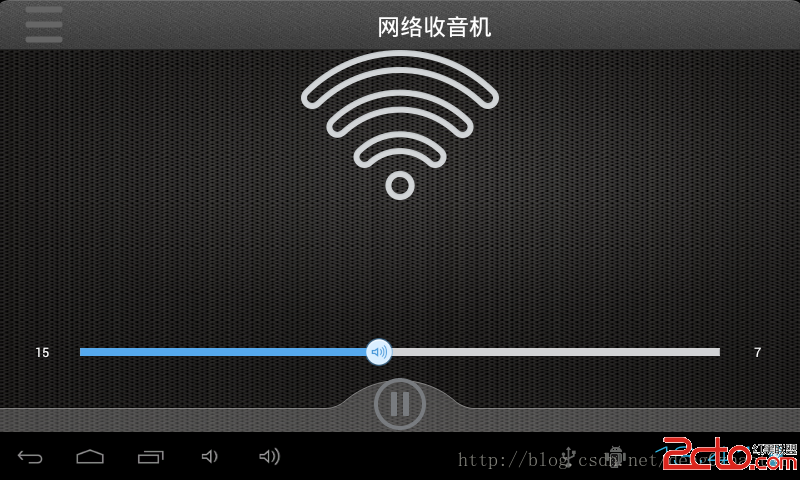
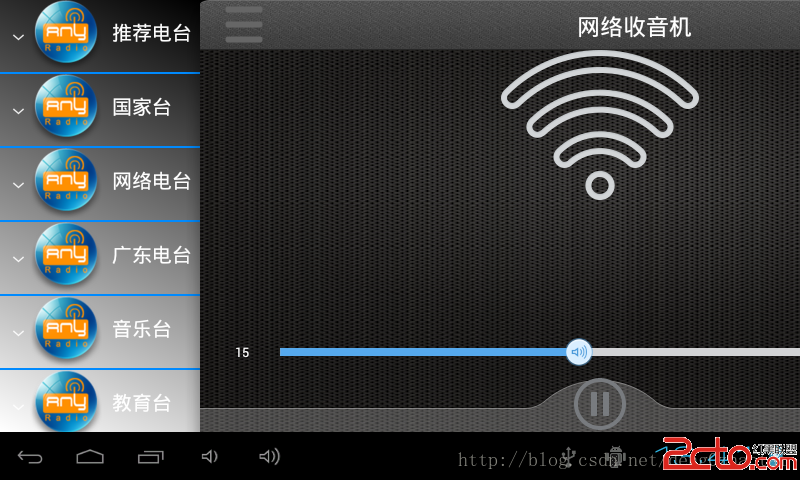
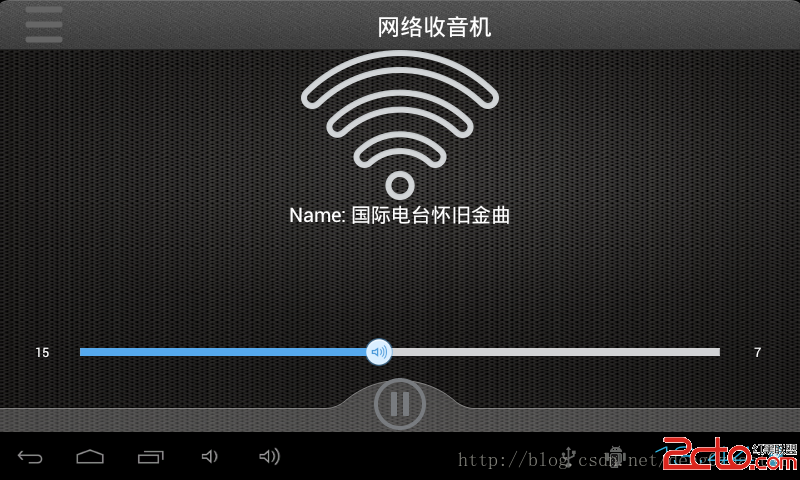
由於當前沒有網絡,所以只顯示了Name
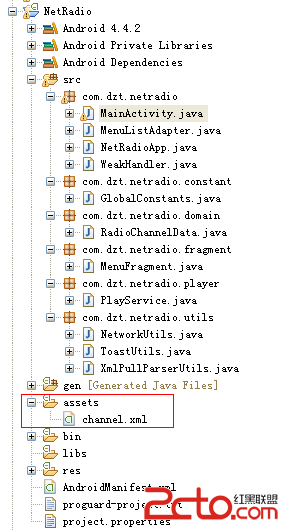
程序目錄結構
關鍵代碼選擇一個流媒體播放的流程
private void playSelectItem(String url) {
		if (mPlayer == null)
			vplayerInit(false);
		mPlayer.reset();
		Uri uri = Uri.parse(url);
		try {
			mPlayer.setDataSource(PlayService.this, uri); // 設置流媒體的數據源
			mPlayer.prepareAsync(); // 需要緩沖的不能使用prepare是阻塞的,prepareAsync是異步
		} catch (Exception e) {
			// TODO: handle exception
		}

		GlobalConstants.print_i(PlayService, playSelectItem url =  + url);
	}

private void vplayerInit(boolean isHWCodec) {
		try {
			mPlayer = new MediaPlayer(this.getApplicationContext(), isHWCodec);// 播放流媒體的對象
			mPlayer.setOnBufferingUpdateListener(this); // 在網絡視頻流緩沖變化時調用
			mPlayer.setOnCompletionListener(this); // 視頻播放完成後調用
			mPlayer.setOnPreparedListener(this); // 在視頻預處理完成後調用
			mPlayer.setOnErrorListener(this); // 在異步操作調用過程中發生錯誤時調用。例如視頻打開失敗
			mPlayer.setOnInfoListener(this); // 在有警告或錯誤信息時調用。例如:開始緩沖、緩沖結束、下載速度變化
		} catch (Exception e) {
			// TODO: handle exception
		}
	}
在這裡也處理了來電的廣播
/**
	 * 處理來電廣播
	 *
	 * @author Administrator
	 *
	 */
	class PhoneStateReceiver extends BroadcastReceiver {

		@Override
		public void onReceive(Context context, Intent intent) {
			// TODO Auto-generated method stub
			final String action = intent.getAction();

			if (action
					.equalsIgnoreCase(TelephonyManager.ACTION_PHONE_STATE_CHANGED)) {
				final String state = intent
						.getStringExtra(TelephonyManager.EXTRA_STATE);
				GlobalConstants.print_i(PhoneStateReceiver,
						onReceive state =  + state);
				if (state
						.equalsIgnoreCase(TelephonyManager.EXTRA_STATE_RINGING)
						|| state.equalsIgnoreCase(TelephonyManager.EXTRA_STATE_OFFHOOK)) {
					// 接聽會收到EXTRA_STATE_OFFHOOK
					pause();
				} else if (state
						.equalsIgnoreCase(TelephonyManager.EXTRA_STATE_IDLE)) {
					// 掛斷會收到EXTRA_STATE_IDLE
					startPlay();
				}
			}
		}
	}
監聽網絡狀態改變,如果沒有網絡,會顯示一個Wifi的圖標
class ConnectionChangeReceiver extends BroadcastReceiver {

		@Override
		public void onReceive(Context context, Intent intent) {
			// TODO Auto-generated method stub
			final String action = intent.getAction();
			if (action.equalsIgnoreCase(CONNECTIVITY_CHANGE_ACTION)) {
				State wifiState = null;
				State mobileState = null;
				ConnectivityManager cm = (ConnectivityManager) context
						.getSystemService(Context.CONNECTIVITY_SERVICE);
				wifiState = cm.getNetworkInfo(ConnectivityManager.TYPE_WIFI)
						.getState();
				mobileState = cm
						.getNetworkInfo(ConnectivityManager.TYPE_MOBILE)
						.getState();
				if (wifiState != null && mobileState != null
						&& State.CONNECTED != wifiState
						&& State.CONNECTED == mobileState) {
					// 手機網絡連接成功
					ToastUtils.show(getApplicationContext(), 已連接到網絡);
					mIvIcon.setVisibility(View.VISIBLE);
					mIvWifi.setVisibility(View.GONE);
				} else if (wifiState != null && mobileState != null
						&& State.CONNECTED != wifiState
						&& State.CONNECTED != mobileState) {
					// 手機沒有任何的網絡
					ToastUtils.show(getApplicationContext(), 當前網絡不可用);
					mIvIcon.setVisibility(View.GONE);
					mIvWifi.setVisibility(View.VISIBLE);
				} else if (wifiState != null && State.CONNECTED == wifiState) {
					// 無線網絡連接成功
					ToastUtils.show(getApplicationContext(), 已連接到網絡);
					mIvIcon.setVisibility(View.VISIBLE);
					mIvWifi.setVisibility(View.GONE);
				}
			}
		}
	}
 安卓開發 第六篇 我的安卓應用架構設計-----BaseActivity類
BaseActivity是項目中所有activity的基類,含有一些公共的屬性和方法,同時控制toolbar的顯示,以及其他一些功能。。。來看源碼:/** * BaseA
 Android 新手引導蒙層效果實現代碼示例
先上效果圖:這個效果一開始我是想直接讓UI給個切圖,後來發現這樣不行,適配很差,達不到效果。所以就自己動手寫代碼,其實思路也很簡單:在這個布局的父布局上面再手動添加一個v
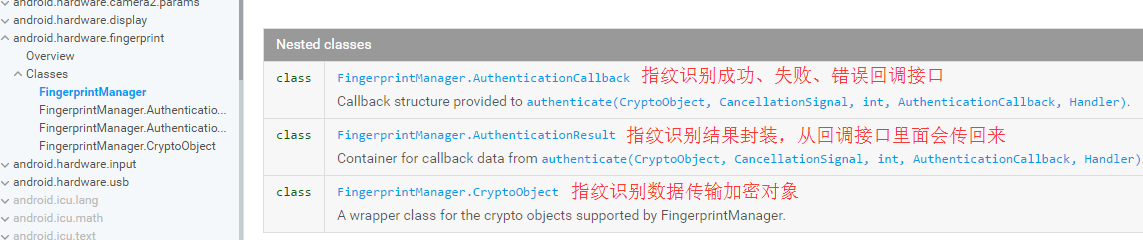 Android指紋識別功能深入淺出分析到實戰(6.0以下系統解決方案)
指紋識別這個名詞聽起來並不陌生,但是實際開發過程中用得並不多。Google從Android6.0(api23)開始才提供標准指紋識別支持,並對外提供指紋識別相關的接口。本
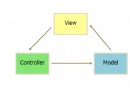 框架模式MVP在Android中的使用
前一篇文章中學習了MVC框架模式在Android中的使用,不了解什麼是MVC框架模式的親戳這裡 框架模式 MVC 在Android中的使用。其實谷歌Android開發團隊