編輯:關於Android編程
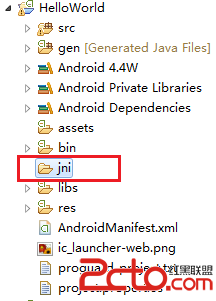
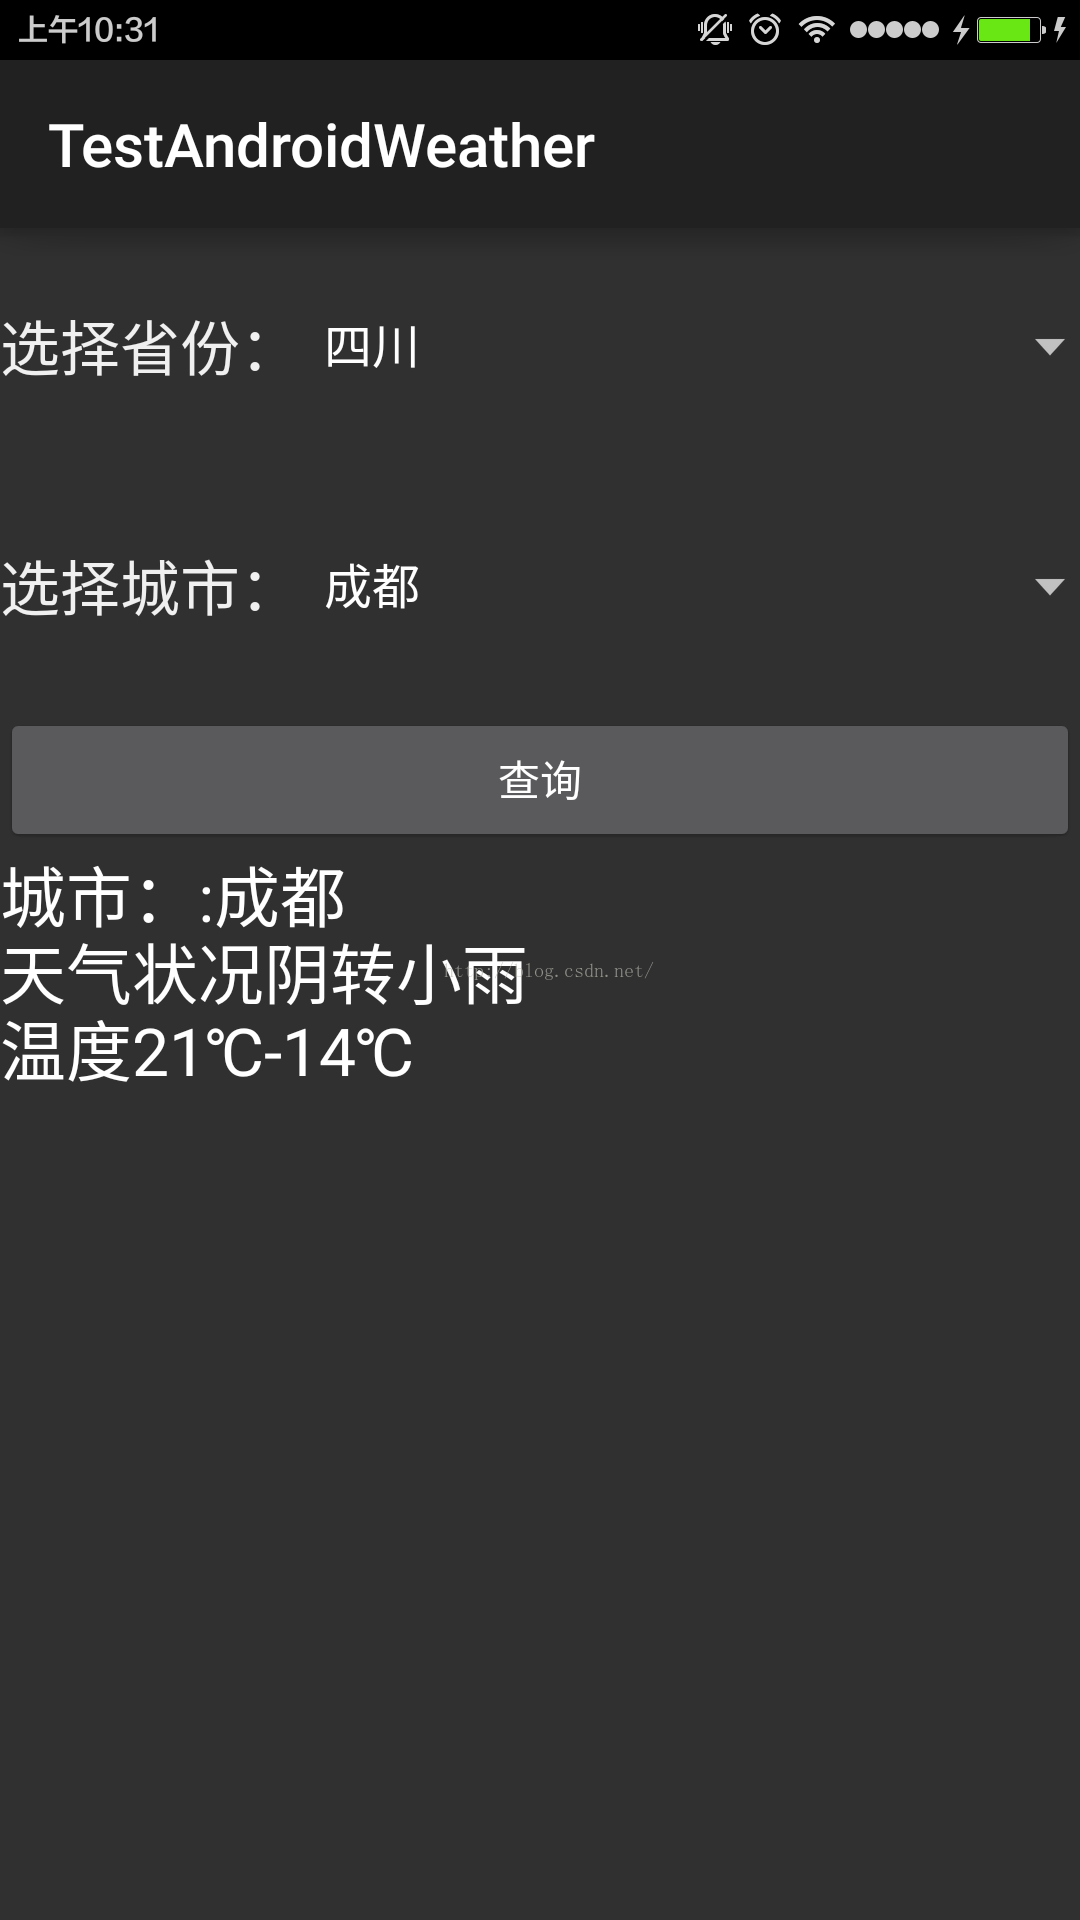
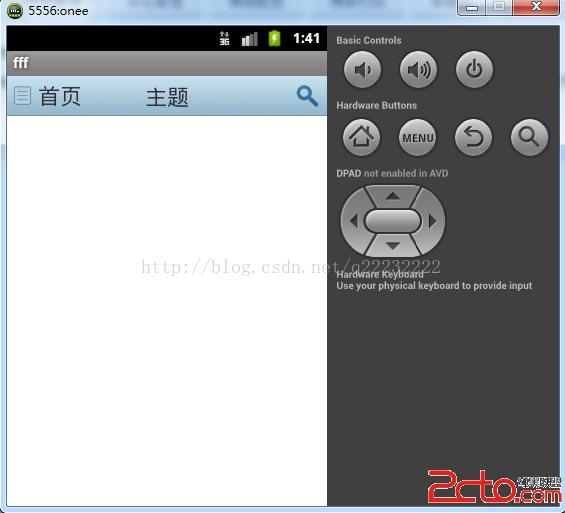
控件主要如圖所示
自定義控件屬性主要定義在values文件夾下的attrs.xml文件裡。
獲取屬性值主要通過 TypedArray 類來獲取屬性值
如下:
            TypedArray typedArray = context.obtainStyledAttributes(attrs,
				R.styleable.CustomHeadView);
		id_bg=typedArray.getInt(R.styleable.CustomHeadView_bg, -1);
		str_TextOfLeft = typedArray
				.getString(R.styleable.CustomHeadView_text_left);
		str_TextOfMiddle = typedArray
				.getString(R.styleable.CustomHeadView_text_middle);
		str_TextOfRight = typedArray
				.getString(R.styleable.CustomHeadView_text_right);
		id_drawOfRight = typedArray.getInt(R.styleable.CustomHeadView_drawable_right,-1);
		id_drawOfLeft = typedArray.getInt(R.styleable.CustomHeadView_drawable_left,-1);

		f_textSizeOfLeft = typedArray.getFloat(R.styleable.CustomHeadView_textSize_left, 22);
		f_textSizeOfMiddle = typedArray.getFloat(R.styleable.CustomHeadView_textSize_middle, 22);
		f_textSizeOfRight = typedArray.getFloat(R.styleable.CustomHeadView_textSize_right, 22);
控件的主要代碼如下:
/**
 *by lvshujun 2014/9/2
 */
package com.example.customview;


import android.content.Context;
import android.content.res.TypedArray;
import android.graphics.Canvas;
import android.util.AttributeSet;
import android.view.Gravity;
import android.view.View;
import android.widget.RelativeLayout;
import android.widget.TextView;


public class CustomHeadView extends RelativeLayout
{

	private int id_bg;
	private int id_drawOfRight;
	private int id_drawOfLeft;
	private String str_TextOfLeft;
	private String str_TextOfMiddle;
	private String str_TextOfRight;
	private float f_textSizeOfLeft;
	private float f_textSizeOfMiddle;
	private float f_textSizeOfRight;

	public TextView tv_middle;
	public TextView tv_left;
	public TextView tv_right;
	public CustomHeadView(Context context, AttributeSet attrs)
	{
		super(context, attrs);

		initData(context,attrs);
		initView(context);
	}

	private void initData(Context context,AttributeSet attrs) {
		// TODO Auto-generated method stub
		TypedArray typedArray = context.obtainStyledAttributes(attrs,
				R.styleable.CustomHeadView);
		id_bg=typedArray.getInt(R.styleable.CustomHeadView_bg, -1);
		str_TextOfLeft = typedArray
				.getString(R.styleable.CustomHeadView_text_left);
		str_TextOfMiddle = typedArray
				.getString(R.styleable.CustomHeadView_text_middle);
		str_TextOfRight = typedArray
				.getString(R.styleable.CustomHeadView_text_right);
		id_drawOfRight = typedArray.getInt(R.styleable.CustomHeadView_drawable_right,-1);
		id_drawOfLeft = typedArray.getInt(R.styleable.CustomHeadView_drawable_left,-1);

		f_textSizeOfLeft = typedArray.getFloat(R.styleable.CustomHeadView_textSize_left, 22);
		f_textSizeOfMiddle = typedArray.getFloat(R.styleable.CustomHeadView_textSize_middle, 22);
		f_textSizeOfRight = typedArray.getFloat(R.styleable.CustomHeadView_textSize_right, 22);
	}

	private void initView(Context context) {
		// TODO Auto-generated method stub
		if(id_bg!=-1)
		    setBackgroundResource(id_bg);
		tv_middle = new TextView(context);
		LayoutParams params2 = new LayoutParams(LayoutParams.MATCH_PARENT,LayoutParams.WRAP_CONTENT);
		params2.addRule(RelativeLayout.CENTER_IN_PARENT);
		tv_middle.setLayoutParams(params2);
		tv_middle.setText(str_TextOfMiddle);
		tv_middle.setTextSize(f_textSizeOfMiddle);
		tv_middle.setGravity(Gravity.CENTER);
		addView(tv_middle);

		tv_left= new TextView(context);
		LayoutParams params1 = new LayoutParams(LayoutParams.WRAP_CONTENT,LayoutParams.WRAP_CONTENT);
		params1.addRule(RelativeLayout.ALIGN_PARENT_LEFT);
		params1.addRule(RelativeLayout.CENTER_VERTICAL);
		tv_left.setLayoutParams(params1);
		tv_left.setText(str_TextOfLeft);
		if(id_drawOfLeft!=-1)
		tv_left.setCompoundDrawablesWithIntrinsicBounds(getResources().getDrawable(id_drawOfLeft), null, null, null);
		tv_left.setTextSize(f_textSizeOfLeft);
		addView(tv_left);

		tv_right = new TextView(context);
		LayoutParams params3 = new LayoutParams(LayoutParams.WRAP_CONTENT,LayoutParams.WRAP_CONTENT);
		params3.addRule(RelativeLayout.ALIGN_PARENT_RIGHT);
		params3.addRule(RelativeLayout.CENTER_VERTICAL);
		tv_right.setLayoutParams(params3);
		tv_right.setText(str_TextOfRight);
		tv_right.setTextSize(f_textSizeOfRight);
		tv_right.setGravity(Gravity.CENTER_VERTICAL);
		if(id_drawOfRight!=-1)
		tv_right.setCompoundDrawablesWithIntrinsicBounds(null, null, getResources().getDrawable(id_drawOfRight), null);
		addView(tv_right);
	}

	@Override
	protected void onDraw(Canvas canvas)
	{
		super.onDraw(canvas);

	}

	public void setViewtOnClickListener(View view,OnClickListener listener)
	{

		view.setOnClickListener(listener);
	}
}
在布局文件裡首先要定義引用資源的地址
xmlns:example=http://schemas.android.com/apk/res/com.example.lv com.example.lv這個是你所在項目的包名
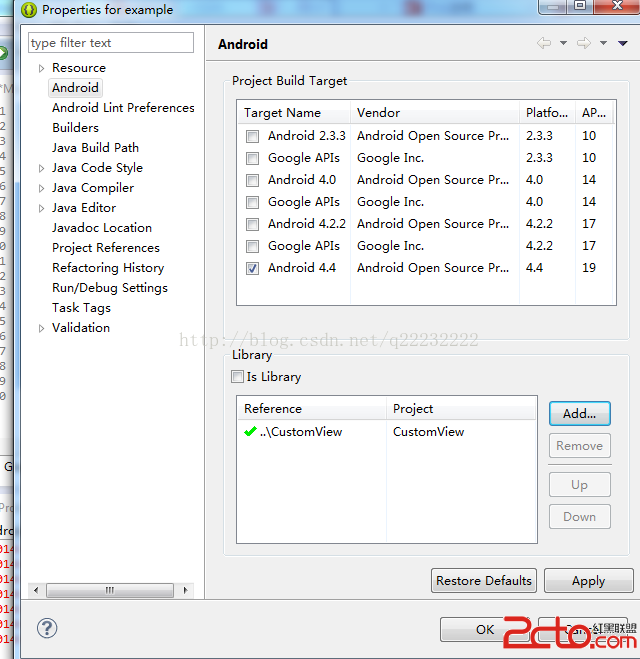
控件項目裡面包含的Activity ,menu等等不用的文件可以刪除。然後右擊項目屬性,如下:
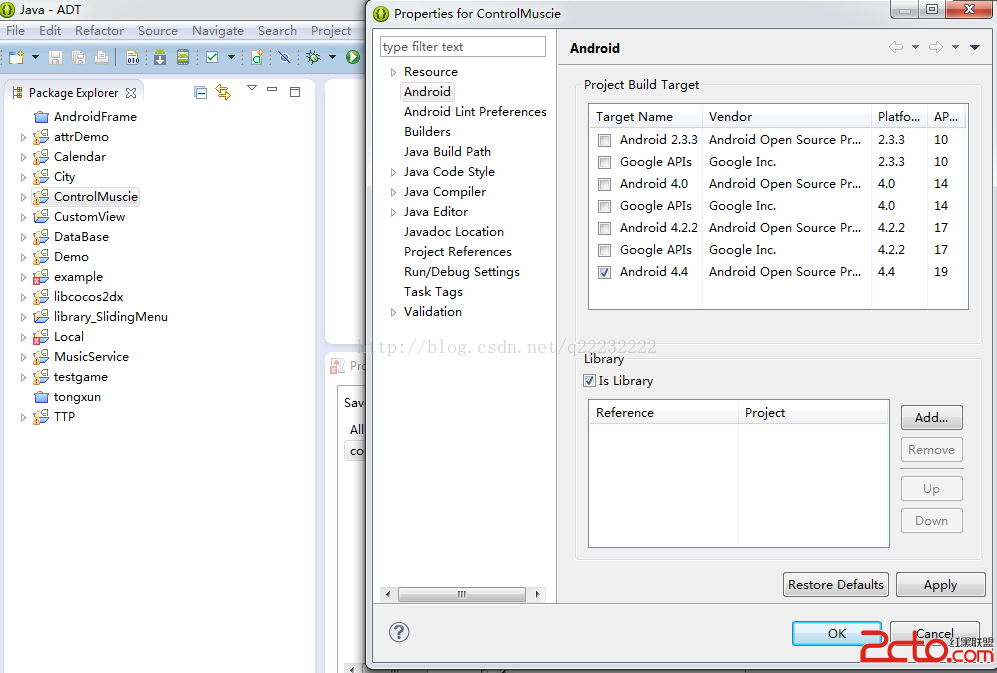
在新建的項目裡可以包含這個項目:如下圖
最後一定要注意,在所在項目中使用控件,引用資源的地址一樣要填本項目的包
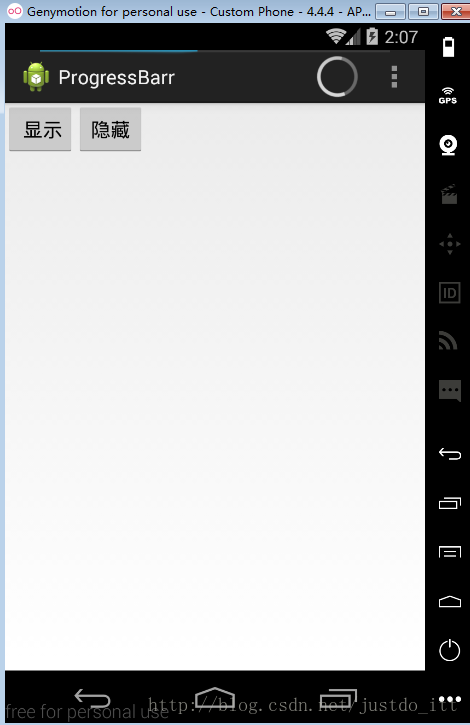 Android 進度條顯示在標題欄的實現方法
好吧,先給大家展示效果圖:xml文件:<LinearLayout xmlns:android=http://schemas.android.com/apk/res/
 Android Volley框架全面解析
Volley簡介我們平時在開發Android應用的時候不可避免地都需要用到網絡技術,而多數情況下應用程序都會使用HTTP協議來發送和接收網絡數據。Androi
 android開發教程之獲取使用當前api的應用程序名稱
比如要獲取打開攝像頭的應用程序名稱,只需要在frameworks/base/core/android/hardware/Camera.java中open()方法中加上如下
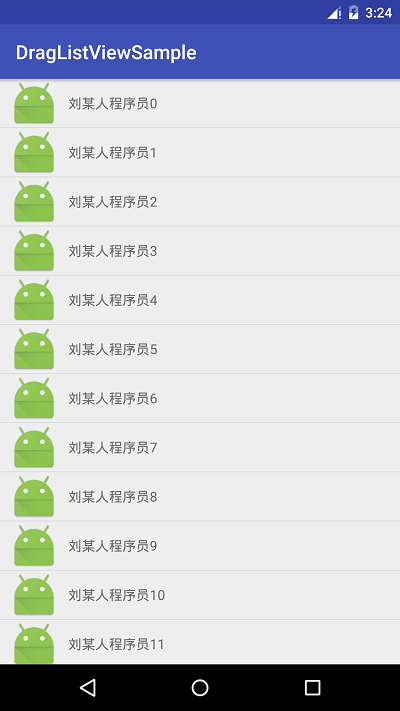 Android自定義ListView實現仿QQ可拖拽列表功能
我們大致的思路,其實是這樣子的,也是我的設想,我們可以先去實現一個簡單的ListView的數據,但是他的Adapter,我們可以用系統封裝好的,然後傳遞進去一個實體類,最