編輯:關於Android編程
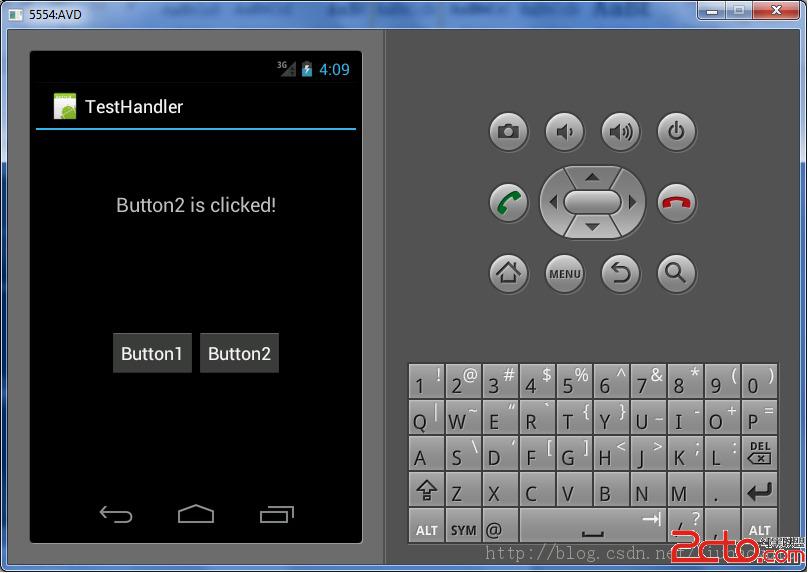
本文介紹了一個使用Handler的Android應用程序,通過該程序,我們可以了解Handler的基本用法。該程序運行效果如下:
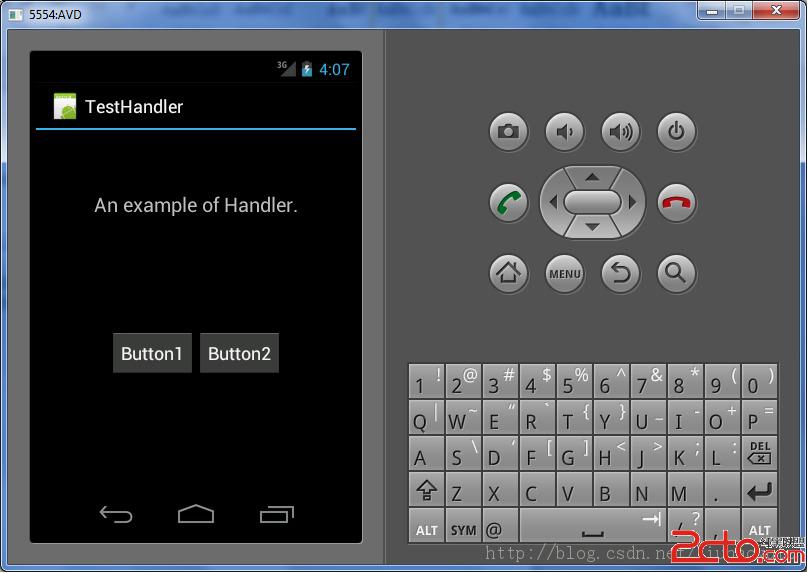
點擊Button1按鈕後,運行效果如下:

點擊Button2按鈕後,運行效果如下:
下面我們來看這個程序代碼。
主程序TestHandlerActivity.java內容如下:
package com.haoyu.testHandler;

import android.app.Activity;
import android.os.Bundle;
import android.os.Handler;
import android.os.Message;
import android.view.View;
import android.view.View.OnClickListener;
import android.widget.Button;
import android.widget.TextView;

public class TestHandlerActivity extends Activity implements OnClickListener{
	TextView textView;

    /** Called when the activity is first created. */
    @Override
    public void onCreate(Bundle savedInstanceState) {
        super.onCreate(savedInstanceState);
        setContentView(R.layout.main);
        Button button1 = (Button) findViewById(R.id.button1);
        Button button2 = (Button) findViewById(R.id.button2);
        textView = (TextView) findViewById(R.id.textView);

        button1.setOnClickListener(this);
        button2.setOnClickListener(this);
    }

	public Handler handler =new Handler(){

		@Override
		public void handleMessage(Message msg) {
			// TODO Auto-generated method stub
			super.handleMessage(msg);
			if(msg.what == 1)
				textView.setText(Button1 is clicked!);
			else if(msg.what == 2)
				textView.setText(Button2 is clicked!);
			else
				textView.setText(Unknown message!);
		}
    };

	@Override
	public void onClick(View v) {
		// TODO Auto-generated method stub
		int id = v.getId();
		Message message = new Message();

		if(id == R.id.button1)
		{
			 message.what = 1;
			 handler.sendMessage(message);
		}
		if(id == R.id.button2)
		{
			message.what = 2;
			handler.sendMessage(message);
		}
	}
}
主布局文件main.xml內容如下:
 自定義View系列教程07--詳解ViewGroup分發Touch事件
在上一篇中已經分析完了View對於Touch事件的處理,在此基礎上分析和理解ViewGroup對於Touch事件的分發就會相對容易些。當一個Touch事件發生
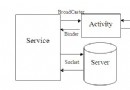 Android實現Activity、Service與Broadcaster三大組件之間互相調用的方法詳解
本文實例講述了Android實現Activity、Service與Broadcaster三大組件之間互相調用的方法。分享給大家供大家參考,具體如下:我們研究兩個問題,1、
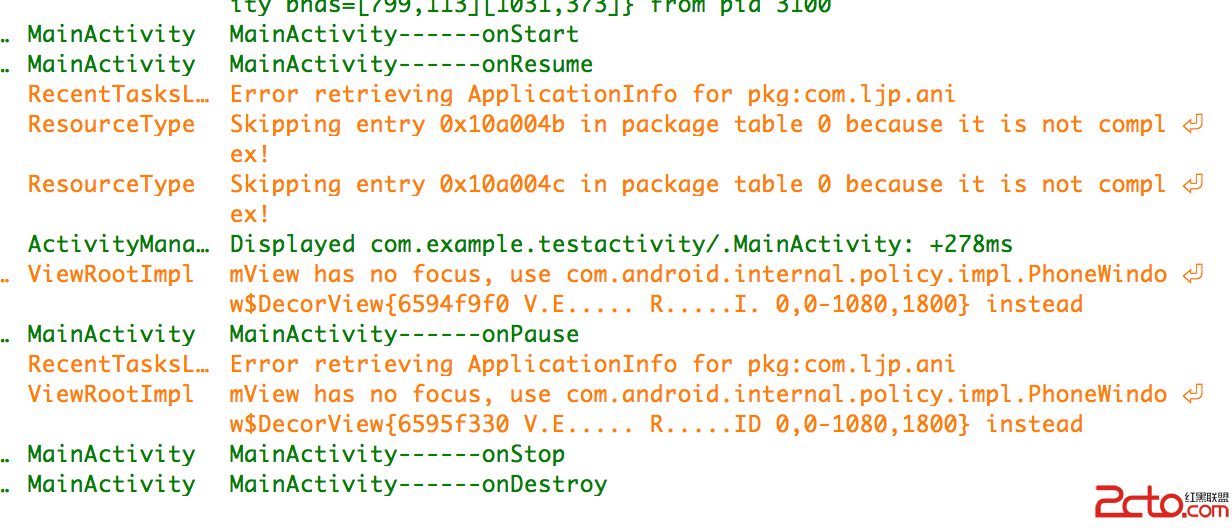 android --Activity生命周期詳解
一. 再探Activity生命周期 為了研究activity的生命周期,簡單測試代碼如下。 package com.example.testactivity; impo
 【騰訊TMQ】5小時搞定谷歌原生自動化框架UiAutomator1.0
前言谷歌對UI測試(UI Tetsting)的概念是:確保用戶在一系列操作過程中(例如鍵盤輸入、點擊菜單、彈出對話框、圖像顯示以及其他UI控件的改變),你的應用程序做出正