編輯:關於Android編程
本文實例講述了Android獲取手機屏幕大小的方法。分享給大家供大家參考,具體如下:
這裡主要用了三個對象TextView ,Button ,以及DisplayMetrics ,其中Displaymetrics 是取得手機屏幕大小的關鍵類,這個例子非常的簡單,當我們點擊按鈕,觸發事件,在TextView 裡顯示手機屏幕的寬高分辨率.
看一下效果圖:
按鈕觸發前:

按鈕觸發後:

其中我們在res->layout->values->string.xml增加了兩行如下:
<string name="resolution">手機分辨率為:</string>
<string name="pressme">按我獲分辨率</string>
具體代碼如下:
<?xml version="1.0" encoding="utf-8"?>
<resources>
  <string name="hello">Hello World, DisplayMetricsDemo!</string>
  <string name="app_name">DisplayMetricsDemo</string>
  <string name="resolution">手機分辨率為:</string>
  <string name="pressme">按我獲分辨率</string>
</resources>
而布局文件main.xml代碼如下:
<?xml version="1.0" encoding="utf-8"?>
<LinearLayout xmlns:android="http://schemas.android.com/apk/res/android"
  android:orientation="vertical"
  android:layout_width="fill_parent"
  android:layout_height="fill_parent"
  >
<TextView
  android:id="@+id/textview1"
  android:layout_width="fill_parent"
  android:layout_height="wrap_content"
  android:text="@string/resolution"
  />
<Button
  android:id="@+id/button1"
  android:layout_width="wrap_content"
  android:layout_height="wrap_content"
  android:text="@string/pressme"
/>
</LinearLayout>
最後是我們主類DisplaymetricsDemo.Java,代碼如下:
package com.android.test;
import android.app.Activity;
import android.os.Bundle;
import android.util.DisplayMetrics;
import android.view.View;
import android.widget.Button;
import android.widget.TextView;
public class DisplayMetricsDemo extends Activity {
  private TextView textview1;
  private Button button1;
  //獲取手機屏幕分辨率的類
  private DisplayMetrics dm;
  public void onCreate(Bundle savedInstanceState) {
    super.onCreate(savedInstanceState);
    setContentView(R.layout.main);
    //獲取布局中TextView,Button對像
    textview1 = (TextView)findViewById(R.id.textview1);
    button1 = (Button)findViewById(R.id.button1);
    //增加button事件響應
    button1.setOnClickListener(new Button.OnClickListener(){
      public void onClick(View v)
      {
        dm = new DisplayMetrics();
        getWindowManager().getDefaultDisplay().getMetrics(dm);
        //獲得手機的寬帶和高度像素單位為px
        String str = "手機屏幕分辨率為:" + dm.widthPixels
        +" * "+dm.heightPixels;
        textview1.setText(str);
      }
    });
  }
}
這個例子比較簡單,核心就是onClick裡面的幾行代碼
更多關於Android相關內容感興趣的讀者可查看本站專題:《Android開發入門與進階教程》、《Android視圖View技巧總結》、《Android編程之activity操作技巧總結》、《Android操作SQLite數據庫技巧總結》、《Android操作json格式數據技巧總結》、《Android數據庫操作技巧總結》、《Android文件操作技巧匯總》、《Android編程開發之SD卡操作方法匯總》、《Android資源操作技巧匯總》及《Android控件用法總結》
希望本文所述對大家Android程序設計有所幫助。
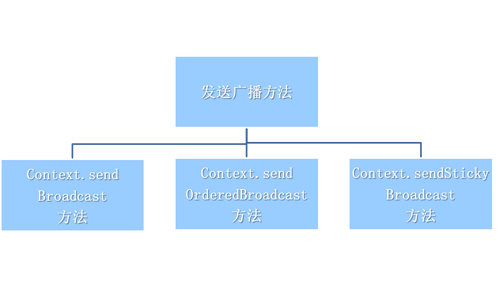 Android開發之廣播機制淺析
對於了解Android程序設計的人都知道,廣播是Android開發中的一個重要的功能,在Android裡面有各式各樣的廣播,比如:電池的狀態變化、信號的強弱狀態、電話的接
 android2.x使用ActionBar的總結
好久沒有在csdn上寫博客了,最近閒來無事,決定仿微信界面做幾個東西,原本以為挺簡單的事情,結果折騰了好久才把第一步的ActionBar搞定,其中過程可謂坎坷之極,記錄下
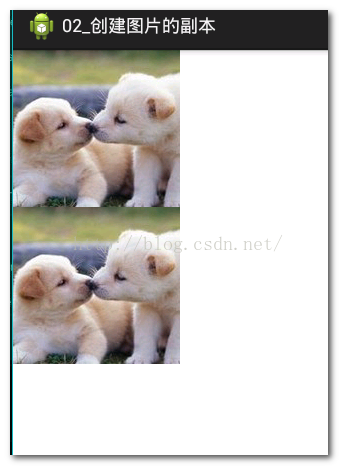 Android簡易實戰教程--第二十九話《創建圖片副本》
承接第二十八話加載大圖片,本篇介紹如何創建一個圖片的副本。安卓中加載的原圖是無法對其修改的,因為默認權限是只讀的。但是通過創建副本,就可以對其做一些修改,繪制等了。首先創
 Android啟動模擬器報錯解決方法
Android模擬器報Failed To Allocate memory 8錯誤的解決辦法Android在啟動模擬器AVD時,出現下面的異常:“Failed to all