編輯:關於Android編程
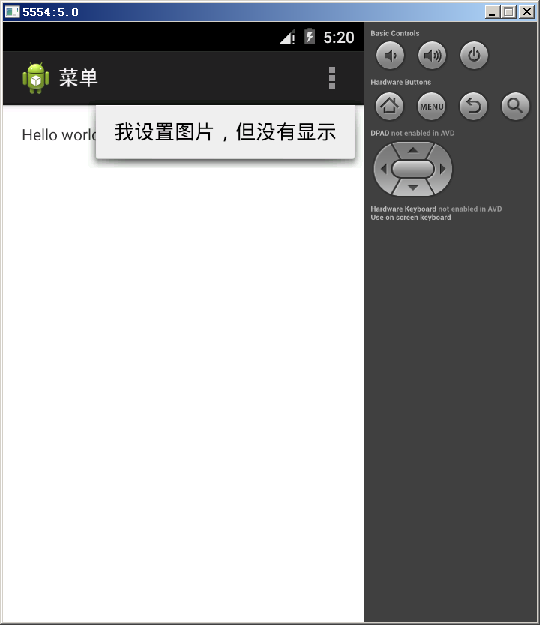
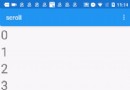
我們重點來研究一下Android抽屜導航 NavigationDrawer。先來感性認識一下這種效果吧:

看了很多應用,覺得這種側滑的抽屜效果的菜單很好。不用切換到另一個頁面,也不用去按菜單的硬件按鈕,直接在界面上一個按鈕點擊,菜單就滑出來,而且感覺能放很多東西。
最簡單就是用官方的抽屜導航 NavigationDrawerLayout 來實現。DrawerLayout這個類是在Support Library裡的,需要加上android-support-v4.jar這個包。然後程序中用時在前面導入import android.support.v4.widget.DrawerLayout;
如果找不到這個類,首先用SDK Manager更新一下Android Support Library,然後在Android SDK\extras\android\support\v4路徑下找到android-support-v4.jar,復制到項目的libs路徑,將其Add to Build Path.
當你新建一個 Android 項目的時候,你可以選擇使用 Navigation Drawer:

我們來簡要看看代碼,首先是 NavigationDrawerFragment.java 這個類,加載了哪些布局文件。
@Override
public View onCreateView(LayoutInflater inflater, ViewGroup container,
    Bundle savedInstanceState) {
  // 給抽屜ListView找到對應的XML布局
  mDrawerListView = (ListView) inflater.inflate(
      R.layout.fragment_navigation_drawer, container, false);
  // 給抽屜ListView綁定點擊監聽器,點擊時,選中點擊的項
  mDrawerListView.setOnItemClickListener(new AdapterView.OnItemClickListener() {
    @Override
    public void onItemClick(AdapterView<?> parent, View view, int position, long id) {
      selectItem(position);
    }
  });

  // 給抽屜ListView綁定一個適配器
  mDrawerListView.setAdapter(new ArrayAdapter<String>(
      getActionBar().getThemedContext(),
      android.R.layout.simple_list_item_activated_1,
      android.R.id.text1,
      new String[]{
          getString(R.string.title_section1),
          getString(R.string.title_section2),
          getString(R.string.title_section3),
          getString(R.string.title_section4),
          getString(R.string.title_section5),
      }));

  //mDrawerListView.setAdapter(new DrawerAdapter(getActivity()));
  // 設置抽屜ListView以顯示某一選中項的形態出現。
  mDrawerListView.setItemChecked(mCurrentSelectedPosition, true);
  // 將處理後的抽屜ListView返回

  return mDrawerListView;
}
NavigationDrawer 主要是一個 ListView,這個 ListView 使用了 fragment_navigation_drawer.xml:
<ListView xmlns:android="http://schemas.android.com/apk/res/android"
  xmlns:tools="http://schemas.android.com/tools"
  android:layout_width="match_parent"
  android:layout_height="match_parent"
  android:background="@color/image_bg_green"
  android:choiceMode="singleChoice"
  android:divider="@color/image_bg_lightgreen"
  android:dividerHeight="1dp"
  tools:context="net.nowamagic.magicapp_v7.NavigationDrawerFragment" />
這個 ListView 就是抽屜導航直觀上看到的那個 ListView。同時 ListView 裡面每個格子都由一個相對布局填充,其 XML 為 fragment_main.xml:
<RelativeLayout xmlns:android="http://schemas.android.com/apk/res/android"
  xmlns:tools="http://schemas.android.com/tools"
  android:layout_width="match_parent"
  android:layout_height="match_parent"
  android:paddingBottom="@dimen/activity_vertical_margin"
  android:paddingLeft="@dimen/activity_horizontal_margin"
  android:paddingRight="@dimen/activity_horizontal_margin"
  android:paddingTop="@dimen/activity_vertical_margin"
  tools:context="net.nowamagic.magicapp_v7.MainActivity$PlaceholderFragment" >
  <TextView
    android:id="@+id/section_label"
    android:layout_width="wrap_content"
    android:layout_height="wrap_content" />
</RelativeLayout>
新建一個基於 NavigationDrawer 的項目,大概效果如下:

以上就是本文的全部內容,希望能給大家一個參考,也希望大家多多支持本站。
 手機刷機精靈怎麼刷機
root精靈作為一款電腦端操作的手機最高權限獲取工具,它采用簡單的一鍵操作方式,無論你是新手用戶,還是老手用戶,用起來都是非常的方便快捷。 1、下載安裝刷
 5CoordinatorLayout與AppBarLayout--嵌套滑動
上文我們說了AppBarLayout的簡單滑動,本篇主要介紹CoordinatorLayout下的嵌套滑動相關知識,本文對此做介紹例子按照慣例,先看效果,再談原理。可以看
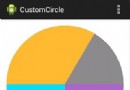 Android自定義(三)實現圓盤的百分比設置
最近一直在學習自定義控件,昨天看到群裡有人問如何如何實現圓盤樣式的顯示,學有所用,於是乎就有了這篇博客 先上圖,一目了然 這裡的顯示顏色以及顏色塊的大小你都可以自己設置
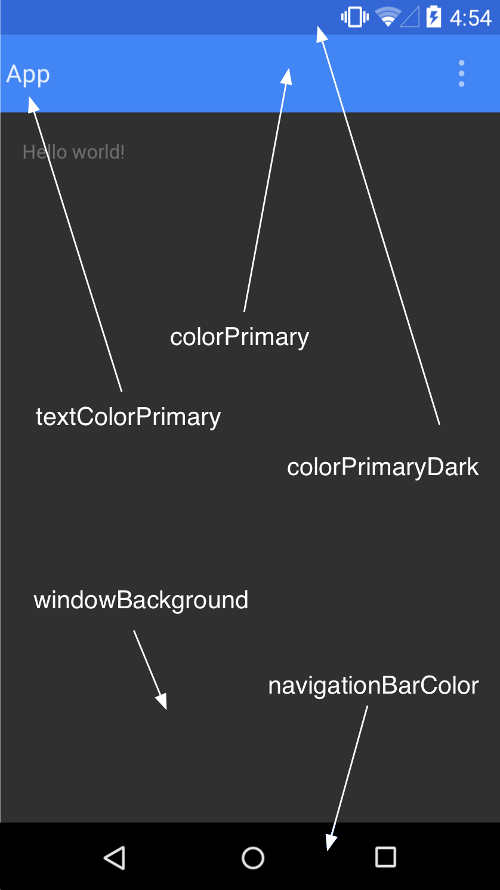 Android ToolBar/App bar
2014的 google i/o發表令多數人為之一亮的 material design toolbar,這是用來取代過去 actionbar 的控件,而現在於 mater