編輯:關於Android編程
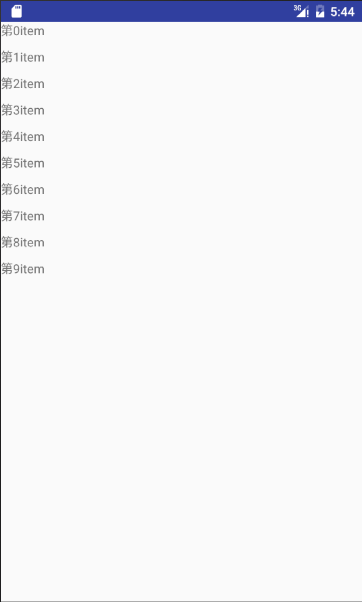
本文實例講述了Android實現九宮格(GridView中各項平分空間)的方法。分享給大家供大家參考。具體如下:
項目需要做一個九宮格(也不一定是9的,4宮格、16宮格、4x3宮格。。。),封了 一個宮格,它能夠根據為它分配的空間來自動的調節宮中各項的尺寸。
從TableLayout集成來的,因此如果你直接在設計器上使用該封裝的話需要把它自動加進去的那幾個TableRow刪除一下。
類名為AdvancedGridView,代碼如下:
import android.content.Context;
import android.util.AttributeSet;
import android.view.View;
import android.widget.BaseAdapter;
import android.widget.Button;
import android.widget.TableLayout;
import android.widget.TableRow;
/**
 * AdvancedGridView
 * @author RobinTang
 * @time 2012-10-15
 */
public class AdvancedGridView extends TableLayout {
// private static final String tag = "AdvancedGridView";
  private int rowNum = 0; // row number
  private int colNum = 0; // col number
  private BaseAdapter adapter = null;
  private Context context = null;
  public AdvancedGridView(Context context) {
    super(context);
    initThis(context, null);
  }
  public AdvancedGridView(Context context, AttributeSet attrs) {
    super(context, attrs);
    initThis(context, attrs);
  }
  private void initThis(Context context, AttributeSet attrs) {
    this.context = context;
    if (this.getTag() != null) {
      String atb = (String) this.getTag();
      int ix = atb.indexOf(',');
      if (ix > 0) {
        rowNum = Integer.parseInt(atb.substring(0, ix));
        colNum = Integer.parseInt(atb.substring(ix+1, atb.length()));
      }
    }
    if (rowNum <= 0)
      rowNum = 3;
    if (colNum <= 0)
      colNum = 3;
    if(this.isInEditMode()){
      this.removeAllViews();
      for(int y=0; y<rowNum; ++y){
        TableRow row = new TableRow(context);
        row.setLayoutParams(new LayoutParams(LayoutParams.FILL_PARENT, LayoutParams.FILL_PARENT, 1.0f));
        for(int x=0; x<colNum; ++x){
          View button = new Button(context);
          row.addView(button, new TableRow.LayoutParams (LayoutParams.MATCH_PARENT, LayoutParams.MATCH_PARENT, 1.0f));
        }
        this.addView(row);
      }
    }
  }
  public BaseAdapter getAdapter() {
    return adapter;
  }
  public void setAdapter(BaseAdapter adapter) {
    if(adapter != null){
      if(adapter.getCount() < this.rowNum*this.colNum){
        throw new IllegalArgumentException("The view count of adapter is less than this gridview's items");
      }
      this.removeAllViews();
      for(int y=0; y<rowNum; ++y){
        TableRow row = new TableRow(context);
        row.setLayoutParams(new LayoutParams(LayoutParams.FILL_PARENT, LayoutParams.FILL_PARENT, 1.0f));
        for(int x=0; x<colNum; ++x){
          View view = adapter.getView(y*colNum+x, this, row);
          row.addView(view, new TableRow.LayoutParams (LayoutParams.MATCH_PARENT, LayoutParams.MATCH_PARENT, 1.0f));
        }
        this.addView(row);
      }
    }
    this.adapter = adapter;
  }
  public int getRowNum() {
    return rowNum;
  }
  public void setRowNum(int rowNum) {
    this.rowNum = rowNum;
  }
  public int getColNum() {
    return colNum;
  }
  public void setColNum(int colNum) {
    this.colNum = colNum;
  }
}
如果你想在設計階段就看到宮格效果的話,你可以在該空間的Tag屬性上設置行列個數。比如我想看到3x3的宮格樣子的話就設置成"3,3",如下圖,當然你也可以在代碼中使用setRowNum()和setColNum()來進行設置,但是請在設置適配器前調用這兩個方法。

希望本文所述對大家的Android程序設計有所幫助。
 Android 5.X新特性之RecyclerView基本解析及無限復用
說到RecyclerView,相信大家都不陌生,它是我們經典級ListView的升級版,升級後的RecyclerView展現了極大的靈活性。同時內部直接封裝了ViewHo
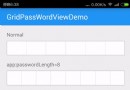 Android仿微信/支付寶密碼輸入框
在用到支付類app時,都有一個簡密的輸入框。。開始實現的時候思路有點問題,後來到github上搜了下,找到了一個開源的庫看起來相當的牛逼,,來個地址先:https://g
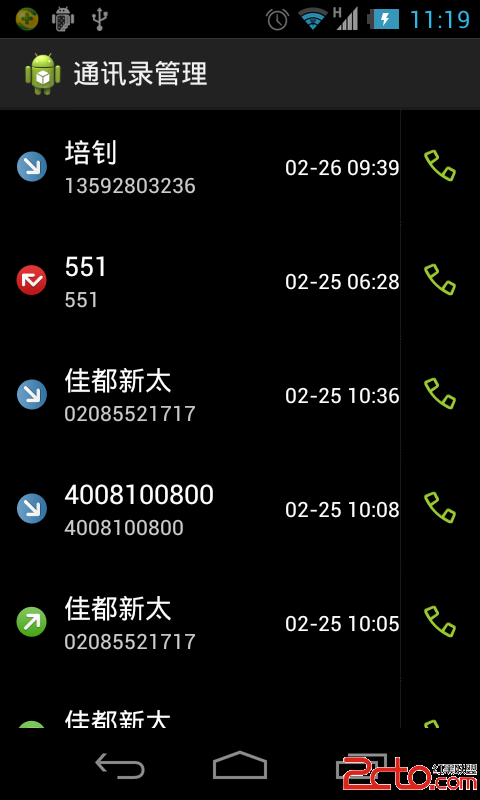 Android通訊錄管理(獲取聯系人、通話記錄、短信消息)(二)
Android通訊錄管理(獲取聯系人、通話記錄、短信消息)(二) 前言:上一篇博客介紹的是獲取聯系人的實現,本篇博客將介紹通話記錄的實現。 同樣的,你可以到這
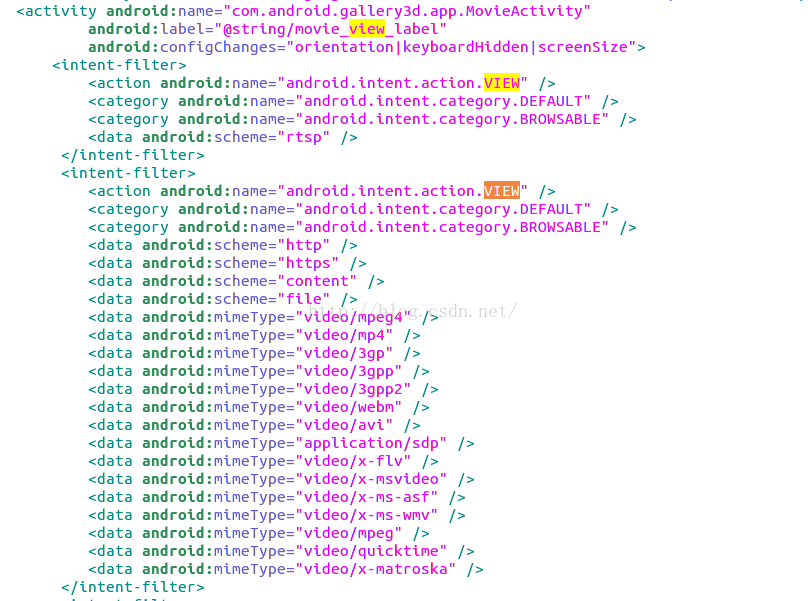
 天天看高清影視片庫無法連接 解決方案
天天看高清影視片庫無法連接,不知道為什麼老是連接不上,下面是我總結了一下為什麼會這樣的問題,看能不能在裡面找到你們所需要的,幫你們解決天天看高清影視出現的問