編輯:關於Android編程
參考Android仿騰訊QQ實現滑動刪除這篇文章進行學習,文章實現的功能是:在ListView的Item上從右向左滑時,出現刪除按鈕,點擊刪除按鈕把Item刪除,效果

看過文章後,感覺沒有必要把dispatchTouchEvent()和onTouchEvent()兩個方法都重寫,只要重寫onTouchEvent就好了。於是對代碼作了一些調整:
public class MyListView extends ListView {
 private static final String TAG = "MyListView";
 private int mTouchSlop;
 private int mXDown;
 private int mYDown;
 private int mCurrentPosition;
 private View mCurrentView;
 private PopupWindow mPopupWindow;
 private LayoutInflater mInflater;
 private boolean isSliding = false;
 // 為刪除按鈕提供一個回調接口
 private DelButtonClickListener mListener;
 private Button mDelBtn;
 private int mPopupWindowHeight;
 private int mPopupWindowWidth;

 public MyListView(Context context, AttributeSet attrs) {
  super(context, attrs);
  mInflater = LayoutInflater.from(context);
  mTouchSlop = ViewConfiguration.get(context).getScaledTouchSlop();

  View view = mInflater.inflate(R.layout.delete_btn, null);
  mDelBtn = (Button) view.findViewById(R.id.id_item_btn);
  mPopupWindow = new PopupWindow(view, LinearLayout.LayoutParams.WRAP_CONTENT,
    LinearLayout.LayoutParams.WRAP_CONTENT);
  // 如果需要通過點擊PopupWindow之外的地方使其消失,則需要setFocusable(true).
  mPopupWindow.setFocusable(true);
  // Android 6.0以前的版本需要setBackgroundDrawable(),
  // 才能實現通過點擊PopupWindow之外的地方使其消失的功能。
  mPopupWindow.setBackgroundDrawable(new ColorDrawable(0));
  // 先調用下measure,否則拿不到寬和高
  mPopupWindow.getContentView().measure(0, 0);
  mPopupWindowHeight = mPopupWindow.getContentView().getMeasuredHeight();
  mPopupWindowWidth = mPopupWindow.getContentView().getMeasuredWidth();
 }

 @Override
 public boolean onTouchEvent(MotionEvent ev) {
  int action = ev.getAction();
  int x = (int) ev.getX();
  int y = (int) ev.getY();

  switch (action){
   case MotionEvent.ACTION_DOWN:
    isSliding = false;
    mXDown = x;
    mYDown = y;
    mCurrentPosition = pointToPosition(mXDown, mYDown);
    View view = getChildAt(mCurrentPosition - getFirstVisiblePosition());
    mCurrentView = view;
    break;
   case MotionEvent.ACTION_MOVE:
    int dx = x - mXDown;
    int dy = y - mYDown;

    Log.d(TAG, "mTouchSlop = " + mTouchSlop + ", dx = " + dx + ", dy = " + dy);

    if(mXDown > x && Math.abs(dx) > mTouchSlop && Math.abs(dy) < mTouchSlop){
     Log.d(TAG, "isSliding");
     isSliding = true;
     int[] location = new int[2];
     mCurrentView.getLocationOnScreen(location);
     mPopupWindow.setAnimationStyle(R.style.popwindow_delete_btn_anim_style);
     mPopupWindow.update();
     Log.d(TAG, "Height: " + mCurrentView.getHeight() + "," + mPopupWindow.getHeight());
     mPopupWindow.showAtLocation(mCurrentView, Gravity.NO_GRAVITY,
       location[0] + mCurrentView.getWidth(),
       location[1] + mCurrentView.getHeight() / 2 - mPopupWindowHeight / 2);
     mDelBtn.setOnClickListener(new OnClickListener() {
      @Override
      public void onClick(View v) {
       mListener.clickHappend(mCurrentPosition);
       mPopupWindow.dismiss();
      }
     });
    }
   case MotionEvent.ACTION_UP:
    // isSliding 如果這裡恢復為false,則後面會執行super.onTouchEvent事件,
    // 而AbsListView的onTouchEvent調用了onTouchUp方法,在onTouchUp方法中有可能執行
    // performClick.run() --> performItemClick() --> super.performItemClick
    // --> mOnItemClickListener.onItemClick,這樣最終觸發Item的點擊。
    // 因此此處依舊保持isSliding為true的狀態,而在ACTION_DOWN事件中恢復isSliding為false,
    // 畢竟每個事件都以ACTION_DOWN開始。
    //isSliding = false;
  }

  if(isSliding){
   return true;
  }

  return super.onTouchEvent(ev);
 }

 public void setDelButtonClickListener(DelButtonClickListener listener){
  mListener = listener;
 }

 interface DelButtonClickListener{
  public void clickHappend(int position);
 }
}
通過這個例子學習到:
1、ListView的Item點擊事件的觸發過程:
自定義ListView的onTouchEvent() ---調用super.onTouchEvent()---> AbsListView.onTouchEvent() ---MotionEvent.ACTION_UP---> AbsListView.onTouchUp()
---(有可能)調用performClick.run()---> AbsListView.PerformClick.run() ---調用performItemClick()---> AbsListView.performItemClick()
---(有可能)調用super.performItemClick()---> AdapterView.performItemClick() ---mOnItemClickListener.onItemClick---> OnItemClickListener.onItemClick()
也就是Item的點擊事件是在MotionEvent.ACTION_UP事件完成的,這樣在自定義ListView的onTouchEvent()中,對MotionEvent.ACTION_UP直接return true消費掉事件,而不要調用super.onTouchEvent。這樣就避免了刪除按鈕與Item點擊事件的沖突。
2、PopupWindow--通過點擊PopupWindow之外的地方使其消失
a、需要調用setFocusable()方法(PopupWindow中showAtLocation() --> createPopupLayoutParams() --> computeFlags() --> 設置FLAG_NOT_FOCUSABLE);
b、Android 6.0以前的版本需要setBackgroundDrawable()(具體原因見:PopupWindow的使用)。
以上就是本文的全部內容,希望對大家的學習有所幫助,也希望大家多多支持本站。
 Android UI組件進階(1)——帶進度條的按鈕
Android UI組件進階(1)——帶進度條的按鈕 本節引言: 這個系列是繼Android UI組件實例大全後的進階
 Android-支付寶支付
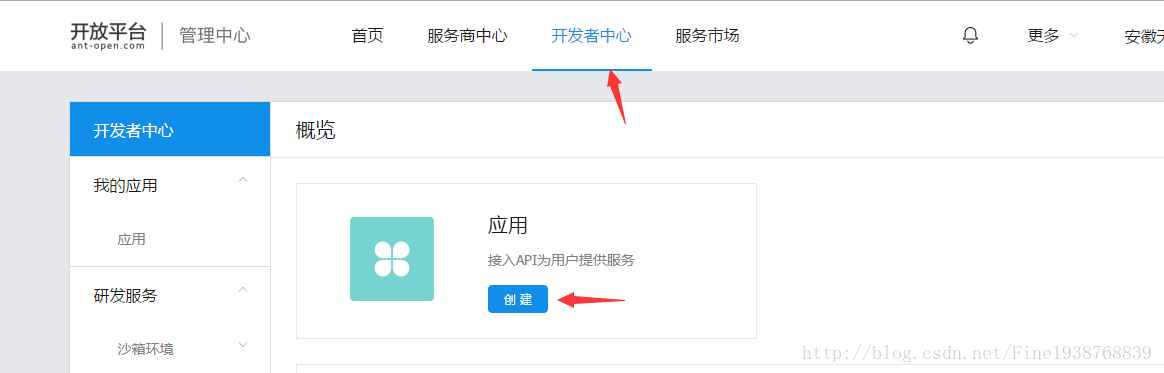
前言:緊接著上一篇的微信支付,本篇是集成支付寶支付,相對於微信支付,支付寶的集成就簡單了很多。話不多說,我們來看看怎麼簡單集成支付寶支付。1.看文檔:我們先要去螞蟻金服開
 android文件上傳示例分享(android圖片上傳)
主要思路是調用系統文件管理器或者其他媒體采集資源來獲取要上傳的文件,然後將文件的上傳進度實時展示到進度條中。主Activity復制代碼 代碼如下:package com.
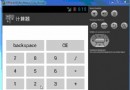 從零開始學android實現計算器功能示例分享(計算器源碼)
下面是效果展示:復制代碼 代碼如下:<?xml version=1.0 encoding=utf-8?><LinearLayout xmlns:andr