編輯:關於Android編程
本文實例講述了Android控件之Gallery用法。分享給大家供大家參考。具體如下:
Gallery組件主要用於橫向顯示圖像列表,不過按常規做法。Gallery組件只能有限地顯示指定的圖像。也就是說,如果為Gallery組件指定了10張圖像,那麼當Gallery組件顯示到第10張時,就不會再繼續顯示了。這雖然在大多數時候沒有什麼關系,但在某些情況下,我們希望圖像顯示到最後一張時再重第1張開始顯示,也就是循環顯示。要實現這種風格的Gallery組件,就需要對Gallery的Adapter對象進行一番改進。
以下通過Gallery模擬循環顯示圖像,在單擊某一個Gallery組件中的圖像時在下方顯示一個放大的圖像(使用ImageSwitcher組件)。
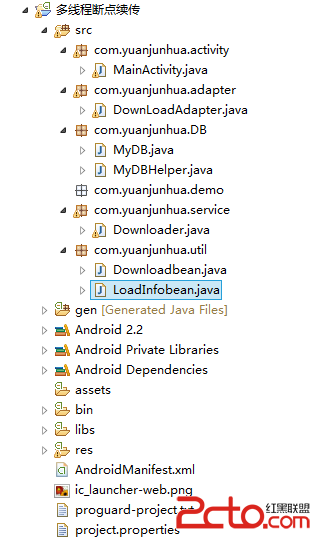
目錄結構

main.xml布局文件:
<?xml version="1.0" encoding="utf-8"?>
<LinearLayout xmlns:android="http://schemas.android.com/apk/res/android"
 android:orientation="vertical"
 android:layout_width="fill_parent"
 android:layout_height="fill_parent">
 <!-- android:unselectedAlpha: 設置未選中的條目的透明度(Alpha)。該值必須是float類型,比如:“1.2”。 -->
 <Gallery android:layout_width="fill_parent"
  android:layout_height="wrap_content"
  android:spacing="10dip"
  android:unselectedAlpha="1.2"
  android:id="@+id/gallery"
  android:layout_marginTop="30dp"/>
 <ImageSwitcher android:id="@+id/imageSwitcher"
  android:layout_width="fill_parent"
  android:layout_height="wrap_content"
  android:layout_marginTop="30dp" />
</LinearLayout>
GalleryActivity類:
package com.ljq.ga;
import android.app.Activity;
import android.os.Bundle;
import android.util.Log;
import android.view.View;
import android.view.animation.AnimationUtils;
import android.widget.AdapterView;
import android.widget.Gallery;
import android.widget.ImageSwitcher;
import android.widget.ImageView;
import android.widget.AdapterView.OnItemClickListener;
import android.widget.AdapterView.OnItemSelectedListener;
import android.widget.LinearLayout.LayoutParams;
import android.widget.ViewSwitcher.ViewFactory;
public class GalleryActivity extends Activity implements ViewFactory {
 private Gallery gallery = null;
 private ImageSwitcher imageSwitcher=null;
 int[] imageIDs={
   R.drawable.p1,R.drawable.p2,R.drawable.p3,
   R.drawable.p4,R.drawable.p5,R.drawable.p6,
   R.drawable.p7,R.drawable.p8 };
 @Override
 public void onCreate(Bundle savedInstanceState) {
  super.onCreate(savedInstanceState);
  setContentView(R.layout.main);
  imageSwitcher=(ImageSwitcher)findViewById(R.id.imageSwitcher);
  // 設置ImageSwitcher組件的工廠對象
  imageSwitcher.setFactory(this);
  // 設置ImageSwitcher組件顯示圖像的動畫效果
  imageSwitcher.setInAnimation(AnimationUtils.loadAnimation(this,
    android.R.anim.fade_in));
  imageSwitcher.setOutAnimation(AnimationUtils.loadAnimation(this,
    android.R.anim.fade_out));
  gallery = (Gallery) findViewById(R.id.gallery);
  ImageViewAdapter adapter=new ImageViewAdapter(GalleryActivity.this, imageIDs);
  gallery.setAdapter(adapter);
  gallery.setOnItemSelectedListener(new OnItemSelectedListener(){
   public void onItemSelected(AdapterView<?> parent, View view, int position, long id) {
    //選中Gallery中某個圖像時,在ImageSwitcher組件中放大顯示該圖像
    imageSwitcher.setImageResource(imageIDs[position%imageIDs.length]);
   }
   public void onNothingSelected(AdapterView<?> arg0) {
   }
  });
  gallery.setOnItemClickListener(new OnItemClickListener(){
   public void onItemClick(AdapterView<?> parent, View view, int position, long id) {
    Log.i("ljq", "parent="+parent.getClass().getName()); //Gallery
    Log.i("ljq", "view="+view.getClass().getName()); //ImageView
    Log.i("ljq", "position=" + position); //1
    Log.i("ljq", "id=" + id);//1
    Gallery gl=(Gallery)parent;
    ImageView iv=(ImageView)view;
   }
  });
 }
 // ImageSwitcher組件需要這個方法來創建一個View對象(一般為ImageView對象)
 // 來顯示圖像
 public View makeView() {
  ImageView imageView = new ImageView(this);
  imageView.setBackgroundColor(0xFF000000);
  imageView.setScaleType(ImageView.ScaleType.FIT_CENTER);
  imageView.setLayoutParams(new ImageSwitcher.LayoutParams(
    LayoutParams.FILL_PARENT, LayoutParams.FILL_PARENT));
  return imageView;
 }
}
ImageViewAdapter自定義適配器:
package com.ljq.ga;
import android.content.Context;
import android.view.View;
import android.view.ViewGroup;
import android.widget.BaseAdapter;
import android.widget.ImageView;
import android.widget.LinearLayout;
public class ImageViewAdapter extends BaseAdapter{
 private int[] imageIDs=null;
 private Context context=null;
 public ImageViewAdapter(Context context, int[] imageIDs) {
  this.context=context;
  this.imageIDs=imageIDs;
 }
 //用於返回圖像總數,要注意的是,這個總數不能大於圖像的實際數(可以小於圖像的實際數),否則會拋出越界異常。
 public int getCount() {
  //優化一
  //return imageIDs.length;
  return Integer.MAX_VALUE;
 }
 public Object getItem(int position) {
  return imageIDs[position];
 }
 public long getItemId(int position) {
  return position;
 }
 //ScaleType的用法
 //CENTER/center 按圖片的原來size居中顯示,當圖片長/寬超過View的長/寬,則截取圖片的居中部分顯示
 //CENTER_CROP/centerCrop 按比例擴大圖片的size居中顯示,使得圖片長 (寬)等於或大於View的長(寬)
 //CENTER_INSIDE/centerInside 將圖片的內容完整居中顯示,通過按比例縮小 或原來的size使得圖片長/寬等於或小於View的長/寬
 //FIT_CENTER/fitCenter 把圖片按比例擴大/縮小到View的寬度,居中顯示
 //FIT_END/fitEnd 把 圖片按比例擴大/縮小到View的寬度,顯示在View的下部分位置
 //FIT_START/fitStart 把 圖片按比例擴大/縮小到View的寬度,顯示在View的上部分位置
 //FIT_XY/fitXY 把圖片 不按比例 擴大/縮小到View的大小顯示
 //MATRIX/matrix 用矩陣來繪制
 public View getView(int position, View convertView, ViewGroup parent) {
  ImageView iv = new ImageView(context);
  //優化二,通過取余來循環取得imageIDs數組中的圖像資源ID,取余可以大大較少資源的浪費
  iv.setImageResource(imageIDs[position%imageIDs.length]);
  iv.setScaleType(ImageView.ScaleType.CENTER_INSIDE);
  iv.setLayoutParams(new LinearLayout.LayoutParams(77,77));//把圖片縮小原來的60%
  return iv;
 }
}
運行結果

希望本文所述對大家的Android程序設計有所幫助。
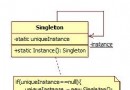 Android設計模式系列之單例模式
單例模式,可以說是GOF的23種設計模式中最簡單的一個。這個模式相對於其他幾個模式比較獨立,它只負責控制自己的實例化數量單一(而不是考慮為用戶產生什麼樣的實例
 Android開發筆記(一百)折疊式列表
更多動態視圖MoreNewsView經常看朋友圈的動態,有的動態內容較多就只展示前面一段,如果用戶想看完整的再點擊展開,這樣整個頁面的動態列表比較均衡,不會出現個別動態占
 Android 實現用戶列表信息滑動刪除功能和選擇刪除功能
在項目開發過程中,常常需要對用戶列表的信息進行刪除的操作。Android中常用的刪除操作方式有兩種 ,一種就是類似微信的滑動出現刪除按鈕方式,還有一種是通過
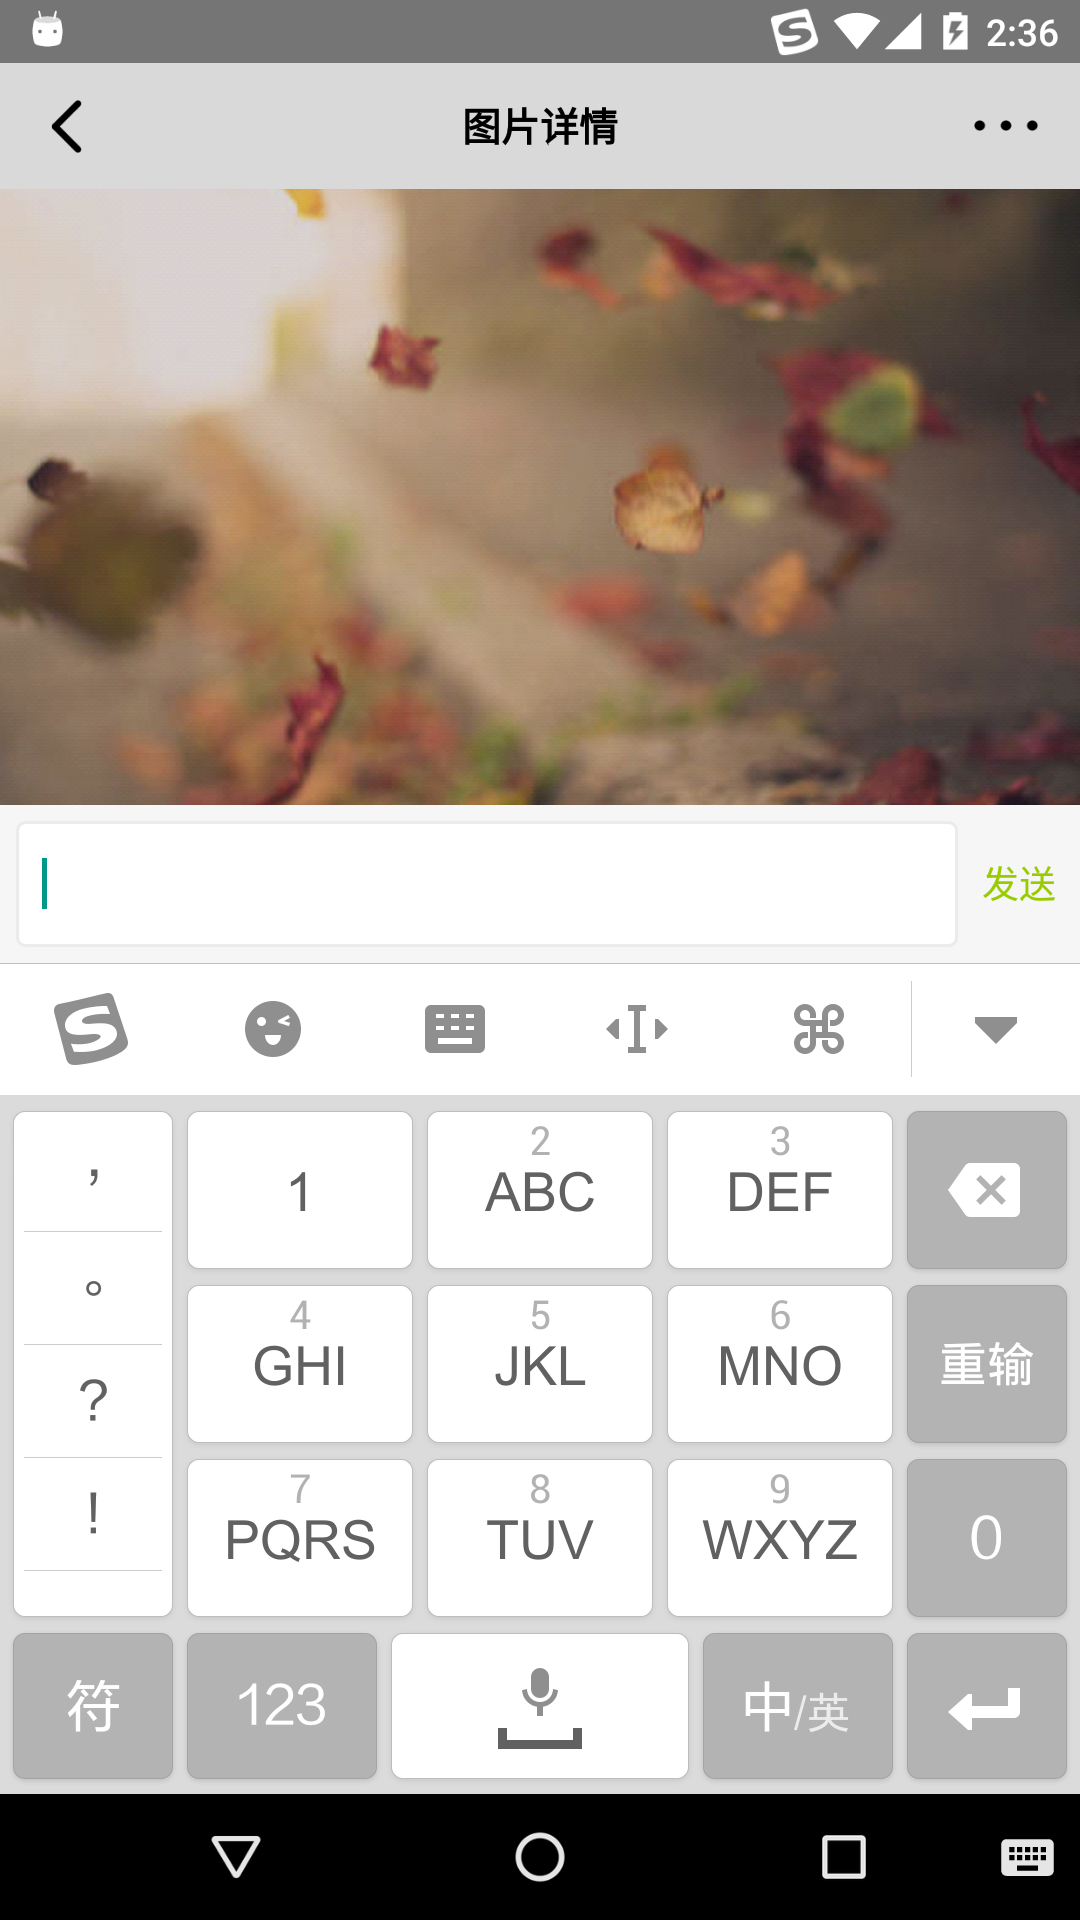 Android監聽輸入法彈窗和關閉的實現方法
用過ios的都知道ios上輸入法關閉的同時會自動關閉輸入框,那麼在android上如何實現監聽輸入法彈出和關閉呢?本篇文章就為你提供了一種可靠的實現方式。演示效果視頻地址
 android listview scroll滑屏顯示sqlite分頁,類似聊天記錄,listview動態添加sqlite分頁數據
前言:最近做基於openfire聊天(仿QQ、微信)翻頁查看聊天記錄,為