編輯:關於Android編程
本文以實例形式較為詳細的展示了Android錄音的實現方法,分享給大家供大家參考之用。具體方法如下:
首先是xml布局文件:
<LinearLayout xmlns:android="http://schemas.android.com/apk/res/android"
  xmlns:tools="http://schemas.android.com/tools"
  android:layout_width="fill_parent"
  android:layout_height="fill_parent"
  android:layout_gravity="center"
  android:gravity="center"
  android:orientation="vertical"
  android:paddingBottom="@dimen/activity_vertical_margin"
  android:paddingLeft="@dimen/activity_horizontal_margin"
  android:paddingRight="@dimen/activity_horizontal_margin"
  android:paddingTop="@dimen/activity_vertical_margin"
  tools:context=".MainActivity" >

  <Button
    android:id="@+id/btn_talk"
    android:layout_width="wrap_content"
    android:layout_height="wrap_content"
    android:layout_gravity="center"
    android:enabled="false"
    android:text="TALK"
    android:textSize="30dp"
    android:text />

</LinearLayout>
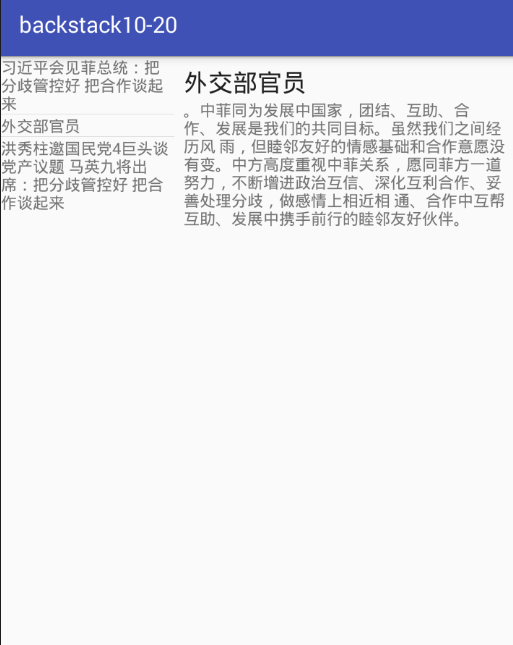
運行效果如下圖所示:

MainActivity中定義按鈕的點擊監聽器,按下按鈕時開始錄音,松開按鈕時停止錄音,類似於微信的操作方法。
// 獲得控件
public void get_con(){

  btn_talk = (Button)findViewById(R.id.btn_talk);
  btn_talk.setOnTouchListener(new OnTouchListener(){
    @Override
    public boolean onTouch(View v, MotionEvent e) {
      if (e.getAction() == MotionEvent.ACTION_DOWN){
        // 開始錄音
        start_record();
      }
      else if (e.getAction() == MotionEvent.ACTION_UP){
        // 停止錄音
        stop_record();
      }
      return false;
    }
  });
}
開始錄音的方法,使用了android.media.MediaRecorder錄音。首先判斷SD卡是否存在,如果存在根據當前時間給創建一個錄音文件,保存到預定的目錄中,用MediaRecorder類開始錄音。
// 開始錄音
public void start_record(){
  if (!Environment.getExternalStorageState().equals(android.os.Environment.MEDIA_MOUNTED)){
    show_status("SD卡不存在,請插入SD卡!");
  }
  else{
    try
    {
      // 獲取當前時間
      cur_date = new Date(System.currentTimeMillis());
      str_file = formatter.format(cur_date);
      // 創建保存錄音的音頻文件
      send_sound_file = new File(Environment.getExternalStorageDirectory().getCanonicalFile() + "/talk/send");
      // 如果目錄不存在
      if (!send_sound_file.exists()){
        send_sound_file.mkdirs();
      }
      send_sound_file = new File(Environment.getExternalStorageDirectory().getCanonicalFile() + "/talk/send/" + str_file + ".amr");
      recorder = new MediaRecorder();
      // 設置錄音的聲音來源
      recorder.setAudioSource(MediaRecorder.AudioSource.MIC);
      // 設置錄制的聲音的輸出格式(必須在設置聲音編碼格式之前設置)
      recorder.setOutputFormat(MediaRecorder.OutputFormat.THREE_GPP);
      // 設置聲音編碼的格式
      recorder.setAudioEncoder(MediaRecorder.AudioEncoder.AMR_NB);
      recorder.setOutputFile(send_sound_file.getAbsolutePath());
      recorder.prepare();
      // 開始錄音
      recorder.start();
    }
    catch (Exception e)
    {
      show_status(e.toString());
    }
  }
}
停止錄音的方法,相對簡單。
// 停止錄音
public void stop_record(){
  if (send_sound_file != null && send_sound_file.exists())
  {
    ses_id = ses_id + 1;
    // 停止錄音
    recorder.stop();
    // 釋放資源
    recorder.release();
    recorder = null;
  }
  super.onDestroy();
}
經過測試,錄制的3gp文件可以正常播放。
希望本文所述對大家的Android程序設計有所幫助。
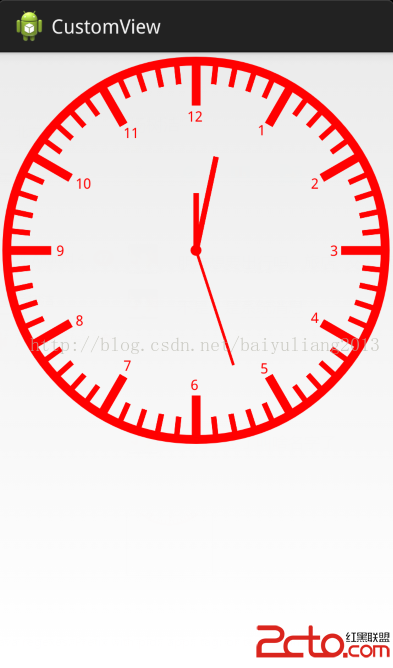 安卓自定義View實現鐘表
之前實現過html5版的鐘表,html5也有一個畫板屬性Canvas,相對於安卓的Canvas來說html5的功能要強大的多,就拿鐘表的實現,html5要方便
 Android手把手教你集成高德定位
關於定位,相信大家都不陌生。現在很多App基本都少不了定位的功能,Android本身也提供了定位的功能(LocationManager),但是由於Google牆太厚了,所
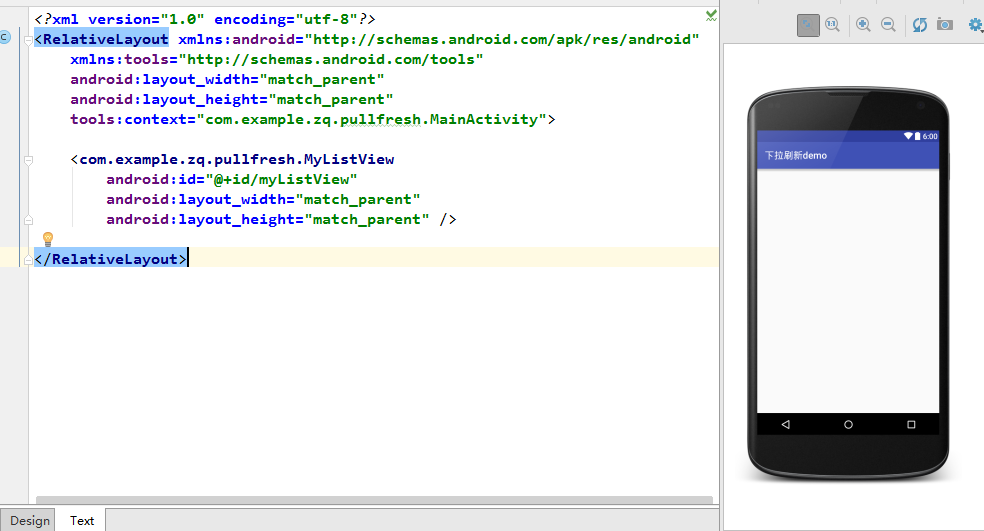 Android開發技術學習之下拉刷新功能的實現
好久沒有寫博客了,最近都在忙。有時候即使是有時間也會很懶,就會想玩一玩,放松放松!一直都沒有什麼時間更新我這個菜鳥的博客了。不過今天不一樣,我要給大家講講怎麼實現許多ap
 Android學習筆記032之數據存儲—文件存儲讀取
我們知道,在AndroidOS中,提供了五中數據存儲方式,分別是:ContentProvider存儲、文件存儲、SharedPreference存儲、SQLite數據庫存